Table of Contents
Advertisement
User Guide
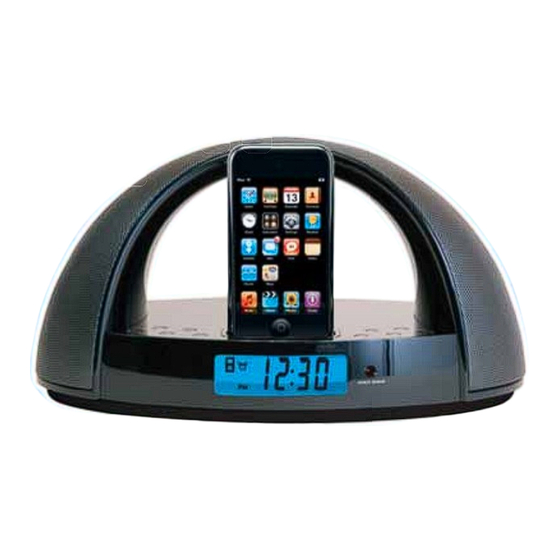
iPhone/iPod Docking Station with Clock Radio
IP320UKT
Now you have purchased a TEVION® product you
can rest assured in the knowledge that as well as your
manufacturer's warranty you have the added
peace of mind of dedicated helplines and web support:
• User guide
• Remote control
www.curtisint.com
MODEL : IP320UKT
Advertisement
Table of Contents

Related Manuals for Tevion IP320UKT

Summary of Contents for Tevion IP320UKT
- Page 1 User Guide iPhone/iPod Docking Station with Clock Radio IP320UKT Now you have purchased a TEVION® product you can rest assured in the knowledge that as well as your manufacturer’s warranty you have the added peace of mind of dedicated helplines and web support: •...
-
Page 2: Table Of Contents
05 Peripherals - Remote Control 05 Peripheral Defined 06 Connecting Power 06 Remote Controls Operation 07 Changing the Lithium Battery 07 Operations 11 iPod Insert 12 Specifications 13 Warranty Card • User guide • Remote control www.curtisint.com MODEL : IP320UKT... - Page 3 • User guide • Remote control www.curtisint.com MODEL : 48652...
- Page 4 • User guide • Remote control www.curtisint.com MODEL : 48652...
- Page 5 Features • User guide • Remote control www.curtisint.com MODEL : 48652...
-
Page 6: Features Defined
Features Defined iPod Docking Station Connect your iPhone / iPod. POWER Press the POWER button to turn the unit on or off. ALARM SET 1 Use the ALARM SET 1 button to view and adjust the alarm-1 time, and to set alarm-1 wake up to buzzer, radio, or iPod / iPhone. -
Page 7: Peripheral Defined
Peripherals WARNING: Danger of explosion if batteries are incorrectly installed. Replace only with the same or FUNCTION AL OFF equivalent type. The button cell battery contains SNOOZE mercury. Do not put in the trash, instead recycle or dispose of as AL 2 AL 1 SLEEP... -
Page 8: Connecting Power
Connecting Power Connect small end of adapter to main unit DC jack and plug the supplied adapter into standard AC wall socket. Warning! The unit is designed to operate from a mains supply of AC 230V~50Hz. If the adapter does not fit properly, turn it over and again. -
Page 9: Changing The Lithium Battery
Changing the Lithium Battery When the operation of the remote becomes intermittent or the main unit no longer responds to the remote commands, it is probably time to change the remote battery. Open the battery compartment by squeezing the battery compartment-locking tab as shown and slide the battery holder out of the battery compartment. -
Page 10: Setting The Alarm
Setting the Alarm a. Press the ALARM SET 1 button and the alarm icon show on display. Setting the Alarm b. Press and hold the ALARM SET 1 button. c. Press the FWD/TUNE button to cycle up through the hours, or press the REV/TUNE button to cycle down through the hours. - Page 11 How to Using Radio a. Power on the unit, press the FUNCTION button to Radio mode. How to Using Radio. b. Automatic Tuning - Press and hold the FWD/TUNE or REV/TUNE buttons until the display begins to move then release the buttons. The tuner will scan up or down the band until it finds the first strong station, and then stop on that station.
- Page 12 Using the Docking With iPhone / iPod a. Power off the unit , dock an iPod / iPhone onto the unit. Using the Docking With iPhone / iPod b. After the correct connection, press the POWER button to turn the unit on. c.
-
Page 13: Ipod Insert
iPod Insert Warning: The number engrave in the backside of the inserts. 3G iPod 10GB, 15 GB, 20 GB iPod photo 40GB, 60GB 3G iPod 30 GB, 40GB 1G iPod nano 2GB, 4GB iPod mini 4GB, 6GB iPod with video 30GB 4G iPod, U2 iPod 20GB 10 iPod with video 60 GB, 80GB 4G iPod 40GB... -
Page 14: Specifications
Specifications Power Requirement Main Power Input: AC adapter = AC~230V/50Hz / DC 5V, 1.5A Battery for Back-up 2 x 1.5V ”AA” (LR-6) Size Battery for remote control handset 1 x CR2025 Frequency Range Radio Receiving: FM 87.5 - 108 MHz (50KHz by step) Power Consumption Max.Power Consumption: 20 Watts... -
Page 15: Warranty Card
arranty Card iPhone/iPod Docking Station with Clock Radio 48652 • User guide • Remote control www.curtisint.com MODEL : 48652... - Page 16 • User guide • Remote control www.curtisint.com MODEL :IP320UKT...
Need help?
Do you have a question about the IP320UKT and is the answer not in the manual?
Questions and answers