
Summary of Contents for Gen2wave RP1000
- Page 1 RP1000 UICK TART ANUAL #327C, Sigma2, Gumi-dong, Bundang-gu, Seongnam-si, Gyeonggi-do, 463-741, Rep. of Korea Tel. +82-31-607-7537 Fax. +82-31-608-7537 Email :Tech@gen2wave.com...
-
Page 2: Revision History
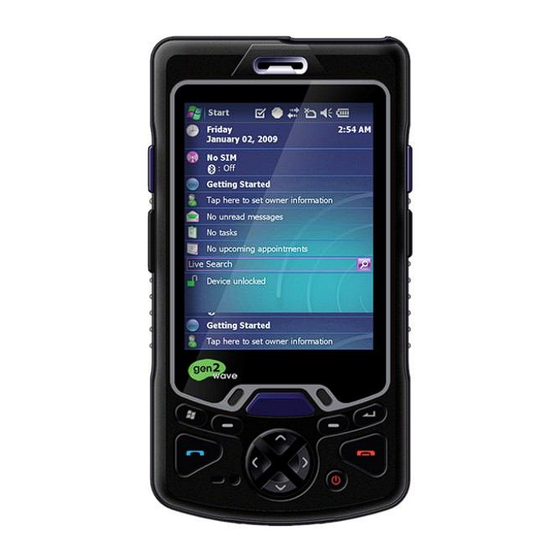
Revision History Changes to the original manual are listed below: Version Date Description Rev 1.0 10/08/9 Initial release Rev 2.1 10/10/28 Buttons and Parts Rev 2.2 10/11/02 Design Changing... - Page 3 BUTTONS AND PARTS 1: Phone Speaker 2: Scan Button 3: Volume Up/Down Button 4: Scan Button 5: Microphone 6: Reset Button 7: I/O Connector 8: Power Button 9: Charging/Battery Status LED 10: Touch Screen 11: Start Menu 12: Soft Key 13: Talk 14: Navigation 15: End...
- Page 4 NSERT THE ATTERY ★ The RP1000 ships with either a 1860mAh or 3600mAh battery. NOTE The 1860mAh battery is shown below. To insert the battery. Insert the battery top first into the battery compartment. Press the battery down into the battery compartment.
- Page 5 Charging the RP1000 Battery Connect the cradle to power. Insert the RP1000 into the RP1000 slot to begin charging. Charging/Battery Status LED Before using the RP1000 for the first time, charge the main battery until fully charged. HARGING THE PARE...
- Page 6 Insert the battery top first into the spare battery charging compartment. Press and hold the battery bottom. Lock the spare battery release latch. Insert the SIM Card To insert the SIM card: 1. Slide up the SIM card holder door up to unlock. 2.
- Page 7 SD C NSERT MICRO To insert the microSD card: Slide up the microSD card holder door up to Open. Lift microSD card holder door 2. Lift microSD card holder door 1.Open Insert the microSD. Close microSD card holder door and slide down to lock into place. Insert the battery.
- Page 8 RP1000 YNCHRONIZE THE WITH YOUR WINDOWS ActiveSync is a free application available from the Microsoft web site at www.windowsmobile.com/ge Followed instructions. tstarted...
Need help?
Do you have a question about the RP1000 and is the answer not in the manual?
Questions and answers