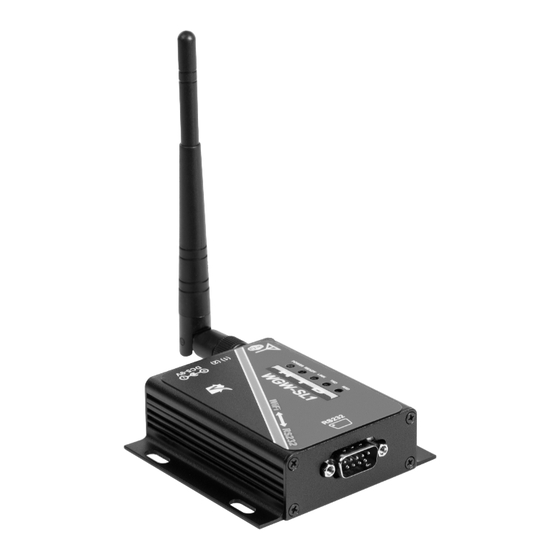
Summary of Contents for HTD WGW-SL1
- Page 1 I n s t a l l a t i o n & U s e r ’s M a n u a l Home Theater Direct, Inc. www.htd.com Expert Support: 866-HTD-AUDIO (483-2834) info@htd.com © Copyright Home Theater Direct, Inc.
-
Page 2: Limitation Of Liability
Authorized Users’ use of or inability to use the SOFTWARE PRODUCT, even if Home Theater Direct (HTD) has been advised of the possibility of such damages. In no event will Home Theater Direct (HTD) be liable for loss of data or for indirect, special, incidental, consequential (including lost profit), or other damages based in contract, tort or otherwise. -
Page 3: Image
***If you have not yet requested a Valet license, please visit our website to request your free license.*** The WGW-SL1 device is used to connect an HTD Whole-House Controller (MC-66, MCA-66, Lync6, Lync12) WIRELESSLY into your home’s wireless or wired network. -
Page 4: Getting Started
Plug the Power Supply that came with your WGW-SL1 into an available 120 VAC electrical outlet. View available wireless networks on a computer or smart device (See Image 1). Connect to WGW-SL1 from the list of available networks. Make sure any options to connect to this device auto- matically are NOT selected. (See Image 2) Open a browser and type 10.10.100.254 and press Enter. - Page 5 Installing the WGW-SL1 GATEWAY (continued) Ignore the “restart to use new setting” prompt, and click on STA Interface Settings in the left panel. (See Image 5) In STA Interface settings, click/tap the search button to view the wireless networks. (See Image 6) A list of available wireless networks will appear.
- Page 6 Installing the WGW-SL1 GATEWAY (continued) You will then be prompted to input the wireless password that you use for the wireless network. Click (See Image 8) Input your wireless password (as shown in Image 9) and hit Apply. Image 8...
- Page 7 Installing the WGW-SL1 GATEWAY (continued) Follow the Device Management link. (Image 10) Click on the “Restart” button. (Image 11) Wait 60 seconds... The WGW-SL1 should now be a part of your network. Image 10 Image9...
- Page 8 Installing the WGW-SL1 GATEWAY (continued) Now, we will find the IP Address of the WGW-SL1. An IP address is made up of four groups of numbers, sepa- rated by periods (for example, 192.168.1.10) In order to access the WGW-SL1 from your portable phone or other device, you will need to know what “IP Ad- dress”...


Need help?
Do you have a question about the WGW-SL1 and is the answer not in the manual?
Questions and answers