Advertisement
Quick Links
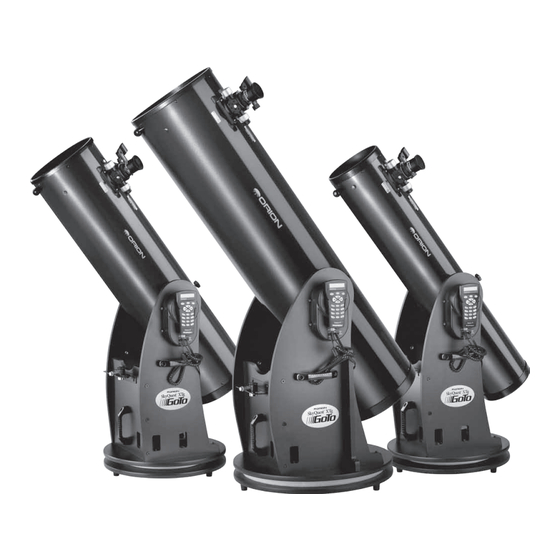
i n s t r u c t i o n M a n u a l
orion
skyQuest
Xtg
®
™
Goto Dobsonians
#10134 XT8g, #10135 XT10g, #10136 XT12g
Customer Support:
www.OrionTelescopes.com/contactus
Corporate Offices:
89 Hangar Way, Watsonville CA 95076 - USA
Providing Exceptional Consumer Optical Products Since 1975
IN 388 Rev. D 06/13
Advertisement


Need help?
Do you have a question about the SkyQuest 10134 XT8g and is the answer not in the manual?
Questions and answers