Advertisement
Advertisement
Table of Contents

Summary of Contents for TSMC Solar TS-110C1
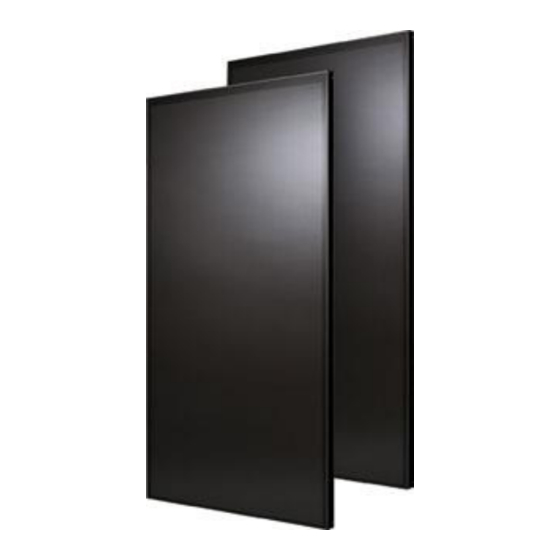
- Page 1 Installation and Safety Manual Version 2.4, 12/1/2014 TS CIGS C1 Series TS-110C1, TS-115C1, TS-120C1, TS-125C1, TS-130C1, TS-135C1, TS-140C1, TS-145C1, TS-150C1, TS-155C1, TS-160C1, TS-165C1, TS-130C1HV, TS-135C1HV, TS-140C1HV, TS-145C1HV, TS-150C1HV, TS-155C1HV, TS-160C1HV...
-
Page 2: Revision History
Revision History Date Version Description 11/15/2012 Original version Add some statements about grounding hardware to comply UL 1703 Standard with its 5/8/2013 revisions dated May 8, 2012. Moreover, the Electrical Ratings were changed for Models TS-145C2, TS-150C2, and TS-155C2. Add a new Model TS-160C2 and deleted Models TS-125C2, TS-130C2, TS-135C2 and 5/15/2013 TS-140C2 for UL certification. -
Page 3: Disclaimer Of Liability
If you do not adhere to the instructions given in this manual, your rights under the TSMC Solar warranty may be forfeited. Please check the warranty for the full details of your rights and obligations relating to your purchase and use of TSMC Solar modules 3. -
Page 4: Warnings And Cautions
Photovoltaic systems must be installed by qualified and experienced personnel. Install PV modules with a minimum spacing of 10mm between neighboring frames to allow for thermal expansion. Do not step on, or place objects on the module during or after installation. Although TSMC Solar modules... - Page 5 Any module support structures that are to be used to support TSMC Solar modules must be wind rated and approved for use by the appropriate local and civil codes prior to installation. In Canada, the installation must be done in accordance with CSA C22.1, Safety Standard for Electrical installations, Canadian...
- Page 6 6.A Module Product Specification C1 Product Type of Modules (Series) TS-110C1 TS-115C1 TS-120C1 TS-125C1 TS-130C1 TS-135C1 TS-140C1 TS-145C1 TS-150C1 TS-155C1 TS-160C1 TS-165C1 Maximum power (P 62.0 62.3 62.6 63.0 63.3 63.6 63.9 64.2 64.5 64.8 65.2 65.5 Open-circuit voltage (V 3.61...
- Page 7 6.C Electrical Wiring Method To ensure proper system operation, correct cable connection polarity (Figure 2) must be observed when connecting the modules to other modules. If not connected correctly, the bypass diode could be destroyed. If modules are connected in series, the total voltage is equal to the sum of the individual module voltages. Only connect modules or series combinations of modules with the same voltage.
-
Page 8: Voltage Rating
Figure 3 Example: Open-end spanner PV-MS Figure 4 Cable diagram 6.E Bypass diode Model type FR607G GSR1010HD Voltage rating 1000 (V) 1000 (V) Current 8 (A) 10 (A) Configuration Single in J-box Single in J-box 6.F Mechanical Installation There are two mechanical installation methods, the clamp method and the bolt method. Mounting hardware locations for both methods are illustrated in this section. - Page 9 All measurements in mm [inches] Figure 5 Clamp Zone Bolt Method: The frame of each module has 8 x 6.6 mm [0.26”] mounting holes. Modules mounted by bolting the frame to mounting structure must use the 4 mounting hole locations denoted “M1” in Figure 6. This method enables a maximum mechanical loading of 2,400N/m2 (50PSF) (IEC) too, in a static state on the module surface.
- Page 10 All measurements in mm [inches] Figure 6 Bolt Method Mounting Hole Locations 6.G Tilt Angle Selection Module tilt angle is measured between the module and the ground as shown in Figure 7, with modules generating the maximum power when they face sunlight directly (incident light perpendicular to module front surface). The modules should be oriented to face south in the Northern Hemisphere and face north in the Southern Hemisphere.
- Page 11 6.H Fire Class Rating These modules have achieved a Fire Resistance Rating of Class C. The fire rating of this module is valid only when mounted in the manner specified in the mechanical mounting instructions as described in Section 8 of this document, “Mounting Methods and Configurations”.
- Page 12 In addition, WEEB (Washer, Electrical Equipment Bond) grounding parts with UL 467 listing can be used with TSMC Solar module. The WEEB parts must be installed in accordance to the manufacturers’ installation instruction. The diagram below (Figure 11) shows how WEEB grounding parts are used with the end/middle...
- Page 13 clamp in the installation. And the dimension of end/middle clamp for WEEB grounding parts have to follow our proposed requirement that the clamp overlap the module frame by at least 5 mm, the clamp overlap length is at least 38 mm and the fasteners torque of at least 10 ft-lbs (13.5N-m) is suggested. Figure 11 Grounding with Clips 8.
- Page 14 Figure 12 Middle Clamp Figure 13 End Clamp...
- Page 15 Figure 14 Module Clamp Mounting Method...
- Page 16 Bolt Method The module can be mounted by bolting the frame to mounting structure. This method requires 4 sets of: M6 bolt, M6 spring washer, M6 flat washer and M6 nut per module. There are eight mounting holes on the back side of module, however only the 4 mounting hole locations denoted “M1”...
- Page 17 Mechanical Components Mounting mechanical means to be used in clamp or bolt methods are as below and as shown in Table 1:· Screw/Bolt: M6 Stainless Steel Nut: M6 Stainless Steel Flange Nut Washer: M6 Stainless Flat Washer, M6 Spring Washer Torque Value: 6.1 ~ 7 N-m [54.0~61.9 in-lb] Clamps:...
-
Page 18: Contact Information
Month – 6 “01” – “31” = 2 digit day, e.g. “15” = 15 of month – 11 Internal Use Defined for TSMC Solar internal use Contact Information Europe North America Asia / International TSMC Solar Europe GmbH TSMC Solar North America Inc.
Need help?
Do you have a question about the TS-110C1 and is the answer not in the manual?
Questions and answers