Advertisement
Quick Links
This guide has been edited for the CONSUMER according to directive CE89/392 and its
ensuing amendments.
Carefully read the notes contained in this guide since they provide with important
directions regarding the safety of assembling, use and maintenance.
Each machine, in accordance with directive CE89/392 and its ensuing amendments, is
identified by a specific plate positioned on the frame and containing the following
information:
Manufacturer
Model
Manufacturing year
Serial number
Power supply voltage
Working voltage
Installed power
Weight
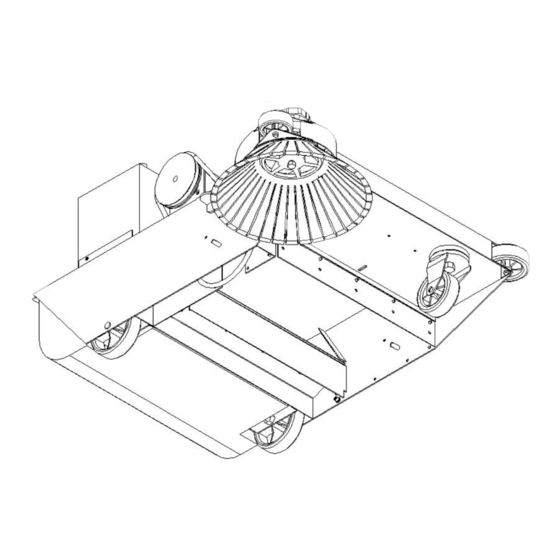
1
1 - Filter-shaker push-button
2 - Main switch (Main broom)
3 - Side broom switch
4 - Centrifugal electric fan switch
GENERAL NOTES
DESCRIPTION OF CONTROLS
2
Page 1
3
4
Advertisement

Summary of Contents for BPS 24
- Page 1 GENERAL NOTES This guide has been edited for the CONSUMER according to directive CE89/392 and its ensuing amendments. Carefully read the notes contained in this guide since they provide with important directions regarding the safety of assembling, use and maintenance. Each machine, in accordance with directive CE89/392 and its ensuing amendments, is identified by a specific plate positioned on the frame and containing the following information:...
-
Page 2: Condition Of Use
CONDITION OF USE CONSENTED USES The 24” Battery Vacuum Sweeper is built for cleaning the ground in the following conditions of employment: a - Environments: * Both closed and opened. b - Working surfaces: * Level surfaces enough compact and not much irregular as: - Ceramics. -
Page 3: Machine Setup
2.1 Take from the Waste Hopper Table B-1 the Side Broom – Table A-20 2.2 Unscrew the screw and washers Table A-24 from the Gearmotor Table A-15. Insert the broom on the gearmotor axle having the key slot matching the key,... - Page 4 MACHINE STARTING UP AND OPERATION Main broom Operating the switch (Figure 1-2) the main broom Table C- 14 starts to work reaching immediately the running speed. The lighting of a green LED signals the regular operation. With the main broom working it is possible to operate: Side broom Operating the switch (Figure 1-3) the side broom will start working.
- Page 5 Battery - The “discharged battery” limit is signalled by the lighting of a red Led and afterwards by the motors switching off. - To complete the work switch-off for a while the switch (FIG.1- 2). - To make use of a further residual of charge, switch-off the side broom switch (FIG.1- 3). CAUTION: In case of prolonged inactivity of the machine disconnect the battery terminals.
-
Page 6: Ordinary Maintenance
- Act on the knob Table A- 22 b- Replacement: - Unscrew the fastening screw Table A - 24 and replace the broom (Table A- 20), paying attention to the flat key that lock the broom to the gearmotor shaft. - Page 7 Maintenance and replacement of the filter: To carry out this procedure the following tools are needed: - Heavy duty gloves. - Breathing mask. a- Cleaning / Replacement: - Withdraw the split pin Table B- 11 from the hole of the Pin Table B -11 that hold the filter-support (Table B- 10) at the machine frame.
- Page 8 Maintenance and replacement of the electronic circuit board: In case of non-operation of some electrical components, check out the integrity of the fuses: Figure 2 - F2 In case of a non good operation of the function of battery charging, check out the integrity of the fuses: Figure 2 - F1 Figure 3 - FUN...
- Page 12 TABLE A Spare Parts Veiw BETCO # Ref.# DESCRIPTION 82892 P 030 33110 COVER 82893 3 017 E400B WIRED COMMANDS CONSOLE (SWITCHES BOX) 82894 4 100 33201 HANDLE 82895 K 999 00001 HANDLE ADJUSTING KIT 82896 K 999 00002 HANDLE PIVOT KIT 82897 4 350 33200 BATTERY STRAP...
Need help?
Do you have a question about the 24 and is the answer not in the manual?
Questions and answers