Table of Contents
Advertisement
Quick Links
USE ONLY THE HOSE AND REGULATOR PROVIDED!
If a replacement is necessary, please contact either our Customer Service Department or your
local dealer.
The use of unauthorised parts can create unsafe conditions and environment.
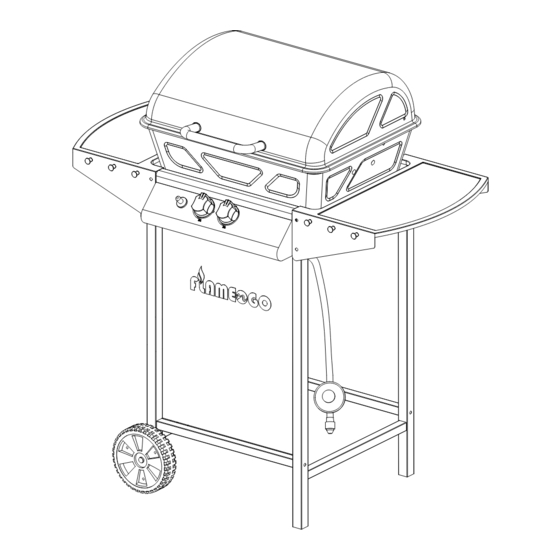
Picture of appliance
Marketed by:
Gascraft Products
P.O. Box 33-470
Takapuna, Auckland
New Zealand
Please keep your receipt as proof of purchase
OWNER'S MANUAL
FLAME-N-GO WAGON BBQ
Advertisement
Table of Contents

Summary of Contents for Flame-N-Go Wagon
- Page 1 OWNER’S MANUAL FLAME-N-GO WAGON BBQ USE ONLY THE HOSE AND REGULATOR PROVIDED! If a replacement is necessary, please contact either our Customer Service Department or your local dealer. The use of unauthorised parts can create unsafe conditions and environment. Picture of appliance...
- Page 2 Technical Information: APPLIANCE SUPPLIED BY: The Warehouse Ltd, Auckland, New Zealand MODEL NO: G2082 TOTAL HEAT INPUT: 19.8 mJ / hour GAS CATEGORY: 3B/P(30) FUEL TYPE: 30mbar GAS PRESSURE: INJECTOR SIZE: Main: 0.84mm CE IDENTIFICATION CODE: 359BU1034 MIN. GAS SUPPLY PRESSURE 2.05 kPA MAX.
-
Page 3: Important Safety Information
IMPORTANT SAFETY INFORMATION Please read these instructions carefully before assembly and use. Retain these instructions for future reference. For outdoor use only-do not use indoors. For use with LP gas only. Do not use within 1m of any flammable structure or surface. When igniting barbecue,remove its lid,or open its hood before lighting. - Page 5 Description Figure Description Figure Q'TY Q'TY Left Leg Assembly Knob Lid Handle Spark Electrode Gamel I Warming Rack Control Panel Cooking grid Right Leg Assembly Flame Tamer Wheel Axle Gamel II Trolley Wheel Burner Transverse Leg Lid Support Axle Trolley Screen Side Shelf,Left Regulator&Hose Clip...
- Page 6 STEP 1 Front Left Front Right Back Left Back Right M6X40 4Pcs STEP 2 Front Left Back Left Back Right Front Right Part 28 Clip 2PCS Wheel Axle 2Pcs Part 23...
- Page 7 STEP 3 M5X10 3Pcs STEP 4 M4X10 4Pcs...
- Page 8 STEP 5 STEP 6 Hooks 6Pcs M6X10 8Pcs Part 13 STEP 7 M5X30 4Pcs M5X10 4Pcs M5Nut 8Pcs...
- Page 9 STEP 8 M5X30 4Pcs M5Nut 4Pcs STEP 9 M5X30 2 Pcs M5Nut 2 Pcs...
- Page 10 STEP 10 M5X10 6Pcs M5Nut 4Pcs STEP 11 Clip 2PCS Part 28 Lid Support Axle 2PCS Part 9...
- Page 11 STEP 12 STEP 13...
- Page 12 STEP 14 After the connection is made between hose assembly and BBQ valve, a leak test must be performed before the BBQ can be operated to check the connections are gas-tight. STEP 15...
-
Page 13: Connecting The Gas Cylinder To The Appliance
CONNECTING THE GAS CYLINDER TO THE APPLIANCE This appliance is only suitable for use with low-pressure LPG, fitted with the appropriate low- pressure regulator via a flexible hose. The hose should be permanently secured to the regulator and the appliance. This barbecue is set to operate a 2.75 kPa regulator. The regulator assembly supplied with this BBQ is of an approved type. -
Page 14: To Check For Leaks
Fit the hose to the appliance using a spanner to tighten it onto the connection thread. If the hose is replaced it must be secured to the appliance and regulator connections permanently. Disconnect the regulator from the cylinder (according to the directions supplied with the regulator) when the barbecue is not in use. - Page 15 CAUTION: All cleaning and maintenance should be carried out when the barbecue is cool and with the fuel supply turned OFF at the gas cylinder. CLEANING “Burning off” the barbecue after every use (for approx 15 minutes) will keep excessive food residue to a minimum.
Need help?
Do you have a question about the Wagon and is the answer not in the manual?
Questions and answers