Advertisement
W
W
aterMark
aterMark
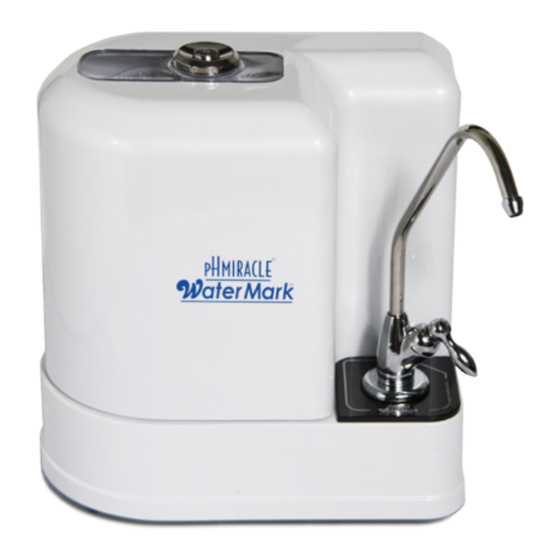
The pH Miracle
Congratulations on your purchase of the pH Miracle WaterMark. You will now be able to enjoy
the benefits of drinking water with high levels of antioxidants, free hydroxyl ions, increased pH
as well as an excellent source of magnesium and other alkalizing minerals.
Please take the time to thoroughly read this Users Guide for installation and usage instructions.
Failure to read this guide and comply with instructions could void your warranty.
®
User's Guide
TM
THE
WaterMark
®
pH MIRACLE
™
1
Advertisement
Table of Contents

Summary of Contents for ph Miracle Watermark
- Page 1 ™ User’s Guide Congratulations on your purchase of the pH Miracle WaterMark. You will now be able to enjoy the benefits of drinking water with high levels of antioxidants, free hydroxyl ions, increased pH as well as an excellent source of magnesium and other alkalizing minerals.
- Page 2 • Do not use hot water. The use of hot water will cause damage to the machine and filters and will void the warranty. • The use of filters other than those from pH Miracle can cause defects and damage to the unit as well as not providing proper water.
- Page 3 ® pH MIRACLE Section #2: In the Box Please start by removing the WaterMark from its box. Inside the box should include the following parts: • WaterMark • Faucet Spout with 2 rubber ‘O’ Rings Installed at Base •...
-
Page 4: Section #3 — Countertop Installation
• Standard screwdriver • Towel 1. Find the Water “Inlet” marked on rear of the WaterMark. Connect the Stem Elbow to the WaterMark by placing the smallest end into the Water Inlet and pushing until well seated. Make sure that the sec- ond hole in the back of the WaterMark labeled as “Outlet”... - Page 5 Turn on the water at your main faucet. Move the lever on the Diverter up to send the water through the WaterMark. It may take a few seconds for the water to exit the WaterMark, this is normal as all the filters fill with water.
-
Page 6: Section #4 — Under-Sink Installation
® pH MIRACLE Section #4: Under-Sink Installation (Kit Part List) Gooseneck Accessory Faucet 1 ⅜” Hole Flange ½” Cold Water Supply Diverter with Reducer & Quick Connect Faucet Collar ⅜” Cold Water Supply Diverter with Quick Connect Faucet Accessory Kit... - Page 7 National Plumbing Code and the water pressure does not exceed 60psi. Install- ing the WaterMark in a home with high water pressure can result in leaks or a blown connection. The pH MIRACLE CENTER IS NOT LIABLE FOR UNDER-COUNTER LEAKS. If unsure of your water pressure, contact a plumber or handyman to verify your pressure is within legal limits.
- Page 8 If you cut it, be sure it’s long enough to reach the WaterMark where it will sit under the sink. Do nothing with the other end of the tube for now.
- Page 9 WaterMark. 15. On first use, allow the water to run through the WaterMark for at least ten minutes to flush the filters out (the water may appear discolored in the beginning). After the 10 minutes passes the water is ready for drinking.
-
Page 10: Section #5 — Troubleshooting And Warranty
Question: When I add drops to the test the water, it turned purple. Is the pH too high? Answer: It is normal for the WaterMark to create a higher pH in the first 1-2 weeks of use. This is due to the filters being new. - Page 11 First make sure that the water supply to the RO system is closed. Now disconnect the tubing from the RO system that goes to your RO faucet and connect this tubing to the back of the WaterMark to the fitting labeled “Outlet.”...
- Page 12 MIRACLE WARRANTY: We are so confident in the WaterMark that we offer the industry’s first limited lifetime (lifetime of the product is estimated at 10 years) warranty on this product. Even in the water filter indus- try this is the first product to ever have a such a warranty.
-
Page 13: Section #6 — Usage Instructions
It is normal to have to urinate more while using the WaterMark, you may have very urgent needs to urinate in the first few weeks of use; this is normal and will soon subside. -
Page 14: Section #7 — Maintenance And Filter Changes
3rd filter from the unit and store in the refrigerator in a Ziploc bag. To change the filters on the WaterMark, remove the round chrome nut on top of the case and lift the case cover off of the WaterMark. - Page 15 For very dirty water or water with lots of sediment, filter #1 may need to be replaced sooner than the rest of the filters. The need for this will be indicated if the WaterMark water flow be- comes very slow before the time to change the filters is up. If this is the case, then replace only filter #1.
Need help?
Do you have a question about the Watermark and is the answer not in the manual?
Questions and answers