Table of Contents
Advertisement
Advertisement
Table of Contents

Related Manuals for Constellation audio Inspiration PREAMP 1.0


Summary of Contents for Constellation audio Inspiration PREAMP 1.0
- Page 2 CAUTION To reduce risk of electric shock, do not remove any of the preamplifier’s cover plates or screws. There are no user serviceable parts inside. Contact qualified service personnel. WARNING To reduce risk of fire or electric shock, do not expose this preamplifier to moisture, rain, or excessive humidity.
-
Page 3: Table Of Contents
Thank you for purchasing the Constellation Audio Inspiration PREAMP 1.0. This preamplifier has been engineered to deliver an unmatched combination of sound quality, user-friendliness and flexibility. The PREAMP 1.0 employs the same revolutionary circuitry pioneered in our Altair and Virgo preamps. The biggest difference is that the user can now control all functions from the front panel. -
Page 4: Before You Install The Preamp 1.0
Installation notes If you will be using the Constellation Audio Inspiration MONO 1.0, STEREO 1.0, Centaur or Hercules amplifier (or any other high-powered amplifier), we recommend you do not plug the PREAMP 1.0 into the same AC socket or into any other outlet connected on that circuit. -
Page 5: In The Event Of Malfunction
If your PREAMP 1.0 does not function correctly, refer to the Troubleshooting section at the end of this manual. If you are still unable to resolve the problem, contact your Constellation Audio dealer. If any liquid is spilled on the preamp, or if any metal object (such as a staple or a paper clip) is inadvertently forced inside, immediately disconnect the AC power and contact your Constellation Audio dealer. -
Page 6: Rca Inputs
The input numbers from left to right, looking at the back of the PREAMP 1.0 are: ——3 right right right left left left 2. RCA inputs These unbalanced inputs are provided as a convenience for use with unbalanced signal sources. Whenever possible, we recommend using XLR connections instead. -
Page 7: Rca Outputs
This 3.5mm input jack on the back panel allows the PREAMP 1.0 to turn a connected device (such as a Constellation Audio amplifier) on and off automatically. When the PREAMP 1.0 is powered up or in Standby mode, this jack emits a 12-volt DC signal. When the PREAMP 1.0 is powered off entirely (by holding the front panel power button down for 5 seconds), the jack emits no signal. -
Page 8: Controls / Displays / Indicators
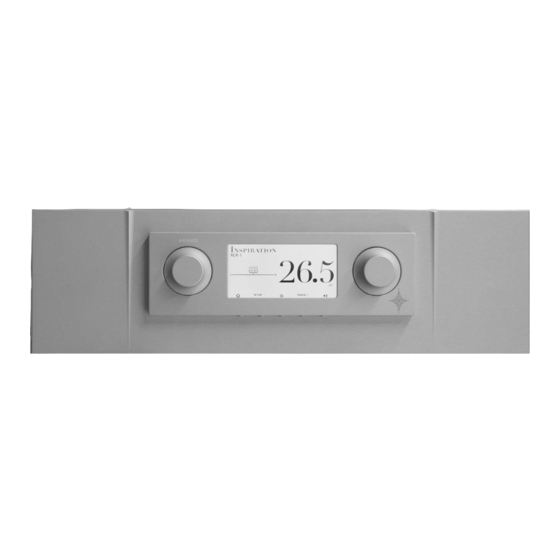
7. AC input This AC input accepts standard 15-amp IEC-type power cords. You may use the high-quality power cord supplied with the PREAMP 1.0, or substitute an aftermarket power cord if you wish. Controls / displays / indicators 8 – 14. Front panel controls The front panel includes an LCD touchscreen and two knobs plus five buttons positioned underneath the display. -
Page 9: Rear Panel Ac Master Power Switch
10. Return/back This button brings you back to the previous control screen. For example, from any input’s screen, such as XLR 1, it will take you back to the input selector screen. 11. Standby/power Push this button to turn the PREAMP 1.0 on and off. When you turn the unit on, it will take a few seconds to warm up. -
Page 10: Remote Control
Remote control The remote operates the basic functions of the PREAMP 1.0. It does not operate other Constellation Audio components. 16. Standby/power Push this button to turn the PREAMP 1.0 on and off. When you turn the unit on, it will take a few seconds to warm up. -
Page 11: Control Screens
20. Input Press this button to select among the PREAMP 1.0’s XLR and RCA inputs. You will have to wait a second or so between pushes of this button, because for best sound quality the PREAMP 1.0 uses relays to switch inputs. - Page 12 Input setup screen When you press the multifunction button labeled Setup on the input screen, this screen will appear. It allows you to set up a home theater bypass input; set minimum and maximum output levels, and change the phase of the output signal.
- Page 13 Step-by-step operating process We’ve covered all of the basic controls and indicators of the PREAMP 1.0. Here’s how you use them to perform the basic operations of turning the unit on, selecting a source, adjusting the sound, and turning the unit off. STEP 1: To turn on the PREAMP 1.0 from the front panel, push the Standby button in the middle under the LCD touchscreen.
-
Page 14: Maintenance
F. If none of these conditions restores power, it is possible one of the PREAMP 1.0's internal fuses is blown. Do not attempt to change the fuse yourself—the PREAMP 1.0 requires the use of special high-voltage fuses that are not commonly available. Contact your Constellation Audio dealer for service. - Page 15 PREAMP 1.0 is set to output maximum volume, damage can be done to your speakers and amplifiers. G. If none of these actions restores the sound, contact your Constellation Audio dealer. Sound seems unfocused 1.
-
Page 16: For More Information
Your PREAMP 1.0lifier should give you many years of trouble-free, maintenance-free service. If you encounter any problems you cannot solve or have technical questions, please contact your Constellation Audio dealer. For more information about Constellation Audio products, please visit our website: www.constellationaudio.com...
Need help?
Do you have a question about the Inspiration PREAMP 1.0 and is the answer not in the manual?
Questions and answers