
Related Manuals for Clarke EZ-8 07095A

Summary of Contents for Clarke EZ-8 07095A
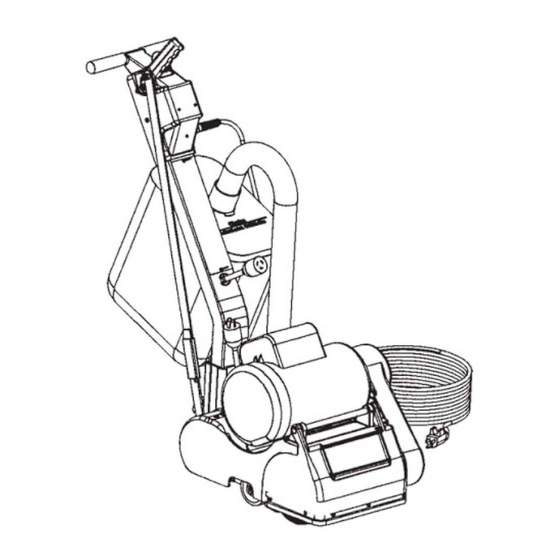
- Page 1 MODELS: 07095A, 07099A, 07012A, 07071B, 07084A, 07057A, 07058A, 07059A, 07060A, 07058S 56043147 Page 1...
-
Page 2: Switch Replacement
Switch Replacement 1-Remove three screws (44) from each side of the control housing (41) 2-Remove three screws securing the switch wires to the contactor 3-Remove switch retaining nut (33) Contactor 1-Remove three screws (44) from each side of the control housing (41) 2-Disconnect all wires from the contactor (39) 3-Remove two screws (46) securing the contactor to the control housing Power Cord... -
Page 3: Assembly Hints
Motor 1-Remove two screws (39) securing the belt guard (5) 2-Remove two nuts (50) on the front side of the motor mounting plate 3-Turn machine over and remove the dust plate (44) to expose the motor mounting nuts 3-Remove two nuts (27) from the back side of the motor mounting plate (Fig. 37) Assembly Hints Motor plate shims (47) can be added or removed to obtain proper belt tension Belt Removal and Replacement... - Page 4 Pulley Removal and Replacement 1-Remove two screws (39) securing the belt guard (5) 2-Remove drive belts Motor Pulley 1-Loosen two set screws (4) in the pulley and use a gear puller or pry bars to remove Drum Pulley 1- Loosen the set screw (37)and use a gear puller or pry bars to remove Fan Pulley 1-Use a thin pair of pliers or similar tool to hold the hub of the pulley (14) and remove the retaining nut (13) (Fig.
- Page 5 Drum Removal and Replacement 1-Remove the drum retaining nut (41) 2-Remove the key washer assembly (40) 3-Pull the drum (61) off of the shaft (34). Note: If drum will nut pull easily use a pry bar to pry from the backside Reassembly 1-Slide drum on the shaft 2-Reinstall the key washer...
- Page 6 Assembly Hints If air tools are not available to remove the drum retaining nut put a wrench on the nut and hit the wrench with a hammer to loosen the nut. Drum Shaft and Bearing Removal and Repair 1-Remove two screws (39) retaining the belt guard (5) 2-Remove the drum belt (9) 3-Remove the drum retaining nut (41) 4-Remove the drum (61)
- Page 7 5-install the fan retaining ring (19) 6-Install the pulley key (12) and press the pulley (14) on 7-Install the pulley retaining nut (13) 8-Reinstall the fan housing (10) with the larger hole at the top left. (Fig. 42) Fig. 41 Fig.
-
Page 8: Troubleshooting
EZ-8 TROUBLE SHOOTING SYMPTOM CAUSE REPAIR Motor will not start. No power. Check power supply and connections. Defective switch and/or contactor. Replace switch and/or contactor. Defective start capacitor. Replace start capacitor. Poor connections. Check connections. Motor overload tripped. Remove power. Depress reset button on motor. Defective motor. - Page 10 14600 21st Avenue North Plymouth, MN 55447-3408 www.clarkeus.com Phone: 800-253-0367 Fax: 800-825-2753 ©2010 Nilfi sk-Advance, Inc. A Nilfi sk-Advance Brand...
Need help?
Do you have a question about the EZ-8 07095A and is the answer not in the manual?
Questions and answers