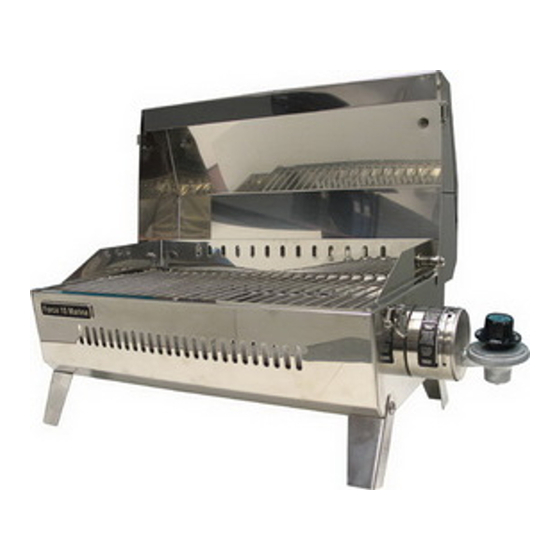
Summary of Contents for Kuuma Stow N’ Go 83705
- Page 1 Stow N’ Go PROPANE BARBECUES OWNER’S MANUAL Covering Models; 83705 (Charcoal) 83715 (1) 83722 (1) 83735 (1) 83706 (Hybrid) 83790 (Inland Grill) Read all instructions and warnings before operating.
- Page 3 INTRODUCTION Thank you for selecting the Stow N’ Go Barbecue, produced by Kuuma Products. Your unit was carefully inspected and tested at our factory. Please take the time to read this manual carefully; many of its instructions are essential to the safe operation of your new propane barbecue.
-
Page 4: Unpacking And Installation
INSTALLATION Unpacking & Installation 1. Remove all interior packing before use. 2. Verify the burner is positioned with the burner slots vertical. 3. Position the Flavor Plate over top of the burner with the round holes facing the front. (see item 3 in Diagram (1)) 4. -
Page 5: Mounting Options
Mounting Options In addition to the fold away legs, there are (4) mounting options available for the Stow N’ Go. (Mounts are sold separately) When using a mounting option, the legs should be folded up to lock the grease tray in place. Note model 83735(1) requires two mounts # 83635. -
Page 6: Operation
OPERATION Propane Gas Hook-up 1. This BBQ is set-up for High Pressure Propane. Models with (5) digit model #s can only be operated in high pressure. Models with (6) digit model #s can be operated on either. This is called our “Flexfuel” system. To use low pressure propane with the Flexfuel system, the high pressure regulator must be unthreaded from the low pressure valve and the supplied 3/8”... - Page 7 Cooking 1. Do not overheat BBQ. This BBQ does not require pre-heating when operating on gas. 2. Do not cook on the high setting with the lid closed. Tip: You can add extra flavor to your meals by putting some hickory or cherry wood chips on your heat plate.
-
Page 8: Cleaning And Maintenance
Regulator (models with 5 digit model #s only) The regulator pressure may be set too low and you may have to reset it. Remove the silver label in the center of the regulator (where it says “Push to Turn”). By turning the Phillips head or 3/32 hex screw found below this label, you can increase or decrease the gas flow. -
Page 9: Assembly Diagram
ASSEMBLY DIAGRAM Diagram 1 1. Lid assembly 2. Cooking Grill 3. Heat plate 4. Burner 5. Bottom Assembly 6. Regulator Shown as standard High pressure set up Not the Flexfuel system 7. Grease tray Note – some models The grease tray slides out the front... -
Page 10: Troubleshooting Guide
TROUBLE SHOOTING GUIDE PROBLEM CAUSE Solution______________ BBQ will not light No Gas Flow Check Propane Bottle Obstruction Remove and clean orifice and burner tube Bad Regulator Replace Regulator BBQ Blows out Low Flame Increase flame Strong wind Close down Air Adjustments Regulator out of specification Adjust Regulator Flare-up... - Page 11 Stow & Go 125 - Model 83715 83176 Tote Bag - Black..................… 83245 Food Tray…………………………………………………………….. 83110 Cover………………………………………………………………….. 16211 Heat Plate…………………………………………………………….. 83957 Burner…………………………………………………………………. 16213 Cook Rack……………………………………………………………. 16221 Grease Tray…………………………………………………………… 83912 Regulator……standard………………………………………………………… Stow & Go 225 - Model 83735 83246 Food Tray…………………………………………………………….. 83310 Cover bbq only………………………………………………………………..
-
Page 12: Specifications
(1) Year (1) Year Limited Warranty Kuuma Products warranties this propane barbeque to the original consumer to be free from defective material(s) and workmanship while under normal use and service for a period of (1) year. During the warranty period, Kuuma Products will, at its option and without charge, repair and/or replace but not remove or re-install the faulty product.


Need help?
Do you have a question about the Stow N’ Go 83705 and is the answer not in the manual?
Questions and answers