Table of Contents
Advertisement
Quick Links
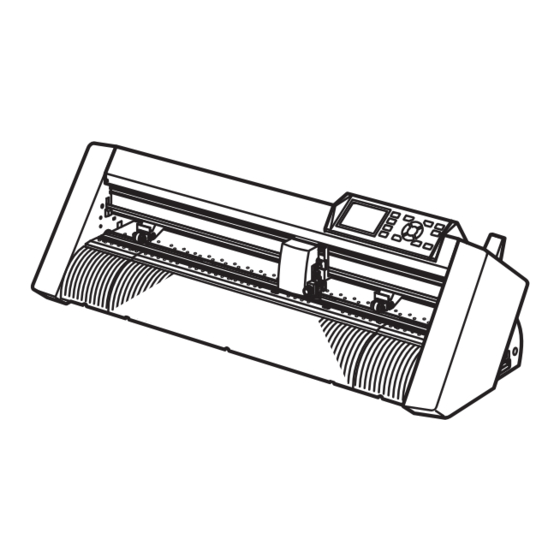
Vinyl Express Qe6000
SETUP MANUAL
This Setup Manual describes the procedures required for
setup. For operation procedures and details on how to make
the settings, and for any other points that are not clear,
please refer to the "Vinyl Express Qe6000 User's Manual"
PDF files that are included in the CD provided with the
Qe6000 Cutting plotter.
•
Windows is either a registered trademark or trademark of Microsoft
Corporation in the United States and/or other countries.
•
The names of products and brands mentioned herein are the
registered trademarks or trademarks of their respective companies.
Checking the Contents of the Package
Check to confirm that all of the items shown below are present.
If any item is missing, promptly contact the store where you
purchased your printer or your nearest Signwarehouse dealer.
Plotter – 1 pc
SETUP MANUAL,
TO ENSURE SAFE AND CORRECT USE
– 1 of each
Stand– 1 pc
Cutter holder (PHP33-CB09N-HS) – 1 pc
Cutter blade (CB09UB-1) – 1 pc
Power cable – 1 pc
Water-based fiber pen adapter (PHP31-FIBER)
– 1 set
* Plunger/Height adjustment tool.
USB cable – 1 pc
Water-based fiber pen (KF700-BK)
– 1 pc
CD – 1 pc
Media Cutter – 1 pc
Prepare the connection cable
Connect the plotter to PC with one of the following cables.
•
RS-232C (Serial port)
•
USB cable
Select the cable according to the specification of the application
software or the availability of the communication port on your PC.
Installing the Software
Install the software housed in the attached CD-ROM into the PC that
is used. This section explains how to install the software when using a
Windows 7 (32 bit) operating environment.
Note
Upon installation, be sure to log on Windows using an account with
administrator privileges on your computer. If you have logged on using a
standard user account, an [User Account Control] screen asking you to
enter the administrator account password may appear.
• Supported OS
This software supports the following OS environments:
Windows 8 (32bit/64bit), Windows 7 (32 bit/64 bit), Windows Vista (32
bit/64 bit), Windows XP SP3 (32bit/64bit).
* For the latest OS, please access our web site.
Install Qe6000 Software
After starting up Windows, insert the [USER GUIDE & SOFTWARE
CD] provided with the Qe6000 into your computer's CD drive. The
below screen will appear before the Start Menu launches. Continue
with installation in accordance with the following procedures.
(1) The Windows [AutoPlay] screen will appear. Select [Run Multi
Setup.exe] from the Windows [AutoPlay] screen.
* If the [AutoPlay] screen does not
appear, open [Explorer] and select
the CD drive containing the
software to be installed.
Open the CD and double-click on
[MultiSetup.exe].
(2) The [User Account Control] will appear.
Click [Yes] if you have logged on using an administrator account.
Supplement
If you have logged on using a
standard user account, an [User
Account Control] screen asking you
to enter the administrator account
password may appear. Enter the
password, and then click [Yes].
(3) The [Start] will appear. "Use this menu to install the software you
require to use the Qe6000. First-time users should proceed with
installation by clicking on [Install Vinyl Express Qe6000 Software]."
Proceed with installation according to your operating environment.
A
B
A. Install Vinyl Express Qe6000
Software: Install the [Vinyl Express
Qe6000 Driver].
B. Install User's Manual: Installs the
Vinyl Express Qe6000 User's Manual.
Note
Do not connect the accompanying USB cable yet. Doing so may
prevent the [Driver software] from being installed properly. Refer to the
procedures in this User's Manual when connecting the USB cable.
(4) Click on [Install Vinyl Express Qe6000 Software] button in the
[Start] screen to display the following screen.
When it does, click on [OK].
(5) When it does, click on [Next].
(6) Click on [Next] again.
(7) A window for selecting the [Port Name] to be used appears.
Select [USB].
Clicking on [Next] will begin the driver software installation process
Available Port Names
USB : Selected when a USB cable
is used for connection.
COM1 : Selected when an RS-232C
(serial) cable is used for
connection.
FILE : Selected to save outputted
data (plot data) to a file.
Supplement (When selecting the COM1)
To select "COM1" in "Port Name", do the installation according to
the message.
After the installation is completed, connect the RS-232C cable.
(For more information about connecting the RS-232C cable, see
"1.4 Connecting to the Computer" on page 1-9 in Qe6000 User's
Manual.)
(8) The following window appears. Please wait for a few minutes.
(9) The [Windows Security] screen will appear momentarily.
Click on [Install] to install the [Plotter Driver].
(10) Click on [OK] to reboot your computer.
After rebooting your computer, follow the below procedures to
connect the USB cable.
(11) Ensure that the Plotter's power is turned off ("O" position).
Connect the power cable.
(12) Connect the USB cable.
Connect to your computer.
Connect to the Plotter.
(13) Turn on the Qe6000 unit.
(14) Click on this message.
(15) Click on [Skip obtaining driver software from Windows Update].
(16) Click on [Yes] again.
(17) Click on [Close].
This concludes the installation of the driver software.
Install User's Manual
Follow the below procedures to install the Qe6000 User's Manual
(PDF format). Adobe Reader must be installed on your computer in
order to read the manual.
(1) Click on [Install User's Manual] button in the [Start] screen to
display the following screen.
Click on [Next] to install the User's Manual.
(2) When this screen appears, click on [Finish].
This concludes the installation of the [User's Manual].
The newly-installed [User's Manual] will be registered under your
Windows Start Menu.
621640310
Advertisement
Table of Contents

Related Manuals for Vinyl Express Qe6000

Summary of Contents for Vinyl Express Qe6000
- Page 1 After starting up Windows, insert the [USER GUIDE & SOFTWARE SETUP MANUAL CD] provided with the Qe6000 into your computer's CD drive. The below screen will appear before the Start Menu launches. Continue with installation in accordance with the following procedures.
- Page 2 Caution Simple mode/Normal mode (3) Push the tip of the roll media forward from the back of the Qe6000. Loading Sheet Media You can use the [SIMPLE] key on the default screen to switch between To avoid bodily injury, always handle the cutter blade with caution.
Need help?
Do you have a question about the Qe6000 and is the answer not in the manual?
Questions and answers