Table of Contents
Advertisement
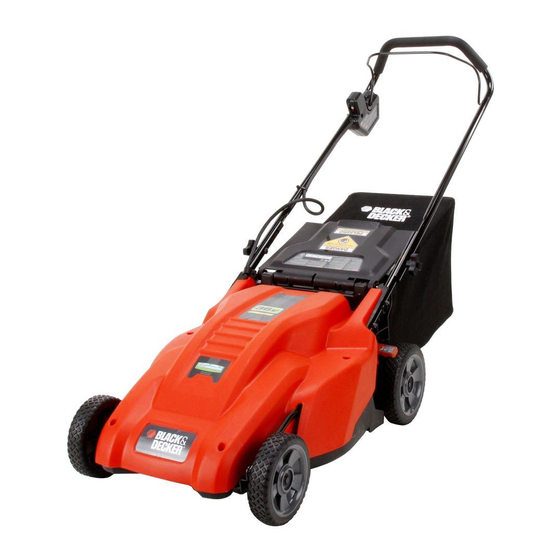
18 Inch (457mm) Cordless Mulching / Rear Bag Mower
Catalog Number
CM1836
Date Code:
Go to www.BlackandDecker.com/NewOwner to register your new product.
P P L L E E A A S S E E R R E E A A D D B B E E F F O O R R E E R R E E T T U U R R N N I I N N G G T T H H I I S S P P R R O O D D U U C C T T F F O O R R A A N N Y Y R R E E A A S S O O N N : :
If you have a question or experience a problem with your Black & Decker purchase, go to
If you can't find the answer or do not have access to the internet, call 1-800-544-6986 from 8 a.m. to 5 p.m. EST Mon. -- Fri. to speak with an agent.
KEY INFORMATION YOU SHOULD KNOW:
• Do not operate mower unless handle is locked into position.
• For best cutting results, keep blade sharpened and balanced.
• Inspect and thoroughly clean your mower after each use (a deck with caked grass will degrade performance).
• Make sure mowing area is clear of other persons or pets prior to starting and during operation.
INSTRUCTION MANUAL
Thank you for choosing Black & Decker!
Please have the catalog number available when you call.
SAVE THIS INSTRUCTION MANUAL FOR FUTURE REFERENCE.
INSTRUCTIVO DE OPERACIÓN, CENTROS DE SERVICIO Y PÓLIZA DE GARANTÍA.
VEA EL ESPAÑOL EN LA CONTRAPORTADA.
ADVERTENCIA: LÉASE ESTE INSTRUCTIVO ANTES DE USAR EL PRODUCTO.
HTTP://WWW.BLACKANDDECKER.COM/INSTANTANSWERS
for instant answers 24 hours a day.
Advertisement
Table of Contents

Related Manuals for Black & Decker CM1836


Summary of Contents for Black & Decker CM1836
-
Page 1: Instruction Manual
18 Inch (457mm) Cordless Mulching / Rear Bag Mower INSTRUCTION MANUAL Catalog Number CM1836 Date Code: Thank you for choosing Black & Decker! Go to www.BlackandDecker.com/NewOwner to register your new product. P P L L E E A A S S E E R R E E A A D D B B E E F F O O R R E E R R E E T T U U R R N N I I N N G G T T H H I I S S P P R R O O D D U U C C T T F F O O R R A A N N Y Y R R E E A A S S O O N N : : HTTP://WWW.BLACKANDDECKER.COM/INSTANTANSWERS... -
Page 2: Safety Guidelines - Definitions
It is important for you to read and understand this manual. The information it contains relates to protecting YOUR SAFETY and PREVENTING SAFETY GUIDELINES - DEFINITIONS PROBLEMS. The symbols below are used to help you recognize this information. Indicates an imminently hazardous situation which, if not avoided, will result in death or serious injury. DANGER: Indicates a potentially hazardous situation which, if not avoided, could result in death or serious injury. -
Page 3: Slope Operation
15. Disengage the drive system, if so equipped, before starting the motor. 16. If the mower should start to vibrate abnormally, release the bail handle, wait for the blade to stop and remove the safety key then check for the cause immediately. Vibration is generally a warning of trouble. 17. - Page 4 • USE OF EXTENSION CORDS Make sure the extension cord is in good condition before using. Always use the proper size extension cords with the tool – that is, proper wire size for various lengths of cord and heavy enough to carry the current the tool will draw. Use of an undersized cord will cause a drop in line voltage resulting in loss of power and overheating.
-
Page 5: Functional Description
FUNCTIONAL DESCRIPTION 1.) Safety key/charging port 2.) Bail Handle (Switch lever) 3.) Handle adjustment bolts 4.) Handle storage knobs 5.) Grass bag 6.) Cut height adjustment lever... - Page 6 PREPARATION PLEASE REFER TO DIAGRAMS (A, B, C...) AND ITEM NUMBERS (1, 2, 3...) AS NOTED THROUGHOUT MANUAL. FOR EXAMPLE, A-1 REFERS TO ITEM 1 IN FIGURE A. UNPACKING - (FIGURES A1, A2) STEP1: Open the top flaps of the box. Carefully cut down the sides of the box on the opposite end of the handle and fold the flap down as shown.
- Page 7 ASSEMBLY Tools required for assembly: Adjustable or 1/2 inch (13mm) wrench HANDLE ASSEMBLY - (FIGURE B) 1. Insert the lower handle tube and align the round holes in the lower handle section (B1) with the two threaded studs (B2) in the side wall of the deck.
- Page 8 • A fully charged battery can be safely stored down to -40°C (-40°F). • The battery is maintenance free. • The battery is intended for use in the CM1836 mower only and should not be used for any other purpose. CHARGER SAFETY RULES 1.
-
Page 9: Operation
CHARGING PROCEDURE- FIGURES F & G 1. Remove safety key F-1. 2. Align the charger plug F-2 with the arrow F-4 on top and insert the charger plug into the receptacle F-3 on the mower (green terminal to green terminal, white terminal to white terminal). The charger connector can only be plugged into the mower receptacle one way. 3. - Page 10 ON-OFF SWITCH (BAIL HANDLE) - FIGURE H Your mower is equipped with a special on-off switch system. To operate the system, first push button H-1 on side of switch housing, then pull the bail handle (switch lever) H-2 to the handlebar H-3.To turn the mower off, just release the bail handle.
-
Page 11: Maintenance
4. Position the grass catcher hanger hooks K-4 on the mower as shown in figure K. Release the rear discharge door. Sharp moving blade. Never operate the mower unless the hanger hooks on the grass catcher are seated properly on the mower DANGER: and the rear discharge door rests firmly against the top of the grass catcher as serious injury could result. -
Page 12: Blade Sharpening
REMOVING AND INSTALLING BLADE - FIGURE L 1. RELEASE BAIL HANDLE TO TURN MOWER OFF, WAIT FOR THE BLADE TO STOP, AND REMOVE SAFETY KEY. 2. Cut a piece of 2x4 wood L-1 (about 2 feet long) (610 mm) to keep blade from turning while removing flange nut. -
Page 13: Blade Balancing
BLADE BALANCING Check balance of blade by placing center hole in blade P-1 over a nail or round shank screwdriver P-2, clamped horizontally in a vise P-3. If either end of the blade rotates downward, file that end. Blade is properly balanced when neither end drops. -
Page 14: Service Information
Accessories Recommended accessories for use with your mower are available from your local dealer or authorized service center. If you need assistance regarding accessories, please call: 1-800-544-6986 WARNING: The use of any accessory not recommended for use with this tool could be hazardous. p/n 90550646 MULCH INSERT p/n 242867-00 SIDE DISCHARGE CHUTE p/n 242501-05 REPLACEMENT GRASS BAG... -
Page 15: Troubleshooting Guide
TROUBLE SHOOTING GUIDE PROBLEM SOLUTION Mower doesnʼt run when bail handle A. Check to make sure safety key has been installed and is fully seated and that button on switch housing is being completely depressed. is activated. B. Release bail handle to turn mower off. Remove safety key, turn mower over and check that blade is free to turn.
Need help?
Do you have a question about the CM1836 and is the answer not in the manual?
Questions and answers
How do you get the adapter into the receptacle on the mower for charging the mower? It has 2 little round tubes on the inside of the adapter but on the receptacle there is no round anything that fits. Page 9 in the manual is of no help to address this issue.
To connect the charger adapter to the receptacle on the Black & Decker CM1836 mower:
1. Remove the safety key.
2. Align the charger plug with the arrow on top.
3. Insert the charger plug into the receptacle on the mower, matching green terminal to green terminal and white terminal to white terminal.
4. Plug the charger's 120-volt plug into a wall outlet.
5. Ensure the red light on the charger turns on to indicate charging.
This answer is automatically generated