Advertisement
Quick Links
Other fantastic products in the
Flight Command range include:
Interplay on the web!
To get all the latest news,
information and teachers notes
about Interplay's wide range of
products, visit:
www.interplayuk.com
Made in China
Designed and distributed in the UK by
Interplay UK Limited,
Unit D, Meter House, Fieldhouse Lane,
Marlow, Bucks SL7 1LW
Customer Services tel. 01628 488525
Please retain our address for future reference.
Manual designs and written material
©Interplay UK Limited 2008
Technokits™ and Flight Command™
are trademarks of Interplay UK Ltd.
Original design by
Goldstein Hovercraft LLC
www.GoHover.com
TS304 v1.0 2008
+
+
Build your own
working models
www.interplayuk.com
Build & Fly!
Advertisement

Summary of Contents for Interplay Hovercraft
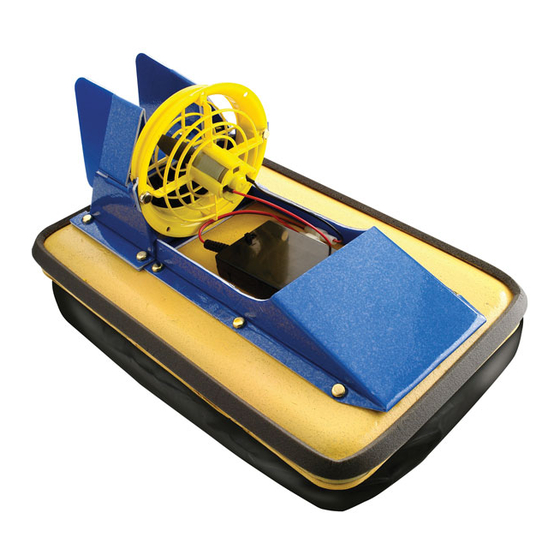
- Page 1 Please retain our address for future reference. Manual designs and written material ©Interplay UK Limited 2008 Build your own Technokits™ and Flight Command™ working models are trademarks of Interplay UK Ltd. Original design by Goldstein Hovercraft LLC www.interplayuk.com www.GoHover.com TS304 v1.0 2008...
-
Page 2: Important Safety Information
The Battery Box: Open and close the instructional material for future reference. rings, care should be taken to battery box using a suitable screwdriver. Original design by Goldstein Hovercraft LLC avoid fingers or loose objects When connecting the battery box to www.GoHover.com... - Page 3 Then... You will be ready to experiment! any beach in the world. Hovercraft are also You can build your own designs of hovercraft, 4 x Polythene tube used just to have fun. Your model hovercraft making you own bodywork from thin is styled on a racing hovercraft.
-
Page 4: Flying Saucer
& loop fastener, you assemble the hovercraft, and will make Carefully insert the fan assembly into the your hovercraft look better. If you do split with the switch uppermost. hole in the polystyrene tray, making sure... - Page 5 If you do split one of these fold lines, it can be repaired using Sellotape.
- Page 6 Holding the cabin with the shiny side Fold in each leg of the rudder assembly, downwards, fix the cabin to the tray through fastening each leg with a paper fastener at the 3 dimpled hole markings in the front the top and another at the bottom. Spread of the tray.
- Page 7 Peel the backing tape from the self-adhesive foam strip and, starting from the rear of your hovercraft, carefully stick the tape to the Peel the backing paper off one of the self outer perimeter of the tray, so that it acts adhesive ‘hook-and-loop’...
- Page 8 Turn the tray or hovercraft upside down, dog! You can stow the string in the cabin if position the end of polythene tube as you want the hovercraft to fly free, and you Fitting a skirt to shown, and fix in position with a paper...
- Page 9 This rear fan is now called the “thrust” fan. When you switch on your hovercraft, the...
- Page 10 Connect the fan assemblies to the battery boxes, and your hovercraft is now ready to fly! As with the single engine hovercraft, it is a good idea to adjust the “trim” of the As on the single engine hovercraft, the...


Need help?
Do you have a question about the Hovercraft and is the answer not in the manual?
Questions and answers