
Related Manuals for rainforest EAGLE


Summary of Contents for rainforest EAGLE
-
Page 1: User Manual
EAGLE™ Energy Access Gateway Link to Ethernet User Manual Version 2.10_bch Nov 2014... - Page 2 Rainforest Automation may have patents, patent applications, trademarks, copyrights, or other intellectual property rights covering subject matter in this document. Except as expressly provided in any written license agreement from Rainforest Automation, the furnishing of this document does not give you any license to these patents, trademarks, copyrights, or other intellectual property.
-
Page 3: Table Of Contents
Regulatory information ....................4 Quick Setup ........................5 Step 1: Prerequisite software and hardware ..............5 Step 2: Power up the EAGLE™ ................... 5 Step 3: Connect to the EAGLE™ ................5 Features of Your EAGLE™ ................... 7 Introduction to Your EAGLE™ ..................8 EAGLE™... -
Page 4: Regulatory Information
EAGLE™ User Manual Regulatory information FCC Notices This device complies with part 15 of the FCC Rules. Operation is subject to the following two conditions: (1) This device may not cause harmful interference, and (2) this device must accept any interference received, including interference that may cause undesired operation. Changes or modifications not expressly approved by the manufacturer could void the user’s authority to... -
Page 5: Quick Setup
Step 3: Connect to the EAGLE™ You should now be able to connect to your EAGLE™ using a web browser. The computer running the web browser must be connected to the same router as the EAGLE™, and the computer must also be running multicast Domain Name... - Page 6 EAGLE™ User Manual The Local Web Address of the EAGLE™ can be found on the Information Label that is on the underside of the unit. Local Web Address Simply type this address into the URL field of your web browser and connect.
-
Page 7: Features Of Your Eagle
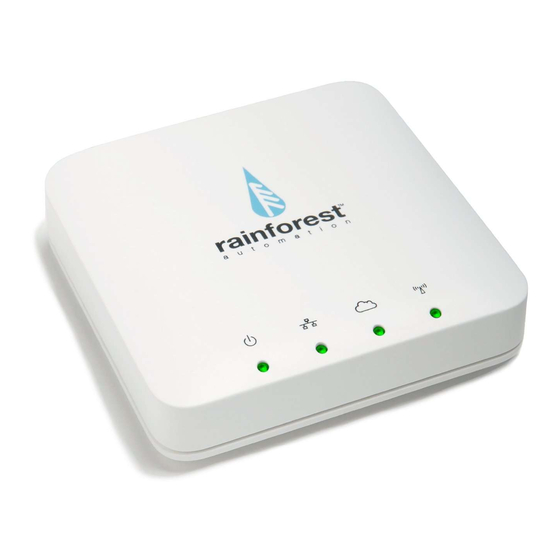
EAGLE™ User Manual Features of Your EAGLE™ Status LED Lights Information Keyholes for Label Wall Mount Hardware Ports... -
Page 8: Introduction To Your Eagle
This will help you take control of your usage, and allow you to save energy and lower your utility bills. It’s easy to get started: just plug in your EAGLE™ and connect to it with your web browser. Your EAGLE™ has a built-in web server that provides a simple Web Viewer that you can use to see your smart meter data. -
Page 9: Eagle™ Status Led Lights
EAGLE™ User Manual EAGLE™ Status LED Lights Your EAGLE™ has four LED lights at the front of the top of the device. These lights give you a quick way to check the status of your device. Power LED – shows that the device is powered on. It should always be on when the unit is plugged in. -
Page 10: Eagle™ Hardware Ports
This should be plugged in first before plugging the power in. USB – this socket can be used to expand the functions of the EAGLE™. Nothing should be plugged into this socket. -
Page 11: Understanding The Information Label
Ethernet Area – This area in the middle of the label has two fields: o Local: the local URL, or Local Web Address of your EAGLE™, which is used to find it on your Local Area Network (LAN) using your web browser. -
Page 12: Web Viewer Functions
EAGLE™ User Manual Web Viewer Functions The EAGLE™ Web Viewer has four Function Buttons down the right side. These buttons can be used to see more detailed information, such as historical data and status details, as well as allowing you to control configuration settings. - Page 13 EAGLE™ User Manual There are two display modes: Current Usage, shown above, displays the rate at which you are consuming energy in kilowatts. This is shown as a self-scaling meter graph with a number below. Meter Reading, shown below, displays the raw, total accumulated electricity usage reading in kilowatt-hours from the smart meter.
- Page 14 Below this is the “Fast Update” button. Clicking this button will cause your EAGLE™ to ask the meter for faster updates. Once this is done, the faster rate will be in effect for 60...
-
Page 15: History Button
EAGLE™ User Manual History Button Clicking the History button takes you to a page that can display graphs of your historical usage. There are two display modes that you can select from the dropdown menu in the bottom left corner of the screen: ... - Page 16 Beneath the bottom right hand corner of the graph is the download symbol: Click this to download the raw data from the EAGLE™ database for the time period of the current graph. The data will be in a CSV file, which can be opened with a...
-
Page 17: Messages Button
EAGLE™ User Manual Messages Button Clicking the Messages button takes you to a page that can display text messages sent to you by your utility. 08/17/2012 8:00 pm Very hot weekend predicted. Demand will be high. Please try to moderate usage. -
Page 18: Settings Button
EAGLE™ User Manual Settings Button Clicking the Settings button takes you to the main “Settings” page. This page contains several “collapsed” bars representing sub-pages. Each bar contains summary status information about that sub-page, and will expand to a full separate screen when selected. -
Page 19: Eagle Sub-Page
User Manual EAGLE Sub-Page Expanding the EAGLE status bar on the Settings page brings up the EAGLE sub-page. This sub-page is used to configure the Time Zone, Language, and adjust price settings. Time – Select the time source, either “From Internet” (default), or “From Meter” (if no internet connection available). -
Page 20: Internet Sub-Page
Expanding the Cloud status bar on the Settings page brings up the Cloud sub-page. This sub-page is used to configure your EAGLE™ to stream your real time smart meter data to an internet cloud service. Select the cloud service you want from the drop-down... -
Page 21: Smart Meter Sub-Page
EAGLE™ and the smart meter. Clicking the “Disconnect” button in the lower right corner terminates the connection to the smart meter. The meter will not talk to the EAGLE™ again until it is re-provisioned by the utility. This function can be used to move the EAGLE™ to a different meter. -
Page 22: Advanced Settings Page
EAGLE™ User Manual Advanced Settings Page Clicking the gear icon in the lower right corner of the EAGLE sub-page brings up the Advanced Settings page. This page provides information about your EAGLE™ hardware and firmware, and lets you set some network configuration options. - Page 23 EAGLE™ User Manual EAGLE™ again until it is re-provisioned by the utility. This function should only be used if absolutely required.
-
Page 24: Connecting To A Cloud Service
“Manual”. This will cause a new “Enter URL” field to appear. You can enter the internet address to any server that understands the EAGLE™ Uploader RESTful interface. This interface is documented in the EAGLE™ Uploader API Manual, which can be found on our Developer Portal: http://rainforestautomation.com/developer. -
Page 25: Connecting To Bidgely
EAGLE™ User Manual Connecting to Bidgely Set up the EAGLE™ upload server 1) In the Cloud sub-page, select “Bidgely” from the drop-down menu for “Provider”. 4) Click the “Set Cloud” button. Get a Bidgely account 1) Open another window in your web browser and go to bidgely.com. Click on 'sign up' at the top right of the page: You will see the “How to Get Started”... - Page 26 8) Click the “Test Connection” button. 9) You will see a dialog box indicating that the connection between your Bidgely account and your EAGLE™ is being tested. It may take a few minutes to get a GOOD result. View your Bidgely data...
-
Page 27: Connecting To Wattvision
Google home page (www.google.com), and click the “Sign in” button in the top right corner. Then click the red “SIGN UP” button in the top right corner, and follow the directions. 10) Open another window in your web browser and go to www.wattvision.com/partners/rainforest. Click on the big green 'Sign in to Wattvision”... - Page 28 0012cd In the “Cloud ID” field, enter: the 6-digit Cloud ID found on the Information Label on the underside of the EAGLE™. Then click the big green “Connect Rainforest to Wattvision” button. You should then see the “My House” screen:...
- Page 29 EAGLE™ User Manual View your Wattvision data Click the “Live” tab in the “My House” screen to see your near real time data:...
-
Page 30: Troubleshooting Guide
If you are not using an Apple computer, check that you have installed mDNS, or Bonjour for windows: http://support.apple.com/kb/DL999 e. If none of the above work, find the IP address of the EAGLE™ by logging into your router and locating the EAGLE™ on the network. Entering this IP address into your browser will connect you to the EAGLE™. -
Page 31: Technical Support
EAGLE™ User Manual Technical Support Contact us at: http://support.rainforestautomation.com...
Need help?
Do you have a question about the EAGLE and is the answer not in the manual?
Questions and answers