Sign In
Upload
Download
Table of Contents
Contents
Add to my manuals
Delete from my manuals
Share
URL of this page:
HTML Link:
Bookmark this page
Add
Manual will be automatically added to "My Manuals"
Print this page
×
Bookmark added
×
Added to my manuals
Manuals
Brands
Philips Manuals
LCD TV
Brilliance 241P6
User manual
Philips Brilliance 241P6 User Manual
Hide thumbs
Also See for Brilliance 241P6
:
User manual
(45 pages)
,
User manual
(38 pages)
1
Table Of Contents
2
3
4
5
6
7
8
9
10
11
12
13
14
15
16
17
18
19
20
21
22
23
24
25
26
27
28
29
30
31
32
33
34
35
36
37
38
39
40
41
42
43
44
45
46
47
48
49
50
51
52
53
page
of
53
Go
/
53
Contents
Table of Contents
Troubleshooting
Bookmarks
Table of Contents
Table of Contents
1 Important
Safety Precautions and Maintenance
Notational Descriptions
Material
2 Setting up the Monitor
Installation
Operating the Monitor
Remove the Base Assembly for VESA Mounting
MHL (Mobile High-Definition Link) Introduction
3 Image Optimization
Smartimage
Smartcontrast
Philips Smartcontrol Premium
Smartdesktop Guide
4 Powersensor
5 Lightsensor
6 Built-In Webcam with Microphone
7 Technical Specifications
Resolution & Preset Modes
8 Power Management
9 Regulatory Information
10 Customer Care and Warranty
Philips' Flat Panel Monitors Pixel Defect Policy
Customer Care & Warranty
11 Troubleshooting & Faqs
Smartcontrol Premium Faqs
Disposal of Product and Packing 11.3 General Faqs
Advertisement
Quick Links
1
Table of Contents
2
Installation
3
Setting up the Monitor
4
Operating the Monitor
5
Powersensor
6
Built-In Webcam with Microphone
7
Technical Specifications
8
Resolution & Preset Modes
Download this manual
www.philips.com/welcome
EN User manual
Customer care and warranty
Troubleshooting & FAQs
1
41
46
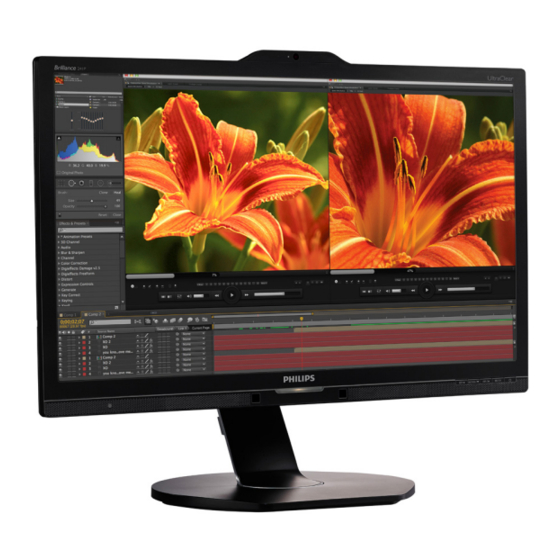
241P6
241B6
Table of
Contents
Previous
Page
Next
Page
1
2
3
4
5
Advertisement
Table of Contents
Need help?
Do you have a question about the Brilliance 241P6 and is the answer not in the manual?
Ask a question
Questions and answers
Related Manuals for Philips Brilliance 241P6
Monitor Philips Brilliance 241P6 User Manual
(45 pages)
Monitor Philips Brilliance 241P6EPJEB/00 User Manual
(38 pages)
Monitor PHILIPS 231P4 User Manual
Brilliance monitor (51 pages)
Monitor Philips 231S4 User Manual
(41 pages)
LCD TV PHILIPS 24PW6322 Brochure
Widescreen television (18 pages)
LCD TV Philips 32PFL4508/F8 Quick Start Manual
Philips 4000 series led tv 32pfl4508 32" class/po (9 pages)
LCD TV Philips 32PFL4508/F8 User Manual
Philips 4000 series led tv 32pfl4508 32" class/po (38 pages)
LCD TV Philips 39PFL4208/F8 User Manual
Philips 4000 series led tv 39pfl4208 39" class/po (38 pages)
LCD TV Philips 32PFL5657/V7 Service Manual
(58 pages)
LCD TV Philips 24PHT4031/05 User Manual
(60 pages)
LCD TV Philips 22PFS5303 How To Upgrade The Software
(9 pages)
LCD TV Philips 24PFS5231 User Manual
(65 pages)
LCD TV Philips 24HFL3014 User Manual
(43 pages)
LCD TV Philips 22PFL5637/V7 User Manual
(29 pages)
LCD TV Philips 24PHG4032/77 User Manual
(45 pages)
LCD TV Philips 32PHS6808/60 Service Manual
Tpn23.7e la chassis (83 pages)
This manual is also suitable for:
Brilliance 241b6
231s4
241s6
Table of Contents
Print
Rename the bookmark
Delete bookmark?
Delete from my manuals?
Login
Sign In
OR
Sign in with Facebook
Sign in with Google
Upload manual
Upload from disk
Upload from URL


Need help?
Do you have a question about the Brilliance 241P6 and is the answer not in the manual?
Questions and answers