Advertisement
ACU-HEAT
Installation and
Owners manual
For the following HEATER model numbers:
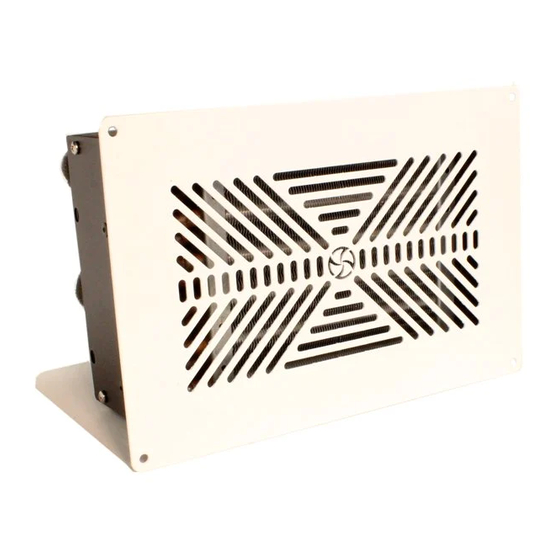
100H, 200H, 300H, 400H, 500H, 700H and 900H
Series Hydronic Heaters
Approximate Installation Time: 3-5 Hours
Tools Required:
#2 Phillips Screw Driver; Power Drill; 7/64" Drill Bit; 1"-4" Hole Saw; Jig Saw;
Hose Cutter; Wire Crimper; Teflon Plumbers Tape; Marine Sealant; Pencil.
cover
Advertisement
Table of Contents

Summary of Contents for Heater Craft 100H Series
- Page 1 ACU-HEAT Installation and Owners manual For the following HEATER model numbers: 100H, 200H, 300H, 400H, 500H, 700H and 900H Series Hydronic Heaters Approximate Installation Time: 3-5 Hours Tools Required: #2 Phillips Screw Driver; Power Drill; 7/64" Drill Bit; 1"-4" Hole Saw; Jig Saw; Hose Cutter;...
-
Page 2: Operation Warning
Information pertaining to the installation, operation, and/or maintenance of this product that you should pay special attention to. Heater Craft will not be held liable for any accidental damage to persons and/or property resulting from any installation not completed within the specified guidelines started herein. -
Page 3: Heater System
They can be secured with a plastic tie. 3. Route and secure the heater water/coolant hoses between the heater unit location and the hot water source. Heater Craft 6672 Boekel Road Rathdrum, ID 83858 Phone: (208) 687-4400 Fax: (208) 687-9700 www.heatercraft.com... - Page 4 4. Cut the water/coolant hoses to length, attach with hose clamps, and secure in place. Note – Fasten the hose clamps near the end of the hose to prevent the hose end from "mushrooming" and to prevent coolant leakage. Heater Craft 6672 Boekel Road Rathdrum, ID 83858...
-
Page 5: Heater Installation
Install them in areas that are protected from damage from gear or persons. 2. Drill or cut the proper size hole to match the vents that you are using. Heater Craft Vents: H-504, Directional Euro Vent – use 3" hole saw. - Page 6 2. Route the Black wire to a ground source and attach. 3. Route the fan wire to the fan switch and attach. Heater Craft Switches E-112 Switch and E-113 Mounting plate. 1. Locate a place to install the heater fan switch.
-
Page 7: Testing The Installation
Questions regarding winterization please call Technical support (208) 687-4400 or log on www.heatercraft.com and fill out a technical support request form and a qualified Heater Craft represenative will be in contact within 24 hours. -
Page 8: Optional Equipment
Optional Equipment H415 In-line Circulation Pump 1. Locate and mount the pump. Note – Do not mount he pump into bilge, or any location where it may become submerged. The warranty for the pump will be void if, upon disassembly, we determine that the pump has been submerged in water for any length of time. - Page 9 Note – The The hose clamps should be fastened near the end of the hose to prevent the hose end from "mushrooming" and to prevent coolant leakage. 5. Proceed to "Testing The Installation" section. Heater Craft 6672 Boekel Road Rathdrum, ID 83858...
-
Page 10: Frequently Asked Questions
Frequently Asked Questions Why does my heater cool down when I'm idling? Open cooling system – The majority of applications have an open cooling system. This means that there is no pressure in the system. The water pressure is created by the engine's circulation pump. - Page 11 This warranty is Heater Craft's only express warranty of this product. No implied warranty shall extend beyond (2) two years from the date of the original consumer purchase. Heater Craft will not be liable for any damages, for loss of use of this product, nor for any consequential damages, costs or expenses.