
Summary of Contents for DNA MA3
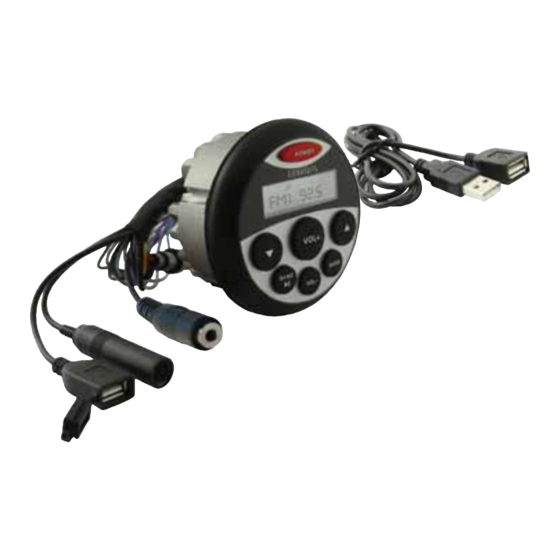
- Page 1 MARINE USB/MP3 PLAYER WITH AM/FM TUNNER Instruction Manual + AUX 3.5MM INPUT 160W 4 x 40Watt MAX POWER www.dnaaudio.com.au...
-
Page 2: Table Of Contents
Radio Tuner, USB and AUX Input Operation..…........…7 Settings and Specifications....……………..……..…..……..…8 Troubleshooting....…..…...…..….......9 Warranty....…………........……......…10 Thank you for purchasing this DNA Designer Audio product. It is designed to give you many years of enjoyment. DNA Designer Audio recommends installation by a professional installer. Read all instructions fully before installation. -
Page 3: Installation
Installation 1. Before Starting Read instructions and the precautions on page 2 2. Installing The Unit 70 mm 70 mm... - Page 4 Installation 6.35 mm...
-
Page 5: Wiring Diagram
Wiring Diagram WIRE CONNECTION DIAGRAM REAR VIEW 3.5mm AUX IN Blank Ground Purple Purple/Black... -
Page 6: General Operation
General Operation Press this power button to turn the unit on or off. Short press the power button to mute. Long press the power button to turn the unit off. Press this button to increase the volume. Press this button to play previous track or previous AM/FM step.In AM/FM mode, press and hold this button to search previous strong signal station. -
Page 7: Radio Tuner, Usb And Aux Input Operation
USB Operation Connecting a USB Device (sold separately) Play MP3 files from many mass storage devices by connecting them to the MA3 USB port. Playing Music When a USB device is first connected, playback will begin automatically. Depending on the number of files and folders, the device may take several seconds to begin playback. -
Page 8: Settings And Specifications
Settings & Specifications Additional Settings Setup Menu Press and hold the MODE button for more than 3 seconds to access the set up menu. Press the MODE button momentarily to select between the menu functions and push the volume to adjust the following functions. Bass Press the mode button until BAS appears. -
Page 9: Troubleshooting
Troubleshooting ISSUE OPTIONS Cause: Yellow/red wire not connected or incorrect voltage Action: Check connections for proper voltage (11~16VDC) Unit will not turn Cause: Black wire not connected on (no power) Action: Check connection to ground Cause: Fuse blown Action: Replace fuse Cause: Speaker wires not connected Action: Check connections at speakers Unit has power... -
Page 10: Warranty
Warranty Warranty Policy SPL Wholesale Pty Ltd warrants your new product to be free from defects in materials and workmanship for twelve (12) months, from the date of purchase, provided that the product is used in accordance with accompanying recommendations or instructions where provided. - Page 11 Warranty How to Make a Claim This warranty against defects is provided by SPL Wholesale Pty Ltd (A.C.N. 092 024 523), 74 Barrie Road, Tullamarine, Victoria, 3043 Phone: (03) 9330 3588. If a defect in the goods appears within the warranty period, contact the retailer from where you have purchased the goods and ask that retailer to contact SPL Wholesale Pty Ltd regarding a warranty claim that you would like to make.
- Page 12 www.dnaaudio.com.au...
Need help?
Do you have a question about the MA3 and is the answer not in the manual?
Questions and answers