Advertisement
Advertisement
Table of Contents

Subscribe to Our Youtube Channel
Related Manuals for Lastolite lumen 8


Summary of Contents for Lastolite lumen 8
- Page 1 User Manual...
- Page 2 Main Body and Front end Standard Reflector Reflector Release Button Slave Cell Lighting Stand Clamp Clamp Screw Umbrella Clamp Screw Protector Cap Umbrella Clamp Reflector/Umbrella Slot Inner Reflector Flash Tube Reflector Bayonet Slot Safety Lamp Holder...
- Page 3 Panel Controls Mains Power Socket Beeper/Sounder On Fuseholder & Fuses Flash Test Button Power On/Off Ready-to-Fire Indicator Modelling Lamp On Flash/Modelling Power Modelling Lamp Full Sync. Lead Socket Slave Cell On...
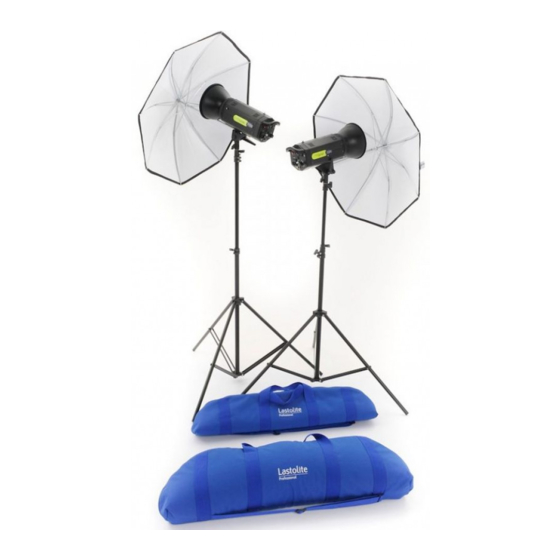
- Page 4 Fitting The Unit To a Light Stand It is recommended that the F200/F400 be used with medium-weight lighting stands with standard 16mm male spigots. The stands must be stable when fitted with the unit and reflectors, umbrellas or soft-boxes and when they are extended to full height. If the stand and unit fall over, severe damage to the flash-unit is likely.
- Page 5 Reflector Fitting If a Protector Cap is fitted, it must be removed before the unit is switched on. Remove the cap by turning it anti-clockwise until the cap bayonets can be lifted out of the reflector bayonet slots (the Reflector Release Button may have to be slid back). NEVER OPERATE THE LAMP OR THE FLASH WHILE THE PROTECTOR CAP IS FITTED.
- Page 6 Modelling Lamp Replacement and Use The F200/400 units are fitted with high temperature ES safety lamp sockets which are designed to reduce the possibility of injury due to electrical shock. The following precautions are still required when fitting a lamp: The lamp rating must be a maximum of 275Watt 220-250V Double-envelope, 230/250W, Halostar-type ES lamps are recommended.
- Page 7 Panel Controls - 1 With all panel switches in the down position (off), connect the mains by pushing the mains lead plug firmly into the panel mains socket. Push the Power switch up to the on position; the Ready indicator will light showing that the unit is ready to flash.
- Page 8 Panel Controls - 2 The Power Control is used to select the flash power output of the unit; it also controls the modelling lamp dimming when the Full switch is in the off position. Minimum power, 1/32, is selected with the control fully anticlockwise. In this position the flash power is at the lowest level and the lamp is at its dimmest.
- Page 9 Panel Controls - 3 With all panel switches in the down position (off), connect the mains by pushing the mains lead plug firmly into the panel Mains Socket. Use only the supplied approved lead, do not use a mains lead of lower power. A moulded lead matched to your mains outlet socket will be supplied.
-
Page 10: Fuse Replacement
Fuse Replacement The F200/400 fuse protects the unit from further damage after a component malfunction. In many cases, the cause of a fuse blowing may simply be a modelling lamp failure. Some lamps temporarily short-circuit when they fail causing the unit's fuse to blow; there may then be no other malfunction in the unit. - Page 11 Lastolite Lastolite Lumen8 F200 Lumen8 F400 Stored Energy 200 w/s 400 w/s Guide Number (m/100iso) Recycling Time (100%) 0.3 ~ 0.9 sec 0.4 ~ 1.6 sec Flash Duration 1/700 ~ 1/1700 sec 1/700 ~ 1/1700 sec Flash Power Full ~ 1/32nd...
Need help?
Do you have a question about the lumen 8 and is the answer not in the manual?
Questions and answers