Table of Contents
Advertisement
Quick Links
It is very important that the time on the
clocks be correct. Make sure you
synchronize all of your clocks to the time
on your computer by pressing the
Synchronize button.
Since it is hard to tell which clock is which
from the IP address, we suggest you enter
a description for each clock. This way if
one is not found because its power was
disconnected you will be able to tell which
one is missing.
Click Next and then Finish to exit the
Wizard.
11. Create Employees
Click on the Employees button on the tool
bar. On this screen, add an employee. Use
the online help for more information about
the Employee screens.
When you set up this employee, use the
number off of one of the badges in the Badge
Number field. We will use this employee to
test the hardware
Now that you have a group, department and
an employee you can test the clocks.
12. Clock Interface
Open the clock interface by clicking on the
Clocks button on the toolbar. Use the
badge you just set up on a clock. You may
have one of these Wasp Clocks
1100 Barcode – To use the cards
with this clock the barcode must face
down and the edge of the card that the bar
code is closest to must be toward the
clock. Place the card in one end of the slot
on the clock and slide it to the other end. If
the card is read successfully it will beep
and display the badge number. Sliding too
slow or too fast may cause a bad read.
2100 Magnetic Stripe – To use
these cards, the black stripe must face
down and the edge of the card that the
stripe is closest to must be toward the
clock. Place the card in one end of the slot
on the clock and slide it to the other end. If
the card is read successfully it will beep
and display the badge number. Sliding too
slow or too fast may cause a bad read.
3100 RFID Proximity – To use
these cards, the card must be moved to
within 3 inches of the front of the clock.
The angle and approach of the card will
effect the read distance.
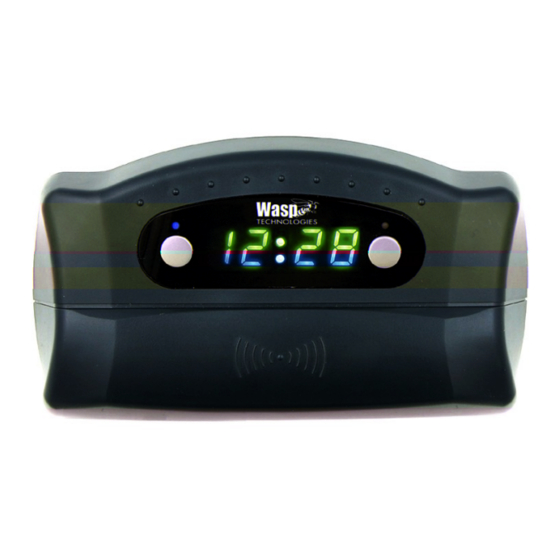
On each clock there are two buttons.
Pushing the buttons will display a red or
green light above the button. These
buttons have no effect on WaspTime or
card reading.
After using the badge on the clock to enter
a punch, click the download button on the
clocks window on the PC. You will see a
progress window and a note that tells you
how many punches were downloaded.
Close the Clocks window.
13. Timecard
Open the Timecard window by clicking on
the Timecard button on the tool bar. Select
the employee that was set up with the card
you used. You should see a time in the Shift
In row for today.
You have now successfully set up
WaspTime and a clock. Repeat any of these
steps that are needed to connect all the
clocks and to set up all the employees.
011615
#
WaspTime
Hardware
Quick Start
Guide
© 2005 Wasp Technologies
Advertisement
Table of Contents

Summary of Contents for Wasp WaspTime
-
Page 1: Quick Start
You have now successfully set up code is closest to must be toward the WaspTime and a clock. Repeat any of these clock. Place the card in one end of the slot steps that are needed to connect all the on the clock and slide it to the other end. - Page 2 WaspTime does not need to be running all reports and lists. Filtering helps reduce the Clock. One is a crossover cable. Use the of the time if you are using a Wasp Clock. time required to create. crossover cable only if connecting your...
Need help?
Do you have a question about the WaspTime and is the answer not in the manual?
Questions and answers