
Related Manuals for Pure-therapy Head & Eye Massager


Summary of Contents for Pure-therapy Head & Eye Massager
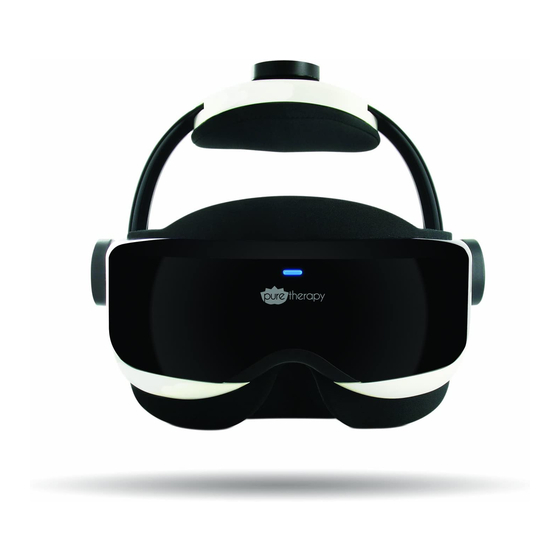
- Page 1 Instruction Manual Head & Eye Massager with Acupressure and Heat Compression www.pure-therapy.com...
-
Page 2: Safety Instructions
PLEASE READ BEFORE OPERATION WARNING: To reduce the risk of burns, fire, electric shock or injury to persons: Read the entire manual before use. To ensure safe and correct use, do not operate without carefully reading the operating manual and only use as described therein. •... -
Page 3: Table Of Contents
FEATURES TABLE OF CONTENTS SAFETY INSTRUCTIONS ................................2 WHAT’S INCLUDED ................................. 4 BUTTONS AND CONNECTIONS ..............................4 GETTING STARTED .................................. 5 FITTING THE MASSAGER ..............................6 POWERING ON ................................6 MASSAGE CONTROLS ................................7 AUTOMATIC MODE ................................7 MASSAGE TIMER ................................7 MUSIC FUNCTION ................................ -
Page 4: What's Included
WHAT’S INCLUDED FEATURES • Earphones • 4 AA Batteries • Power Adapter • Manufacturers Warranty Head and Eye Massage Unit Remote Instruction Manual • Lifetime Support BUTTONS AND CONNECTIONS Massage Unit Massage Unit 1. Top Fitting Knob 5. Side Fitting Knob 2. -
Page 5: Getting Started
BUTTONS AND CONNECTIONS Remote Control 1. Time Indicator 2. Mode Indicator 3. Air Pressure Intensity Indicator 4. Temperature Gauge Indicator 5. Music Selection Indicator 6. Vibration Intensity Indicator 7. Timer Function Button 8. Air Pressure Setting Button 9. Temperature Setting Button 10. -
Page 6: Fitting The Massager
FITTING THE MASSAGER To Fit the Massager to your Head: 1. Place the massager on your head with the eyeholes in front of your eyes. 2. Turn the fitting knobs on each side of the massager clockwise to tighten, or counterclockwise to loosen. -
Page 7: Massage Controls
MASSAGE CONTROLS FEATURES AUTOMATIC MODE About Automatic Mode: Figure 1 Figure 2 Figure 3 1. Turn the unit ON by pressing and holding the On/Off button (figure 1) for 2 seconds. 2. The massager will enter auto mode with a 15 minute timer, by default. 3. -
Page 8: Vibration Massage
VIBRATION MASSAGE To Adjust the Vibration Massage: 1. Turn the massager ON by pressing and holding the On/Off button (figure 1) for 2 seconds. Figure 1 Figure 2 2. The massager will enter auto mode with a 15 minute timer, by default. 3. -
Page 9: Air Pressure Release Button
AIR PRESSURE RELEASE BUTTON To Relieve Air Pressure: 1. During any massage that includes the Airbag massage mode, you may press and hold the Figure 1 Figure 2 Air Pressure Release button (figure 1) located on the front of the remote, which will immediately release the air pressure in the unit. -
Page 10: Additional Warnings
Read all instructions before using this appliance. When using an electrical appliance, basic precautions should always be taken, including the following: This appliance is intended for household use only. Caution • Do not use alcohol, caustic agents or detergents in the massager in order to avoid any damage, discoloring and/or splitting of the fabric •... -
Page 11: Warranty Information
Pure Therapy takes quality seriously. That is why our products come with a one year in-home labor warranty, a three year parts warranty and a five year structure warranty. If you are having any warranty or support issues, please contact a Pure Therapy representative using any of the following methods: Support: PURE THERAPY USA PURE THERAPY CANADA www.pure-therapy.com/support Website: www.pure-therapy.com 60 Industrial Parkway #Z64 4080 Montrose Road... -
Page 12: Notes
NOTES FEATURES...
Need help?
Do you have a question about the Head & Eye Massager and is the answer not in the manual?
Questions and answers