Table of Contents
Advertisement
Advertisement
Table of Contents

Related Manuals for Hobby 4 CH BlitzRCWorks Sky Surfer RC Trainer Airplane

Summary of Contents for Hobby 4 CH BlitzRCWorks Sky Surfer RC Trainer Airplane
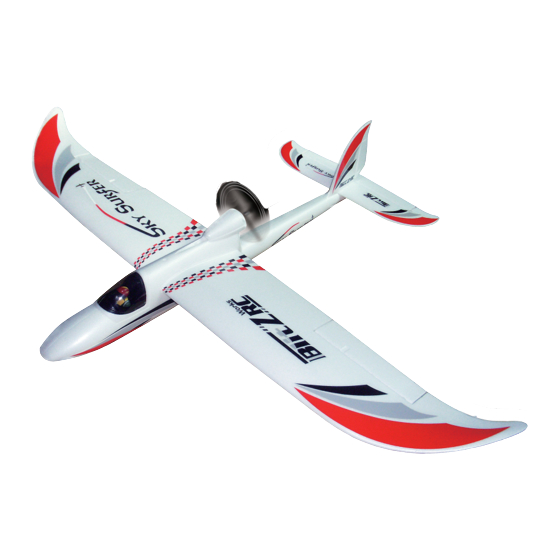
- Page 1 4 CH BlitzRCWorks Sky Surfer RC Trainer Airplane...
-
Page 2: Safety Precautions And Warnings
This is a sophisticated hobby product.It must be operated with caution and common sense and requires some basic mechanical ability.Failure to opera-te this product in a safe and responsible manner could result in injury or damage to the product or other property.This product is not children without direct adult supervision.Do not use with incompatible components or alter this product in any way contrary to... -
Page 3: Table Of Contents
C O N T E N T S Box Contents ................. . . 0 1 S p e c i f i c a t i o n s . -
Page 4: S P E C I F I C A T I O N
K) Wing Spar A) Fuselage F) Balance Charger L) Control Horn (4) B) Main Wings G) Balance Charger Adapter M) Linkage Rod (4) C) Horizontal Stabilizer (Elevator) H) Aileron Y-Split Cable N) Bind Plug D)Vertical Stabilizer (Rudder) I) Transmitter O) Receiver E) Plane Battery J) Propeller Transmitter, receiver, and balance charger models may vary for each package and is... -
Page 5: Battery Charging
Battery Charging The battery balance charger that you received comes with a universal adapter equipped with a voltage system that varies depending on the country. To eliminate the danger of voltage incompatibility, the manufacturer has supplied a universal adapter that plugs directly to your car's battery. If you are using this glider in North America, you can purchase a 12V DC wall adapter from any local electronics store or on our website at www.bananahobby.com under the name "RC Airplane Parts"... -
Page 6: Assembly Instructions
Assembly Instructions 1. Install the main wings. Install one wing at a time. Push the black wing rod into one wing first Fix the wing onto the fuselage with the installed wingspar. Afterwards, install the second main wing to the other side and make sure you can access the aileron servo leads to connect them to the y-harness on the cockpit side. - Page 7 Assembly Instructions 3. Attach the aileron wires. Since there are two ailerons (1 on each wing) but both are controlled together by a single channel, they will need to be connected to a cable with a single end. Once you have the aileron wires ( from the aileron servos) for both wings pushed into the fuselage, connect the Y split cable as shown.
- Page 8 Assembly Instructions 6. Attach the elevator servo to the horizontal stabilizer (elevator). Glue the horizontal stabilizer into the fuselage as shown. In order to control the movement of the elevator, you will need to attach the elevator servo's push rod/clevis to the control horn using one of the long linkage rods that runs along the inside of the fuselage.
-
Page 9: About The Radio System
About the Radio System Mode two Antenna Carrying Handle Neck strap hook Transmitter Elevator trim Throttle Trim Elevator Throttle Stick Ailerons Aileron trim Rudder Trim Bind Button Power switch Channel settings Receiver Transmitter and receiver model may vary for each package by the manufacturer. All radio systems are similar and work the same way. -
Page 10: How To Operate
How to Operate Please make sure to read and follow these instructions carefully first before attempting to operate the plane. This is a requirement for your safety and the safety of others. Failure to follow these instructions can and may void your warranty. You must do a preflight check before operating. -
Page 11: Binding The Radio System
Binding the Radio System The transmitter and receiver are usually already binded by the manufacturer, however, if you need to bind the system by yourself, please follow these steps: 1. Turn off everything. Unplug the plane's battery and turn off the transmitter. 2. -
Page 12: Troubleshooting
TROUBLESHOOTING 1. My motor is running in reverse. Your wires from the motor to the ESC may have been switched. How to solve this problem depends on which version of the Sky Surfer you have. Brushed: There are two wires connecting from the ESC to the motor. You will need to pull the wires out from the opened space to the motor (as shown below), unsold the wires from the motor, switch the wires around and sold it back to the motor. - Page 13 If your motor is angled incorrectly, you will have to use a hobby knife to take the motor out. You should be careful and you will propably have to take some foam out but that is fine. Once you took it out, glue it back correctly.
-
Page 14: Model Flying Precautions
MODEL FLYING PRECAUTIONS - Select your flight area carefully. Always choose an open space that is unobstructed by trees and/or buildings and away from crowded area.Avoid flying in area with roads,electricity/telephone poles or wires and water nearby or within close proximity to full size air traffic. - Do not fly this model in poor weather, high winds, low visibility, extreme temperatures, rain and storms. - Page 15 4 CH BlitzRCWorks Sky Surfer RC Trainer Airplane Distributed by: Banana Hobby California,USA Call or Text(626) 629-8243 WWW.bananaHobby.com...
Need help?
Do you have a question about the 4 CH BlitzRCWorks Sky Surfer RC Trainer Airplane and is the answer not in the manual?
Questions and answers