Table of Contents
Advertisement
Quick Links
Advertisement
Table of Contents

Summary of Contents for Coopers 8495
- Page 1 Mini Sewing Machine Instructions 8495...
-
Page 2: Twin Needle Sewing
Free arm Protection plate Use the free arm to sew on sleeves, The protection plate will protect the user from accidental injury cuffs and trousers legs. from the needle. Use of the protection plate is optional. Protection plate Pic. 1 Pic. -
Page 3: Adjusting Thread Tension
Adjusting thread tension Upper thread Fabric A correct stitch will be as the illustration shows. The upper and lower thread tension are equal and strong enough to lock both threads in the centre of your fabric. Always test tension on a scrap of the fabric you intend to use before commencing sewing. -
Page 4: Troubleshooting
Troubleshooting Problem Cause Amendment Batteries installed in the wrong polarity Replace the batteries in correct polarity indicated in battery compartment. Batteries low/no capacity Use new batteries No power supply Different capacity batteries mixed used Use new batteries (or machine runs slowly) Adaptor power inadequate or output Use compatible adaptor connecting the wrong polarity... - Page 5 Before operating the sewing machine, please read these instructions completely 1. Do not use the batteries and the adaptor at the same time. 2. Ensure the batteries are in the correct polarity position. 3. Requires 4x AA alkaline batteries (not supplied). 4.
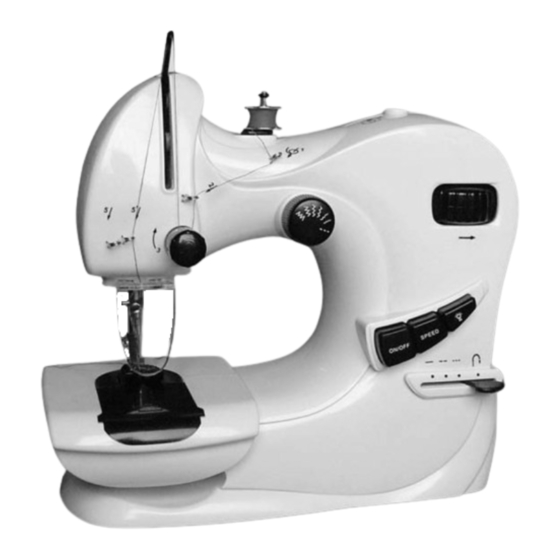
- Page 6 Parts for the sewing machine Spool pin Spool rubber loop Bobbin Bobbin winding pin jack Thread pulling bar Thread tension dial Handwheel Pattern selector dial Needle clamp screw Power switch Protective plate Light switch Speed switch Needle Stitch length/ Presser foot reverse switch Bobbin cover Work light...
-
Page 7: Needle Replacement
Accessories Bobbins Needle Bobbin winding pin Needle Threader Twin needle Long spool pin Foot control AC/DC Adaptor Battery and adaptor installation Caution: 1. Make sure that the power switch is "OFF" when changing batteries. If you install the batteries when the power is "ON" , the machine may suddenly start. 2. -
Page 8: Threading Upper Thread
Threading upper thread Fig. 1 Fig. 2 Caution: When upper threading please do not touch the power switch. 1. Pull the spool pin to the high position, and take the Spool rubber loop off (Fig.1). 2. Put the bobbin into spool pin (please note: be sure the thread unwinds as shown in Fig.2), and then place the Spool rubber loop... - Page 9 Threading the lower bobbin Fig. 1 Fig. 2 Fig. 3 Fig. 4 Fig. 5 Fig. 6 Caution: When threading the lower bobbin, make sure the power switch is OFF. Setting lower thread 1. Slide the bobbin cover forward and take it off. (Fig. 1) 2.
-
Page 10: Beginning To Sew
Beginning to sew 1. Turn the stitch selector dial to the stitch pattern required (refer to the pattern guide on the pattern sector dial). 2. Move the stitch length to the right position (refer to Stitch length adjustment). 3. Turn the hand wheel in the direction of the arrow to raise the needle to its highest position (Fig.1). -
Page 11: Bobbin Winding
Bobbin winding 1. Put the bobbin winding pin into bobbin Cotton reel winding pin jack. The pin needs to fit securely in place this way up. Put an empty spool into bobbin winding pin. 2. Draw the thread from the cotton reel on spool pin, and wind it on to the empty bobbin (anti-clockwise) for several circles. -
Page 12: Stitch Length Adjustment
Stitch length adjustment Before sewing your fabric, test with fabric scraps to choose the stitch length you want. The machine provides three stitch lengths. As the illustration shows, when the lever is on the "– – " position, you can have the longest stitch length and on " – – – " position, the second longest stitch length, and "–...
Need help?
Do you have a question about the 8495 and is the answer not in the manual?
Questions and answers