Advertisement
Table of Contents
Advertisement
Table of Contents

Related Manuals for Sendai CD789

Summary of Contents for Sendai CD789
- Page 1 CD789 CD/MP3 PLAYER WITH FM/AM TUNER OPERATING INSTRUCTION...
-
Page 2: Table Of Contents
Safety Information Contents data protection sheet to either side of a PRECAUTIONS Safety Information ........2 disc. Use only in a 12-volt DC negative-ground Do not expose a CD to direct sunlight or Panel Controls ..........3 electrical system. excessive heat. Disconnect the vehicle's negative battery Button Tips ........... -
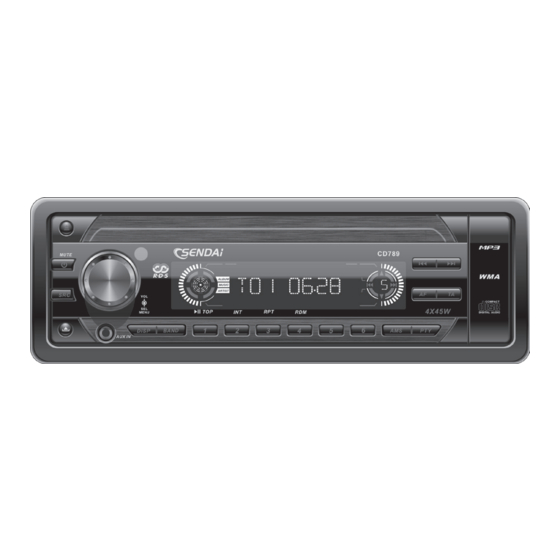
Page 3: Panel Controls
Panel Controls Power on : Press any button on the panel except to turn on the unit. 1. - Disc eject FM1 - FM2 - FM3 - AM1 - AM2 15. - Program type - Press more than 2 seconds 2. -
Page 4: Button Tips
Button Tips MP3 Overview Note on creating your own CD-Rs or AMS : Auto Memory Store MP3 Overview CD-RWs containing MP3 files Press briefly to scan the preset station 1-6 for MP3 is short for MPEG Audio Layer 3 and 5 seconds each. Hold more than 2 seconds, refers to an audio compression technology T o e n j o y h i g h q u a l i t y s o u n d , w e the 6 strongest available station will be... -
Page 5: Mp3 Playback
MP3 Playback RDS (Radio Data System) While playing MP3 disc, the folder/file name and ID3 tag (Song title, Album and Artist) can scroll RDS service availability varies with areas. entirely across the LCD. Please understand if RDS service is not Elapsed playing time & Track number -> Folder name & number -> File name & number -> Song available in you area, the following service is title ->... -
Page 6: Rds (Radio Data System)
RDS (continued) CT Service ( Clock Time ) EON ( Enhanced Other Networks ) PTY Type Preset When EON data is received, the EON indicator Press PTY once to enter MUSIC type or When receiving an RDS station, the CT (Clock lights and the TA and AF functions are press PTY twice to enter SPEECH type. -
Page 7: Menu Function
Menu Function TA VOL: LOUD ON/OFF : Press the knob more than 2 seconds to enter menu mode , then each press changes the Rotate the knob to adjust TA volume. Rotate the knob to select loudness on or off. mode as follows: RETUNE mode: BEEP ON/OFF:... -
Page 8: Electrical Connections
Electrical Connections Wiring Diagram Function Loation Connector A Connector B Rear Right (+) / Purple Rear Right (-) / Purple with Black Stripe Front Right (+) / Gray Battery 12V(+) / Yellow Front Right (-) / Gray with Black Stripe ANT/AMP control / Blue Front Left(+) / White with white stripe... -
Page 9: Installation Guide
Installation Guide Installation Procedures Important: First complete the electrical connections, and then check them for Remove these two screws before installation. Otherwise, the correctness. player will not work. Reset Press the RESET button with a pointed object to reset the unit to the original status. -
Page 10: Anti-Theft System
Anti-Theft System Troubleshooting This unit is equipped with a detachable panel. Removing this panel makes the radio totally I f y o u s u s p e c t s o m e t h i n g i s w r o n g , inoperable. -
Page 11: Specifications
Troubleshooting (continued) Specifications MW(AM) Radio Sound skips due to vibration. General Mounting angle is over 30 . Frequency range: 5 2 2 - 1 6 2 0 K H z Power supply: 12V DC(11V-16V) Adjust mounting angle to less than 30 . (EUROPE) Test voltage 14.4V, Unstable mounting. - Page 12 PN: 127075001829...
Need help?
Do you have a question about the CD789 and is the answer not in the manual?
Questions and answers
How do you adjust the volume
To adjust the volume on the Sendai CD789, rotate the knob. To set the turn-on volume level:
1. Enter volume adjust mode (VOL ADJ).
2. Press the knob to enter A-VOL mode.
3. Rotate the knob to set the desired turn-on volume level.
To access this setting through the menu:
1. Press and hold the knob for more than 2 seconds to enter menu mode.
2. Press the knob repeatedly to cycle through options until you reach VOL mode.
3. Select VOL ADJ and set the level as described above.
This answer is automatically generated