Table of Contents
Advertisement
Quick Links
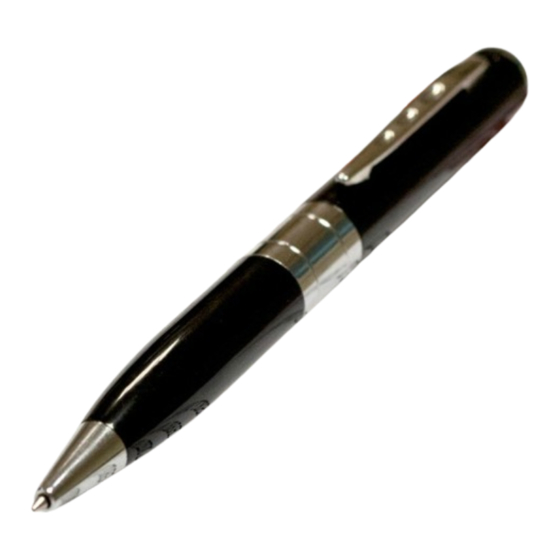
Spy Pen Camera
Before You Start
About the CD disc
This pen does not need any driver to operate unless your OS is Win 98. The attached disc is designed for
Win 98 only. For any later operating systems, please disregard the disc.
About the USB cable
The USB cable is for charging purpose only (please take out the micro SD card while charging). 30 minutes
of charging time is recommended. It is not a data transfer cable. A computer is needed to charge your pen.
The indicator would be red while charging. (more specifically, green mixes with red)
About the micro SD card adapter
The included micro SD card adapter is for you to view photos and videos on your computer. Simply take
out the micro SD card from the pen, put it into the adapter, and plug the adapter in your computer.
Advertisement
Table of Contents

Summary of Contents for Hisgadget Esky Spy Pen
-
Page 1: Before You Start
Spy Pen Camera Before You Start About the CD disc This pen does not need any driver to operate unless your OS is Win 98. The attached disc is designed for Win 98 only. For any later operating systems, please disregard the disc. About the USB cable The USB cable is for charging purpose only (please take out the micro SD card while charging). -
Page 2: Memory Card
Memory Card: 1. This camera has no built in memory. It needs an extra micro SD memory card (included in camera) to work. The camera supports up to 8GB micro SDHC card. Class 4 or above is recommended. 2. The micro SD / SDHC card, also called TF card, is 15mm x 11mm in size and has 8 pins. It is commonly used in cell phones, digital cameras, media players and USB flash disk, etc. - Page 3 Take Photo Shortly press the top button, the green indicator will blink (off and then on) indicating you have taken a shot. You can take as many photos as you please by repeating this process Take Video 1. Turn on the pen as stated above. Press and hold the TOP button for about 2-3 seconds and then release, the indicator will blink quickly before going out.
- Page 4 Set Time and Date Your Cam will timestamp all videos recorded based on the internal clock. To change the date / time on this clock following the steps below: ① .Using a text‐editing application (such as Notepad on Windows, or TextEdit on the Mac) creat e a file, name it time.txt Generally, it’s not necessary, because the camera would generate a time file automatically during the first operation.
Need help?
Do you have a question about the Esky Spy Pen and is the answer not in the manual?
Questions and answers