
Related Manuals for Evesham Nav-Cam 7000

Summary of Contents for Evesham Nav-Cam 7000
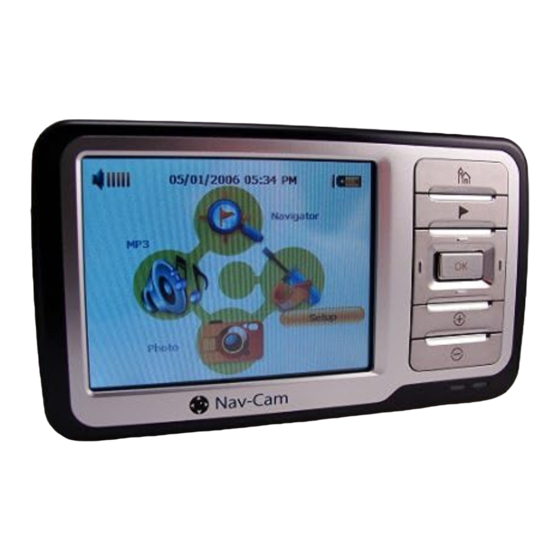
- Page 1 Nav-Cam 7000 Quick Start Guide 1) Description 1. Headphone socket 2. SD card slot 3. Main Menu 4. TripMaster 5. Directional/OK keys 6. Volume up 7. Volume down...
- Page 2 18. USB connector 19. External antenna connector 2) Charge the Battery 1. The Nav-Cam 7000 will arrive from the factory with the “Hard Reset” switch (shown as 15 on the diagram) in the OFF position. This is to preserve the battery.
- Page 3 Install the software Insert the SD card and the software will automatically install Connect to the car Place the bottom of the Nav-Cam 7000 into holder first, at a slight forward angle. While pushing down, move top of Nav-Cam 7000 until it clips into place.
- Page 4 Charge the Nav-Cam 7000, and then insert the pre-loaded SD card into the SD slot (shown as no.2 on the hardware diagram). Place the Nav-Cam 7000 on your windshield so that it has an unobstructed view of the sky to gain your first GPS fix.
- Page 5 To enter a Zip code, start entering the code using the alphabetic keyboard. If you require numbers select the ‘123’ button and when finished use the back button to return to the keyboard. Once finished select your Zip code from the list. To select a town, entering the towns name using the alphabetic keyboard.
Need help?
Do you have a question about the Nav-Cam 7000 and is the answer not in the manual?
Questions and answers