Advertisement
Installation Guide
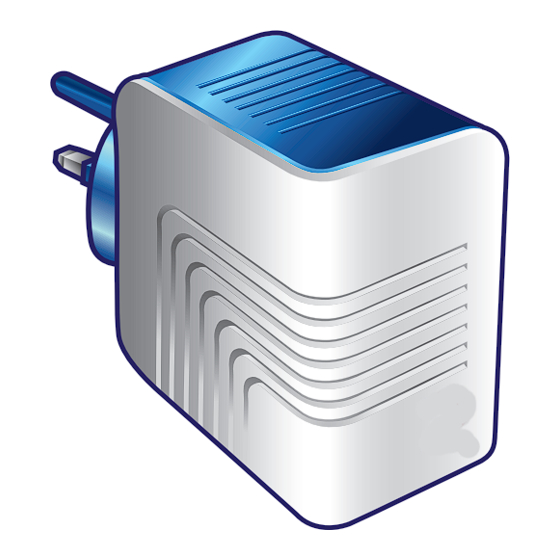
NetPlug200+
Powerline Communications
enables one to set up home network and exchange digital information (audio,
computer files, and video) quickly and easily via existing household power sockets.
The NetPlug200+ are compatible with other HomePlug certified products.
LEDs / Buttons / Connector
ON if NetPlug200+
is operational
ON if data is being
transferred on the
PLC network
ON if Ethernet
connection is working
The LED
color indicates the transfer speed on the PLC network:
GREEN: high transfer speed
ORANGE: medium transfer
speed
RED:
low transfer speed
None:
no transfer speed
1
2
(PLC) is a secure and intelligent technology that
RESET button
To reinitialise the NetPlug to
its original status
PAIRING button
To add other NetPlugs on the
PLC network. Refer to "Adding
of 3
rd
NetPlug200+" section.
Ethernet connector
To connect to the modem, PC,
set-top box, ...
To optimize transfer speed:
Plug the NetPlug & other equipment
2
into different outlets and avoid using
the same extension strip
Avoid plugging the NetPlug next to a
2
telephone charger
Avoid using anti-surge extension strips
2
Installation of 2 NetPlug200+
1
Plug in the 1
st
NetPlug
The 1
NetPlug is
st
ready for use
Internet
Modem ON
2
Plug in the 2
NetPlug
nd
The 2 NetPlugs are now ready for use.
You may switch on your PC.
PLC network
1
Ethernet
Ethernet
Internet
Modem ON
Internet
1
Connect the
Ethernet cables
zoom
ON
1
Ethernet
link OK
Ethernet
2
Connect the
Ethernet cable
Data transfer on
the PLC network
zoom
is activated if PC
application is working
2
In case of problems, please consult the
!
"Technical Support" section
PC ON
Modem
N.B. Use the ETH
port corresponding
to your application
1
PC
2
Advertisement
Table of Contents

Summary of Contents for Lea NetPlug200+
- Page 1 Installation of 2 NetPlug200+ Installation Guide NetPlug200+ Modem Internet N.B. Use the ETH Connect the port corresponding Ethernet cables to your application Plug in the 1 NetPlug The 1 NetPlug is ready for use zoom Ethernet Powerline Communications (PLC) is a secure and intelligent technology that link OK Ethernet...
-
Page 2: Technical Support
Product warranty will not be effective if the product has been opened or used improperly. Data transfer on the PLC network LEA is not liable for any improper use of the produit. is activated if IPTV service is working Ethernet...
Need help?
Do you have a question about the NetPlug200+ and is the answer not in the manual?
Questions and answers