Table of Contents
Advertisement
Advertisement
Table of Contents

Summary of Contents for Joemeek TwinQ
- Page 1 TWIN Joemeek User Guide v i s i t u s o n t h e w e b a t j o e m e e k . c o m...
-
Page 2: Table Of Contents
JOEMEEK reborn – the legend grows The Next Generation of Joemeek studio processors represents a quantum leap in the history of the Joemeek legend. Long regarded for its “Big Sound”, twinQ Controls at a Glance..........4 the original Joemeek gear was both revered and reviled for its somewhat “quirky”... -
Page 3: Twinq Controls At A Glance
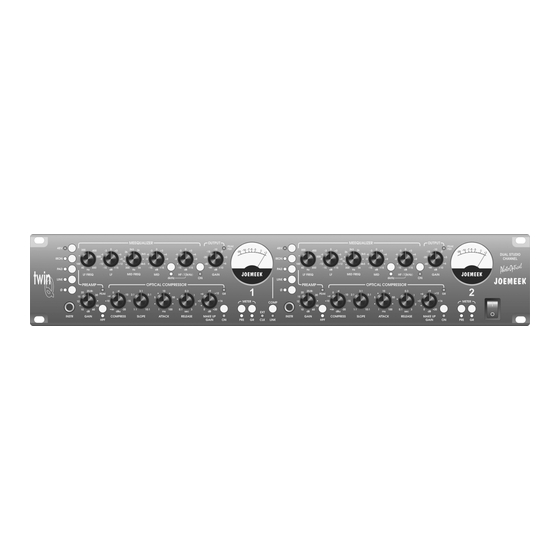
PREAMP GAIN – sets the amount of audio amplification. Too little gain and the sound will be too quiet; too much and the signal could become distorted. OUTPUT GAIN – the volume control or “Fader” for the output of the twinQ. PEAK LED – lights 6dB below clipping. -
Page 4: Overview
Note that if something is plugged into the Instrument input, anything plugged into the rear panel Line input will be cut off. This is the all-important front end to the twinQ. Its job is to accept any PHANTOM POWER type of microphone, instrument or other source of audio signal, and make Most high-quality studio mics are “Phantom powered”, which is to... -
Page 5: Compressor
5:1, at least up to a point. It is a feature of which the envelope of a sound can be modified. The twinQ Release is the Joemeek compressor that the compression ratio actually reduces again variable from 100mS up to 3 seconds giving a wide variety of effects. -
Page 6: Meequalizer
‘COMP LINK’ outputs plus the ability to synchronize to an external word clock. The This is important when both channels of the twinQ are used together for digital audio outputs are compatible with most digital recorders, as well stereo work. When two mono compressors are used for stereo, differing as Digital Audio Workstations and mixers. -
Page 7: Using The Twinq
Connect the twinQ power cord to the AC connector on the rear panel and switch on the mains supply. NB: ensure that the twinQ is set to the correct mains voltage for your region – either 115V or 230V. Orientate the fuse holder / mains voltage selector draw so that the required voltage appears at the top. -
Page 8: Troubleshooting
Troubleshooting 1) No Power (no lights work) 5) Too little or too much compression • Is the power supply plugged in (both ends)? • Turn the ‘Input Gain’ control up or down respectively, to adjust the • Is the mains power on? signal level to the compressor •... - Page 9 Notes Joemeek Limited Warranty THIS PRODUCT IS FOR PROFESSIONAL USE ONLY replacement by Purchaser of any Product or part thereof shall extend the warranty period as to the entire Product. The specific warranty on PMI Audio Group warrants that all products will be free from defects in mate-...
- Page 10 Owners Registration Card Disclaimer of Warranty T O B E C O M P L E T E D AT T I M E O F P U R C H A S E EXCEPT FOR THE FORGOING WARRANTIES, PMI HEREBY DISCLAIMS AND EXCLUDES ALL OTHER WARRANTIES, EXPRESS OR LIMITED, INCLUDING, BUT Name _____________________________________________ NOT LIMITED TO ANY/OR ALL IMPLIED WARRANTIES OF MERCHANT ABILITY,...
Need help?
Do you have a question about the TwinQ and is the answer not in the manual?
Questions and answers