
Summary of Contents for Kelon ND5-46
- Page 1 Convection Heater User Instruction ND5-46 MODEL: ND10-45 ND15-44 ND20-43 PLEASE READ AND SAVE THESE INSTRUCTIONS HISENSE KELON (GUANGDONG) AIR-CONDITIONER CO.,LTD.
- Page 2 When the unit is turn on in the first time, there might be slight smog & smell coming out. It is normal, and that's because of the special technic of heating elements. So don't worry. Specification 52-2026 52-2026 Model ND5-46 52-2025 Volt 220-240V 220-240V 220-240V 220-240V...
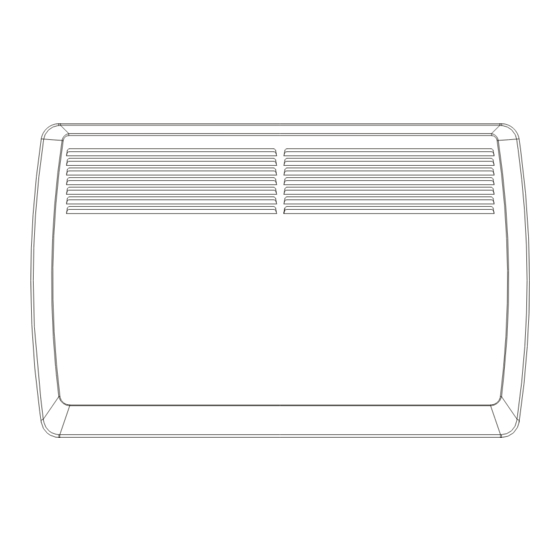
- Page 3 Overview of the appliance Control Unit Fig.2 Air Outlet Battery box Air Inlet Control Panel Fig.3 1.red indicator light 2. red light of comfortable temperature 3. yellow operating light 4. green light of energy saving temperature...
- Page 4 5. selecting programming 6. up button 7. down button 8. programming 9. LCD screen 10. program copy 11. setting of day ,hour and minute 12. on/off switch 13. selecting comfortable or energy saving temperature 14. timer The back-light will be on (no any progress in 5s, the back-light will be out.
- Page 5 Press the button “13” for a long time (5S) ,the temperature can be changed between Celsius and Fahrenheit. type will stop flashing. The program is now active and will run in “real time”.
- Page 6 Fig.4...
- Page 7 LCD display windows Fig.5 DEGREES”F” TIMER HOUR”H” LOW BATTERY INDICATOR...
-
Page 8: Temperature Switch
are saved for ever, after sudden power off the heater will be restarted automatism. 3.12 LOCKING THE CONTROL PANEL FUNCTION -Press the program selector button"5" to make the program type flash -Press the programming button "8" and the setting of time button"11"... -
Page 9: Maintenance
5. Warning Do not cover the heater in order to prevent a fire. 6. Service If you require a service, contact your local dealer or a qualified electrical appliance maintenance company. 7.WARNING: Do not dispose of in fire, recharge, put in backwards, disassemble, mix with used or other battery types-- may explode or leak and cause personal injury. -
Page 10: Installation Instructions
Wall-mounting 1. Drill the required holes in the wall using the positioning screw holes. 2. Attach the bracket to to the wall with the screws. 3. Mount the heater to the bracket and engage the corresponding slots on the rear of the heater. Removing the heater from the bracket 1.
Need help?
Do you have a question about the ND5-46 and is the answer not in the manual?
Questions and answers