Table of Contents
Advertisement
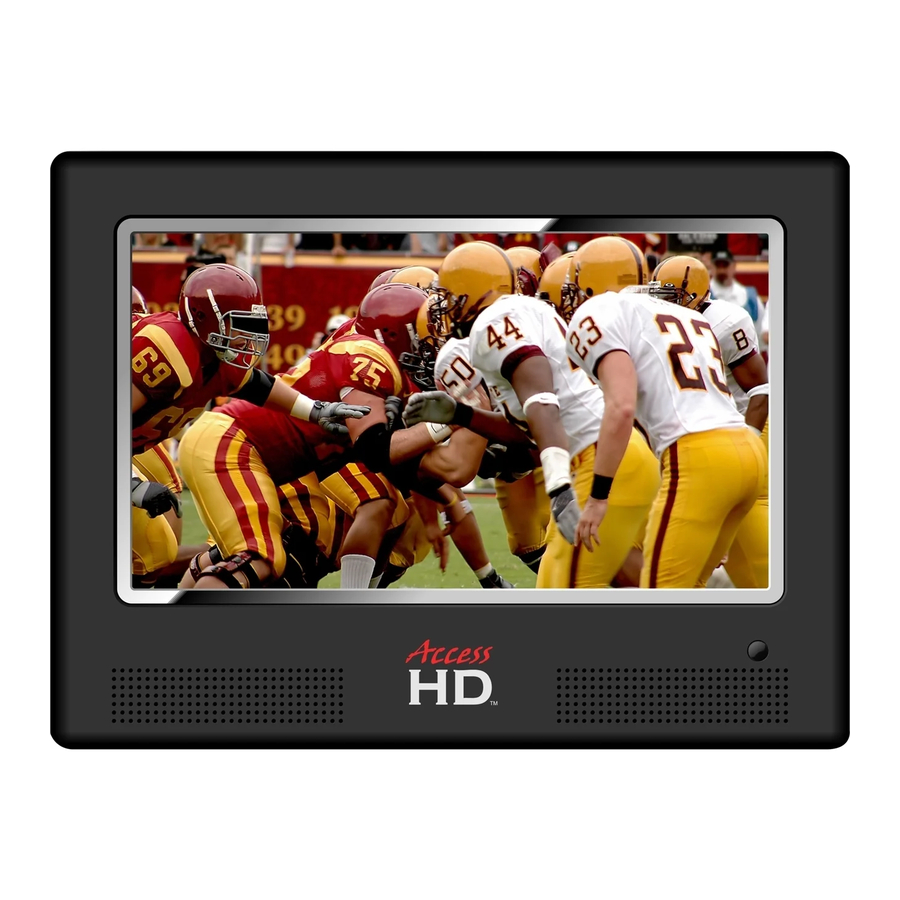
7" LCD Television
READ THESE OPERATING INSTRUCTIONS CAREFULLY
SAVE THESE INSTRUCTIONS
For product questions or service,
or go to www.AccessHD.tv
Have the following information ready when you call:
Date of Purchase:
Location of Purchase:
Serial #:
Model #:
Mailing Address
7868 US Hwy 70, Suite C
Clayton, NC 27520
®
Owner's Manual
Model: PTV 7000
CALL 1-919-585-6435
_______________________
_______________________
_______________________
_______________________
Fax Number
1-919-550-3277
Advertisement
Table of Contents

Summary of Contents for Access HD PTV 7000
- Page 1 7” LCD Television Owner’s Manual Model: PTV 7000 READ THESE OPERATING INSTRUCTIONS CAREFULLY SAVE THESE INSTRUCTIONS For product questions or service, CALL 1-919-585-6435 or go to www.AccessHD.tv Have the following information ready when you call: Date of Purchase: _______________________ Location of Purchase:...
-
Page 2: Replacement Parts And Accessories
Replacement Parts and Accessories Part Name TV Antenna TV Remote Power Supply TV Battery-1200mHa (1 hr life) TV Extended Life Battery (2.5 hr life) Upgrade for a longer battery life 12V Car Charger Adapter Mounting Bracket To place an order: Visit www.AccessHD.tv or call 1-919-585-6435 Mailing Address... -
Page 3: Table Of Contents
Contents: Important Safety Instructions ... 1 Component Identification ... 2 Operating Instructions ... 3 Getting Started ... 5 TV Setup Menu Settings ... 5 Mounting Options ... 8 Troubleshooting ... 9 Technical Specifications ... 9 Limited Warranty & Service ... 10 Copyright©... -
Page 4: Important Safety Instructions
Important Safety Instructions Read these instructions. Keep these instructions. Heed all warnings. Follow all instructions. Do not use this apparatus near water. Clean only with a dry cloth. Do not block any ventilation openings. Install in accordance with the manufacturer’s instructions. -
Page 5: Component Identification
Component Identification Bottom View 1. Power Indicator 2. Battery Charging Indicator Left View Right View 1 2 3 4 5 6 7 8 9 Rear View 1. Antenna 2. Mounting Holes 3. Viewing Stand 4. Remote Control Storage The remote control storage slot is located on the back panel behind the viewing stand. -
Page 6: Remote Control Buttons
Remote Control Buttons Operating Instructions Do not connect the power supply until all connections have been made. Powering the Unit There are two ways to power this device. AC Adapter A standard PSU is included with the unit. An adapter that can be plugged into the cigarette lighter in a vehicle is available for purchase as an accessory. -
Page 7: Connecting To External Av Sources
Connecting to External AV Sources The unit supports an AV signal input function. Use the audio/ video cable to connect the unit to an external audio/ video signal source such as a DVD player, VCR, etc. Be sure to observe the color code when connecting audio/video cables. -
Page 8: Getting Started
Getting Started Follow these steps the first time you use this unit: 1. Retrieve the remote control from the storage slot located on the back panel behind the viewing stand. 2. Connect the PSU to the DC jack on the TV and plug it into a power socket. -
Page 9: Audio Setting
Audio Setting Sound Mode Press the button to select Personal, Standard, Movie or Music. Treble, Bass, Balance Press the button to adjust the value. Audio Language Press the button to select English, French or Spanish. Press the Menu button to return to the previous menu. -
Page 10: Lock Settings
Closed Caption Press the button to enter the Closed Caption submenu. 1. CC Mode Press the button to select Off, On or CC on Mute. Press the Menu button to return to the previous menu. 2. Basic Selection ... -
Page 11: Mounting Options
2. Start to Scan Press the button to start the scanning. The unit will automatically memorize the programs searched in sequence and tune the first searched channel. During scanning, press the Menu button to cancel the scan and exit. Show/Hide ... -
Page 12: Troubleshooting
Troubleshooting Symptom: There is no sound. Check that the system connections are correct. Make sure the speakers are not muted. In the TV mode, set the correct sound mode. Symptom: There is no picture or the picture is unsteady. ... -
Page 13: Limited Warranty & Service
1-919-585-6435. What Access HD Will Repair or Replace under Warranty: Access HD will repair or replace, at its option, any part that is proven to be defective in material or workmanship under normal use during the applicable warranty time period subject to the exclusions stated herein.
Need help?
Do you have a question about the PTV 7000 and is the answer not in the manual?
Questions and answers