Advertisement
Quick Links
UIAA 1x (UK).1
UIAA 1x x (UK).1
English
Operating Instructions
FREEZER
Contents
Operating Instructions, 1
Assistance, 2
Installation, 5
Advertisement

Summary of Contents for Indesit UIAA 1 Series
-
Page 1: Table Of Contents
UIAA 1x (UK).1 UIAA 1x x (UK).1 English Operating Instructions FREEZER Contents Operating Instructions, 1 Assistance, 2 Description of the appliance, 3 Reversible doors, 4 Installation, 5 Start-up and use, 5 Maintenance and care, 6 Precautions and tips, 7 Troubleshooting, 8... -
Page 2: Assistance
Indesit reserves the right to use quality, recycled 5 Year Parts Guarantee components to keep down customer costs and minimise material Indesit also offers you a free 5 year parts guarantee. This additional wastage. guarantee is conditional on you registering your appliance with us and the parts being fitted by one of our authorised engineers. -
Page 3: Description Of The Appliance
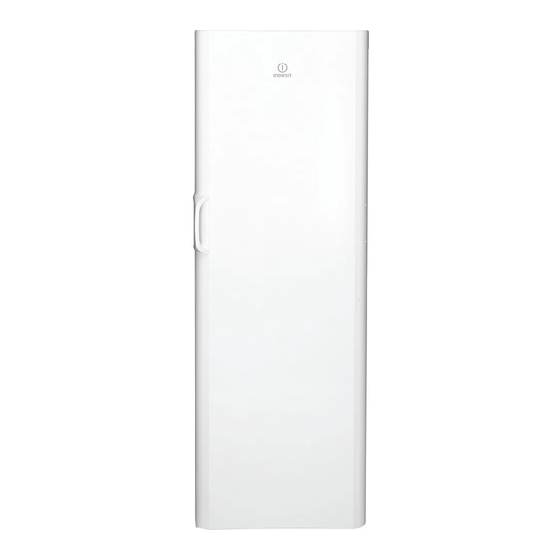
Description of the appliance Overall view The instructions contained in this manual are applicable to different model refrigerators. The diagrams may not directly represent the appliance purchased. For more complex features, consult the following pages. 1 Levelling FEET 2 STORAGE Compartment 3 Flap FREEZING and STORAGE Compartment 4 TEMPERATUE CONTROL Knob 5 WARNING Indicator light... -
Page 4: Reversible Doors
Reversible doors PLEASE PHONE US TO REGISTER YOUR APPLIANCE AND ACTIVATE YOUR 5 YEAR PARTS GUARANTEE ON 08448 24 24 24... -
Page 5: Installation
Installation Replacement fuse covers: If a replacement fuse cover is fitted, it must be of the correct colour as indicated by the coloured marking or the colour that ! Before placing your new appliance into operation please read is embossed in words on the base of the plug. these operating instructions carefully. -
Page 6: Start-Up And Use
Start-up and use 3. Turn the tray 90°: due to the connected compartments each mould fills with water (see diagram). 4. Close the opening with the lid provided and put the tray Starting the appliance back, placing the top part in the corresponding housing and ! Before starting the appliance, follow the installation allowing it to drop in again. -
Page 7: Precautions And Tips
electrical devices other than the scraper provided, you may • Before cleaning and maintenance, always switch off the damage the refrigeration circuit. appliance and disconnect it from the electrical supply. It is . If the frost layer is greater than 5 mm, it is necessary to defrost not sufficient to set the temperature adjustment knobs on manually: (appliance off) to eliminate all electrical contact. - Page 8 19511241701 09/2014 The WARNING Indicator light is Always On. • The door is not closed properly or has been open continuously. • The door has been opened too frequently. • The TEMPERATURE ADJUSTMENT knob is not in the correct position. The motor runs continuously.


