Sign In
Upload
Download
Table of Contents
Contents
Add to my manuals
Delete from my manuals
Share
URL of this page:
HTML Link:
Bookmark this page
Add
Manual will be automatically added to "My Manuals"
Print this page
×
Bookmark added
×
Added to my manuals
Manuals
Brands
Digitalstream Manuals
Voice Recorder
DHR8202U
User manual
Digitalstream DHR8202U User Manual
Twin hd tuner digital terrestrial recorder
Hide thumbs
1
2
3
4
5
6
Table Of Contents
7
8
9
10
11
12
13
14
15
16
17
18
19
20
21
22
23
24
25
26
27
28
29
30
31
32
33
34
35
36
37
38
39
40
41
42
43
44
45
46
47
48
49
50
51
52
53
54
55
56
57
58
59
60
61
62
63
64
page
of
64
Go
/
64
Contents
Table of Contents
Bookmarks
Table of Contents
Important Care and Safety Advice
Cleaning the Product
End User License
Hard Disk Drive
Table of Contents
Getting Started
Package Contents
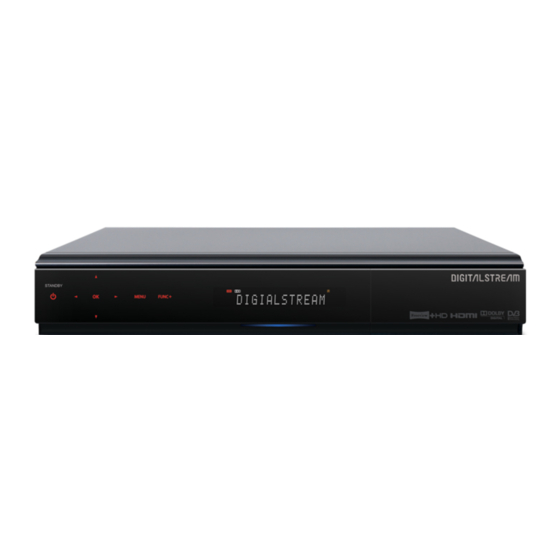
Front Panel Overview
Rear Panel Overview
Remote Control Overview
Conditional Access
Inserting a CI Module(with Smartcard)
Setup
Connecting the Aerial
Connecting the TV
Using HDMI Lead
Using SCART Lead
Using RCA Lead
Connecting the TV and VCR
Using SCART Lead
Using RF Lead
Connecting the Audio System
Powering on
Touch Panel and VFD Display
Touch Panel
VFD Display
Installation Wizard
Basic Operation
Using Stand-By
Service List
Information Banner
Detailed Programme Information
Switching Service
Volume Control
Audio Language Selection
Subtitle Control
Interactive Services
Function Plus
PIP (Picture-In-Picture) Screen
General Information
Fast Forward and Rewind
Main Menu
Media
JPEG Viewer
Guide
Using the Record Function in the Programme Guide
Schedule
Adding Manual Reservations
Preferences
AV Setup
Language
Time
Parental Control
Playback Settings
Power Management
Installation
Scan Services
Full Rescan
Update Scan
Manual Scan
Edit Services
Edit Service List
Edit Favourite List
Others
Diagnostics
System Messages
System Information
Signal Information
Disk
Peripheral Devices
Common Interface
Maintenance
Software Update
Advertisement
Quick Links
1
Remote Control Overview
2
Basic Operation
3
Diagnostics
Download this manual
User's Guide
Twin HD Tuner Digital Terrestrial Recorder
DHR8202U / DHR8203U / DHR8205U
Table of
Contents
Previous
Page
Next
Page
1
2
3
4
5
Advertisement
Table of Contents
Need help?
Do you have a question about the DHR8202U and is the answer not in the manual?
Ask a question
Questions and answers
Related Manuals for Digitalstream DHR8202U
Voice Recorder Digitalstream DHR8205U User Manual
Twin hd tuner digital terrestrial recorder (64 pages)
This manual is also suitable for:
Dhr8203u
Dhr8205u
Table of Contents
Print
Rename the bookmark
Delete bookmark?
Delete from my manuals?
Login
Sign In
OR
Sign in with Facebook
Sign in with Google
Upload manual
Upload from disk
Upload from URL


Need help?
Do you have a question about the DHR8202U and is the answer not in the manual?
Questions and answers