Advertisement
Advertisement
Table of Contents

Summary of Contents for Gym Master GM98322
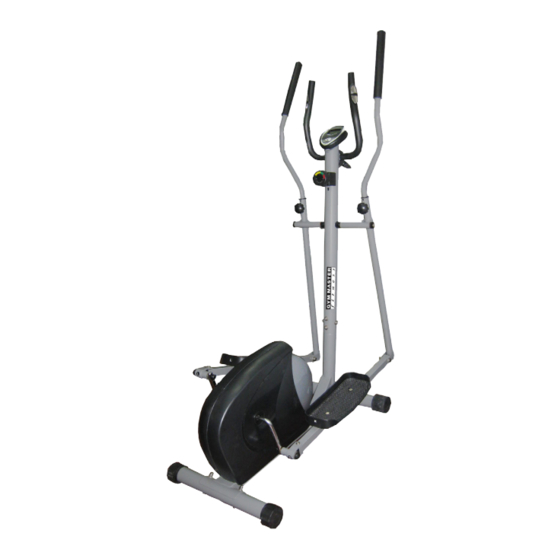
- Page 1 ELLIPTICAL MAGNETIC TRAINER GM98322...
- Page 2 Precautions 1) Read all the instructions in this manual and do warm up exercises before using this equipment. 2) This bike is home stationary fitness equipment, and also aerobic training equipment that can help you to develop your cardiovascular function. 3) Please make sure all parts are not damaged and fixed well before use.
-
Page 3: Exercise Instructions
EXERCISE INSTRUCTIONS Using your Elliptical trainer will provide you with several benefits, it will improve your physical fitness, tone muscle and in conjunction with calorie controlled diet help you lose weight. 1.The Warm Up Phase This stage helps get the blood flowing around the body and the muscles working properly. It will also reduce the risk of cramp and muscle injury. -
Page 4: Exploded Diagram
Exploded Diagram... -
Page 5: Parts List
Parts list DESCRIPTION DESCRIPTION Main frame Big Flat Washer Front bottom tube Nylon Nut Rear bottom tube Bolt Carriage bolt Bolt Arc washer Bolt Cap nut Spring Washer Handlebar post Big Flat Washer Handle pulse bar D Shape Washer 9L/R Left &... -
Page 6: Assembly Instruction
Assembly Instruction Step 1 Fix the front bottom tube (2) and rear bottom tube (3) in the main frame (1) with carriage bolt (4), arc washer (5) and cap nut (6). Step 2 First, connect the connection wire (36) with the sensor wire (39). Next connect tension control wire (37) with tension cable (38). - Page 7 Step 4 Fix left/right pedal (20L/R) in the left/right pedal tube (9L/R) with bolt (21), big flat washer (22) and nylon nut (23). Step 5 First, fix left pedal tube (9L) to left handle tube (10L) and right pedal tube (9R) to right handle tube (10R) with bolt (24), big flat washer (22) and nylon nut (23).
- Page 8 Step 7 First, adjust the location of handle pulse bar (8) in a suitable location. Then fix Handle pulse tube (8) with the spacer (33), handlebar clamp (41) and knob (34). Step 8 Connect the connection wire (36) and pulse wire (40) with the wires of the computer (35). Then insert the computer (35) on the computer bracket of handlebar post (7).
-
Page 9: Functions And Operations
COMPUTER INSTRUCTION MANUAL FUNCTION MARK: 1. SCAN: Auto scan 5. ODO: Total distance 2. SPEED: Speed 6. CAL: Calorie 3. DIST: Trip distance : Pulse 4. TIME: Riding time HOW TO INSTALL BATTERY: 1. Take out the battery on the back of monitor. 2. - Page 10 Pressing the button for more than 3 seconds will reset all functional values to zero except Odometer. when all the functions display, the symbol of the pulse will not appear SCAN: Press the button until the arrow points to SCAN, monitor will automatically cycles between SPEED, DIST, TIME, ODO, CAL and every 6 seconds.
- Page 11 ENTRENADOR ELIPTICO MAGNETICO GM98322...
- Page 12 Precauciones 1) Lea todas las instrucciones en este manual y lleve a cabo ejercicios de calentamiento antes de utilizar este equipo. 2) Esta bicicleta es un equipo de entrenamiento estacionario y también un equipo de entrenamiento aeróbico que le puede ayudar a desarrollar sus funciones cardiovasculares. 3) Asegúrese de que ninguna pieza se encuentre dañada y que todas queden bien colocadas en su lugar antes de utilizar el equipo.
- Page 13 INSTRUCCIONES PARA LOS EJERCICIOS EXERCISE INSTRUCTIONS La utilización de esta bicicleta elíptica le ofrece múltiples beneficios ya que mejorará su estado físico, tonificará sus músculos y, junto a una dieta baja en calorías, le ayudará a perder peso. Using your Elliptical trainer will provide you with several benefits, it will improve your physical fitness, tone muscle and in conjunction with calorie controlled diet help you lose 1.
- Page 14 Exploded Diagram Diagrama Detallado...
-
Page 15: Lista De Piezas
Lista de Piezas Lista de Piezas Descripción Cantidad Armazón principal Tubo delantero inferior Tubo trasero inferior Perno con cabeza de hongo Arandela en arco Tuerca tapón Poste del mango Mango para el pulso 9 L/R Tubo del pedal izquierdo y derecho 1 izq. -
Page 16: Instrucciones Para El Armado
Instrucciones para el Armado Assembly Instruction Paso 1 Step 1 Fije el tubo delantero inferior (2) y el tubo trasero inferior (3) al armazón principal (1) utilizando los Fix the front bottom tube (2) and rear bottom tube (3) in the main frame (1) with carriage pernos con cabeza de hongo (4), las arandelas en arco (5) y las tuercas tapón (6). - Page 17 Paso 4 Fije los pedales izquierdo y derecho (20L/R) al tubo del pedal izquierdo y derecho (9R/L) utilizando el Step 4 perno (21), la arandela plana grande (22) y la tuerca de nylon (23). Fix left/right pedal (20L/R) in the left/right pedal tube (9L/R) with bolt (21), big flat washer (22) and nylon nut (23).
- Page 18 Paso 7 Step 7 Primero ajuste la ubicación del mango para el pulso (8) colocándolo en un lugar apropiado. Luego fije el tubo del mango para el pulso (8) utilizando el espaciador (33), el gancho del mango (41) y la perilla First, adjust the location of handle pulse bar (8) in a suitable location.
- Page 19 MANUAL DE INSTRUCCIONES DE LA COMPUTADORA Funciones: 1. SCAN: escaneo automático 2. SPEED: velocidad 3. DIST: distancia recorrida 4. TIME: tiempo de ejercicio COMPUTER INSTRUCTION MANUAL 5. ODO: distancia total 6. CAL: calorías FUNCTION MARK: : Pulso 1. SCAN: Auto scan 5.
- Page 20 RESET Si se presiona este botón durante más de 3 segundos se revertirán todos los valores de las funciones a cero excepto el odómetro. En este caso, todas las funciones se mostrarán en la pantalla excepto el símbolo del pulso SCAN: Presione este botón hasta que la flecha apunte a la palabra SCAN.
Need help?
Do you have a question about the GM98322 and is the answer not in the manual?
Questions and answers