Sign In
Upload
Download
Table of Contents
Contents
Add to my manuals
Delete from my manuals
Share
URL of this page:
HTML Link:
Bookmark this page
Add
Manual will be automatically added to "My Manuals"
Print this page
×
Bookmark added
×
Added to my manuals
Manuals
Brands
Well Manuals
Computer Accessories
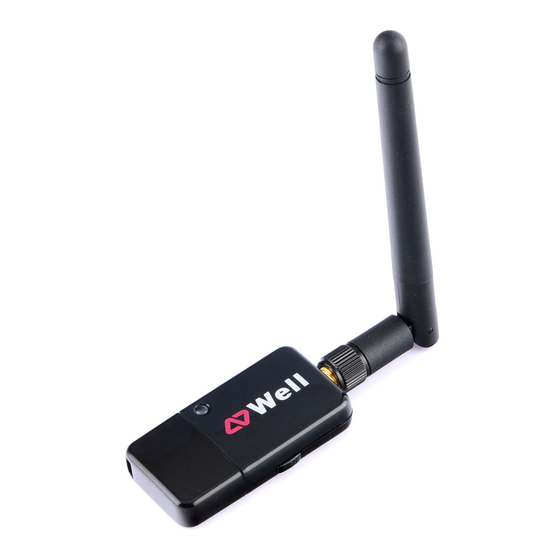
WCU150N
User manual
Well WCU150N User Manual
Wifi n usb klient 150 mb/s, r-sma; wifi n usb klient 300 mb/s, 1t2r
Hide thumbs
1
Table Of Contents
2
3
4
5
6
7
8
9
10
11
12
13
14
15
16
17
18
19
20
21
22
23
24
25
26
27
28
29
30
31
32
33
34
35
36
37
38
39
40
41
page
of
41
Go
/
41
Contents
Table of Contents
Troubleshooting
Bookmarks
Table of Contents
Table of Contents
Welcome
Package Contents
Wireless Usb Adapter Overview
Interface
Led Description
Wps Button
Wireless Usb Adapter Installation
Windows 7
Windows Vista
Windows Xp
Window XP
Windows 2000
Making a Basic Wireless Network Connection
Introduction to the Wireless Lan Utility
General
Profile
Available Network
Status
Statistics
Wi-Fi Protected Setup (WPS)
S Etup (Wps)
Uninstall
Troubleshooting
Session Overlap
Timeout
No Realtek 11 Nusb Wireless Lan
Realtek 11 Nusb Wireless Lan Is Disconnected
Cannot Get Ip Address from Wireless Ap
Advertisement
Quick Links
1
Windows 7
Download this manual
WELL WCU150N WiFi n USB klient 150 Mb/s, R-SMA
WELL WCU300N WiFi n USB klient 300 Mb/s, 1T2R
User's Manual
1
Table of
Contents
Previous
Page
Next
Page
1
2
3
4
5
Advertisement
Table of Contents
Need help?
Do you have a question about the WCU150N and is the answer not in the manual?
Ask a question
Questions and answers
Subscribe to Our Youtube Channel
Related Manuals for Well WCU150N
Computer Accessories Well WCU300N User Manual
Wifi n usb klient 150 mb/s, r-sma; wifi n usb klient 300 mb/s, 1t2r (41 pages)
This manual is also suitable for:
Wcu300n
Table of Contents
Print
Rename the bookmark
Delete bookmark?
Delete from my manuals?
Login
Sign In
OR
Sign in with Facebook
Sign in with Google
Upload manual
Upload from disk
Upload from URL


Need help?
Do you have a question about the WCU150N and is the answer not in the manual?
Questions and answers