Advertisement
Model Number: OC-1230P
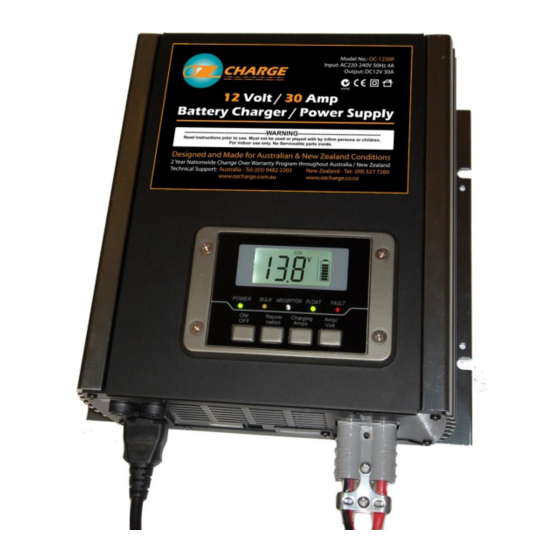
Fanless 12Volt 30Amp Switched-Mode
Microprocessor Controlled
Programmable Automatic Battery
Charger and Power Supply
You are now the owner of one of the most
advanced, reliable and feature packed
chargers available today.
Please take the time to read and
understand this manual, even though it
may have already been installed for you.
-
1-
Advertisement
Table of Contents

Summary of Contents for Charge OC-1230P
- Page 1 Model Number: OC-1230P Fanless 12Volt 30Amp Switched-Mode Microprocessor Controlled Programmable Automatic Battery Charger and Power Supply You are now the owner of one of the most advanced, reliable and feature packed chargers available today. Please take the time to read and understand this manual, even though it may have already been installed for you.
- Page 2 Ensure the correct Battery Type is selected with the DIP switch before the first use or battery replacement. Do not charge using an incorrect Battery Type setting. (For example, do not charge a Gel battery with Calcium battery selection setting or vice-versa as this may damage your battery) ...
-
Page 3: Control And Indicators
Blinking indicates automatic Equalisation (Calcium battery only) or manual Rejuvenation mode. 11. Float LED (green). Shows when the charger is in the final trickle charge stage. Blinking indicates first hour of Float mode as “Analysis” mode. 12. Fault LED (red). -
Page 4: Installation
Use when the LCD has been re-located. Cable is a standard telephone extension. 10m maximum. 6. Programming DIP switch. Located under the cover. Setup the correct battery charge voltage/type. IMPORTANT! This must be done prior to the first use, or after a battery replacement. - Page 5 Leave the AC mains permanently connected (recommended), or Charge the battery fully for 24 hours, then unplug the main DC connector or disconnect the battery Negative terminal. Keep in mind that all batteries have a certain rate of “self discharge” and will eventually go flat by themselves,...
- Page 6 As a general rule always leave the charger set on its highest output because it will be normally supplying standing DC loads such as lights, TV, fridge, etc at the same time it is trying to charge the battery. All of these loads “steal”...
-
Page 7: Operating Instructions
(b) Location – Ensure the Battery is in a well ventilated area. Never charge a conventional wet cell battery inside a caravan! This includes “Calcium” maintenance-free types. Refer to Australian / New Zealand Standards 2676 and 3011 for legal indoor battery installations. - Page 8 A Soft Start will only occur if the initial battery voltage is between 3V and 11V due to a deep discharge. During a Soft Start the unit will charge the battery using half the maximum current (as set by the Charging Amps button) until the battery voltage is over 11V. (Indicated by the yellow Bulk LED flashing).
-
Page 9: Charging Stages
CHARGING STAGES Note: The Charger automatically switches off after 24 hours if the Bulk charge cycle is not completed. CHARGER SPECIFICATIONS Input: 220~260Vac; 50Hz; Charging starting conditions: Battery is not less than 3.0V Rated output: 13.8Volts at 30Amps DC Type of battery: Lead-acid only (not Nickel-Cadmium, Lithium, etc). - Page 10 2 YEAR MANUFACTURER WARRANTY Zylux Distribution Pty. Ltd. (OzCharge) warrants to the Customer that this product is substantially free from defects in materials and workmanship under normal use for a period of Two Years from the Date of Purchase. Please ensure you keep a copy of your purchase on file as this will be required to validate your warranty. Obtaining Warranty Service Within the warranty period, the Customer must contact the authorised supplier / installer / retailer where the product was purchased or alternatively you can contact the OzCharge service centre through one of the following methods:...
Need help?
Do you have a question about the OC-1230P and is the answer not in the manual?
Questions and answers