Advertisement
Advertisement
Table of Contents

Summary of Contents for Opus WCU330
- Page 1 WCU330 Wall Control Unit Installation Guide...
-
Page 2: Table Of Contents
Keypad controls ........................12 Operating instructions......................14 Local source selection ......................16 Remote control........................17 Technical specifications .......................18 Limited warranty........................19 This package should contain the following: 1 x Opus WCU330 (assembled), 1 x WCU330 faceplate, 2 x M3.5mm x 20 screws, 1 x installation guide. -
Page 3: Introduction
Care should be taken in choosing a site for the WCU330, and always refer to the precautions in this guide. Bear in mind it is not always preferable to fit the WCU330 next to a light switch, particularly if the faceplates will differ. -
Page 4: Installation Notes
Installation notes The WCU330 is fitted to the wall by fixing it into a standard UK 47mm depth single-gang back-box (pattress). All knock-outs in the back-box should be removed to provide maximum ventilation. Where it is desired to fit a mains lighting switch, etc. next to a keypad, a barrier-box or two single back-boxes must be used. - Page 5 The WCU330 runs on 24V DC supplied through the connecting cable. As such there is no mains voltage present in the WCU330 and the unit is often safe to fit in areas where only extra low voltage (ELV) equipment is permitted. However, it is imperative that you always check the wiring regulations in force for your application and area.
-
Page 6: System Options
Note: Setting the Mode switch to the wrong setting can cause erroneous operation! Full Opus 300 System For use in a full Opus 300 System (see diagram opposite) the Mode Switch must be in the ‘Opus 300’ (enhanced A-BUS ®... - Page 7 OS165CC OS165CC Speaker cable Speaker cable WCU330-EU WCU330-EU Cat-5/5e cable MCU300 PSU65...
- Page 8 WCU330-EU rear In this configuration the keypad is wired directly to the Opus DZM amplifier. It is not possible to switch sources using the hard buttons on the WCU330, but this can be achieved by using Opus remote controls. Commands received by the keypads can now be sent back to the source equipment via the Opus 500 System.
- Page 9 OS165CC OS165CC WCU600 WCU330-EU DZM20 MAIN ZONE SUB-ZONE Master Bedroom En-suite bathroom MCU500 BTC1 cable Speaker cable...
-
Page 10: Rear Panel Connections
RJ45 plug place Cat-5 to WCU330 punch-down connectors A Cat-5 cable (terminated with an RJ45 jack plug) is used to connect the WCU330 to an Opus MCU300 hub or A-BUS ® Ready receiver. The WCU330 has punch-down connectors for the eight individual conductors of the Cat-5 cable. - Page 11 Connect to a pair of speakers with two runs of standard high-quality speaker cable. Speakers of at least 88dB SPL for 1W @ 1 metre efficiency should be used with the WCU330. Speakers from 4–8 ohms can be used. The Opus OS165CC speakers are an ideal match.
-
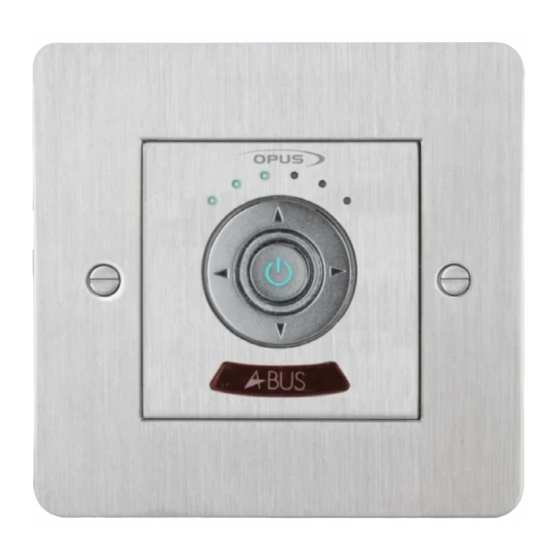
Page 12: Keypad Controls
Keypad controls The six LEDs indicate the function status of the WCU330. Listed below are each of the functions of the corresponding LEDs: Minimum volume/Source select Volume/Source select/Bass adjust/ Local Source Selection mode Volume/Source select/Treble adjust/ Local Source Selection mode... - Page 13 Standby button for about two seconds, all WCU330s connected to the MCU300 hub will be turned off. If the WCU330 is connected to an Opus DZM amplifier as part of an Opus 500 System, then the standby button only controls the keypad.
-
Page 14: Operating Instructions
Operating instructions Important! As mentioned previously, the WCU330 can be switched between two modes of operation – a standard A-BUS ® mode for compatibility with other manufacturers’ A-BUS ® Ready equipment (Standard A-BUS ® /Opus 500 mode) or when used as a sub-zone keypad in the Opus 500 System, and an Opus MCU300 hub mode (Opus 300/enhanced A-BUS ®... - Page 15 Bass Treble Balance Fader Continuing to hold down both keys will light the third LED indicating that the Treble adjust mode has been activated. In this mode, pressing the Volume up or down keys will adjust the treble (high frequencies) level. Continuing to hold down both buttons will light the fourth LED indicating that the Balance adjust mode has been activated.
-
Page 16: Local Source Selection
Local source selection Note: This feature is only available if the WCU330 is part of a full Opus 300 multi-room system with one or two Local Input Modules (LIM300) fitted. The local source selection mode will need to be activated to configure the WCU330 correctly. This mode is only available when the Mode Switch is set to ‘Opus 300’... -
Page 17: Remote Control
Volume up buttons. Note: If no adjustment is made, the system will automatically go back to volume adjustment after two seconds. If ‘Standard A-BUS/Opus 500’ mode is selected on the Mode switch, the WCU330 will only rotate around the main six sources. -
Page 18: Technical Specifications
Technical specifications Input impedance 45kohms Frequency response 20Hz - 20kHz +/- 1dB <0.2% @ 1W, 20Hz - 20 kHz S/N ratio >80dB ‘A’ weighted Volume control range -80dB, 36 steps Bass control range +/- 16dB, 2dB steps Treble control range +/- 16dB, 2dB steps Balance control range +/- 40dB, nine steps either way... -
Page 19: Limited Warranty
To obtain warranty service, please contact the Opus authorised dealer from which you purchased this product. If your dealer is not equipped to perform the repair of your Opus product, it can be returned by your dealer to Opus or an authorised Opus service agent. You will need to ship this product in either its original packaging or packaging affording an equal degree of protection. - Page 20 Русская версия данного руководства находится по адресу: www.opus.eu/manuals This guide is designed to make using the WCU330 as easy as possible. Information in this document has been carefully checked for accuracy; however, no guarantee is given to the correctness of the contents. The information in this document is subject to change without notice.
Need help?
Do you have a question about the WCU330 and is the answer not in the manual?
Questions and answers