
Related Manuals for Bulldog Scrubbers BD20

Summary of Contents for Bulldog Scrubbers BD20
-
Page 1: User Manual
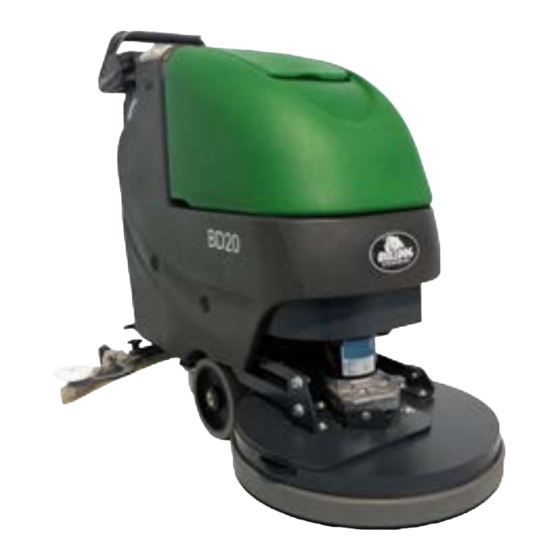
BD20 User Manual Floor Scrubber Disc Brush Drive www.bulldogscrubbers.com 877-292-3935... -
Page 2: Technical Specifi Cations
· Follow the manufacturer’s suggested maintenance instructions as provided in this booklet. · Use original Bulldog supplied parts. Technical Specifi cations Model Floor Scrubber Brush Drive Model No. BD20 32 amps Current (Max) 105Ah @20 hr Battery Capacity (Lead Acid) 95Ah @20 hr... -
Page 3: Table Of Contents
Table Of Contents Technical Specifi cations ....................2 Safety Instructions ......................4 Unpacking Instructions ....................4 Inspection .........................4 Electrical ...........................4 Batteries ...........................4 Operator Responsibility ....................4 Machine Overview ......................8 Machine Overview - Front ....................8 Machine Overview - Rear ....................8 Control Panel ........................6 Bail Handle ........................6 Handle Adjustment Knobs ....................6 Key Switch ........................6 Squeegee Lift Lever ......................6... -
Page 4: Safety Instructions
Safety Instructions IMPORTANT SAFETY INSTRUCTIONS Operators must read and understand this manual before operating or maintaining this machine. Do not operate this machine in fl ammable or explosive areas. This machine is designed solely for scrubbing dirt and dust in an indoor environment. The manufacturer does not recommend using this machine in any other capacity. - Page 5 Machine Overview Machine Overview - Front CUP HOLDER SOLUTION FILL PORT RECOVERY TANK LID RECOVERY TANK BRUSH DECK FRONT WHEEL REAR CASTER SOLUTION TANK FLOATING DECK SKIRT Machine Overview - Rear BAIL HANDLE RECOVERY HOSE SQUEEGEE LIFT LEVER CONTROL PANEL SOLUTION CONTROL LEVER SOLUTION TANK DRAIN HOSE / LEVEL INDICATOR RECOVERY TANK DRAIN HOSE...
-
Page 6: Control Panel
Machine Overview Control Panel BAIL HANDLE HANDLE ADJUSTMENT KNOB KEY SWITCH SQUEEGEE LIFT LEVER SOLUTION CONTROL LEVER BATTERY GAUGE CHARGE STATUS INDICATOR Bail Handle (A) When the scrub deck is lowered to the fl oor, the bail handle enables the brush motor and moves the machine forward once depressed. -
Page 7: Optional Hour Meter
Machine Overview Optional Hour Meter Kit# K-E1720HM The manufacturer offers an optional hour meter for the Floor Scrubber. The optional kit replaces the power cord mounting bracket at the rear of the machine with one that contains an hour meter. Optional Solution Solenoid Kit# K-E1720S The Manufacturer offers an optional solution solenoid... -
Page 8: Machine Overview
Machine Overview Circuit Breakers The circuit breaker is located at the bottom of the back panel of the machine. Main Control Breaker - 4A Brush Motor Breaker - 30A Vacuum Motor Breaker - 20A If any of the functions above are not operating, check if the circuit breaker buttons have tripped. -
Page 9: Floor Scrubber Rear Squeegee
Machine Overview Floor Scrubber Rear Squeegee Cleaning the Floor Scrubber Changing the Squeegee Blades Squeegee A Squeegee Check the inner and outer squeegee blades B Star-shaped knob on the squeegee (A) weekly for signs of Check the squeegee (A) daily and clean C Adjusting screw for angle adjustment wear. -
Page 10: Angle Adjustment
Machine Overview Adjusting the Floor Scrubber Squeegee Blades Height Adjustment If streaks are present, despite an optimum angle adjustment, the clearance between the caster wheels and fl oor must be adjusted by changing the number of washers underneath the bracket that holds the wheel. The squeegee height is preset at the factory to 3mm. -
Page 11: Horizontal Adjustment
Machine Overview Horizontal Adjustment The horizontal position can be adjusted by removing the 4 Mounting Bolts (B) (2 each side) with a 9/16” socket and sliding the Mounting Plate (P) to one of the 3 available positions. The machine is shipped from the factory in position 1. -
Page 12: Solution Fill Filter
Machine Overview Solution Fill Filter The Solution Fill Filter (B) should be cleaned regularly. To remove, simply open the Solution Tank Lid (A) and pull the fi lter out. Screened Float If the recovery tank (C) is overfi lled or a large amount of foaming is present, the screened fl... - Page 13 Machine Overview Recovery Tank Drain Hose Twist & Lift cap to clean out Twist Cap to Open and Drain large debris Deck Skirt Removal (Do not lower without brush) CAUTION: Bristles may be damaged if deck is lowered onto fl oor without brush/pad driver installed.
-
Page 14: The Floor Scrubber
The Floor Scrubber This machine was designed with total operator comfort and ease of use in mind. All machine components have been designed as a total system to effi ciently clean dirty fl oors. The Floor Scrubber has two available scrub head types and sizes to fi... -
Page 15: Machine Operation
Machine Operation To Turn on Machine Turn key to operate position ( I ) To Turn on Vacuum Lower squeegee into operate position, vacuum motor will turn on automatically. To Turn on Brush Motor Move brush lift pedal from the “home” (down) position to the operating position (up). Depress the operator bail handle. -
Page 16: Loading Brush
Machine Operation Loading Brush 1. To load the brush, fi rst center the 2. Lower the scrub deck by releasing 3. With the key turned on, pull the bail Floor Scrubber brush deck over the deck lift pedal. handle to engage the scrub brush the scrub brush. - Page 17 Notes...
-
Page 18: After Use
After Use After Use 1. When fi nished scrubbing, lift the scrub deck and turn the solution lever off. Lift the rear squeegee. Move the machine to a service area for daily maintenance and review items that may need service. 2. -
Page 19: Troubleshooting
Troubleshooting Problem Possible Cause Remedy Worn or torn squeegee blades Rotate or replace blades Recovery tank full Empty recovery tank Recovery tank drain hose leak Secure drain hose cap or replace Poor water pick up Recovery tank lid gasket leak Replace gasket lid cover properly Debris caught in squeegee Clean squeegee... - Page 20 www.bulldogscrubbers.com 877-292-3935 Rev * 12/09...
Need help?
Do you have a question about the BD20 and is the answer not in the manual?
Questions and answers