Advertisement
Table of Contents
Advertisement
Table of Contents

Subscribe to Our Youtube Channel
Related Manuals for Coolix MDF2-16DEN3

Summary of Contents for Coolix MDF2-16DEN3
- Page 1 DEHUMIDIFIER MDF2-12DEN3 MDF2-16DEN3 MDF2-20DEN3 MDN1-10DEN3...
-
Page 3: Table Of Contents
DESCRIPTION OF THE APPLIANCE ELECTRONIC CONTROL PANEL MANUAL CONTROL PANEL POSITIONING AND COMMISSIONING WATER REMOVAL WATER REMOVAL CLEANING CARE AND STORAGE FAULT CLEARANCE WEEE TERMS OF SALE OPERATING INSTRUCTIONS... - Page 4 CAUTION Dear Customer, Thank you for choosing a product that has been developed and tested to the highest standards. Please read these operating instructions carefully prior to commissioning, so that you are closely acquainted with all functions of this appliance. Keep these operating instructions to hand for future reference.
- Page 5 Always store the appliance in an upright position to keep the compressor operable. Should the mains cable of the air dehumidifier become damaged, it must be repaired at a manufacturer-approved workshop as special tools are required. Always pull the mains plug from the socket when the air dehumidifier is not in use or when it is moved, handled or cleaned.
-
Page 6: Description Of The Appliance
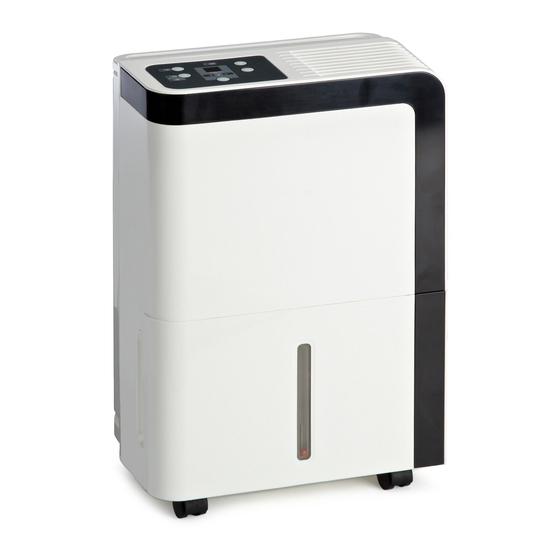
DESCRIPTION OF THE APPLIANCE Control panel Air inlet opening Water container Handle Air filter Free-moving castors Air outlet opening Drain opening (for permanent water drainage) Cable fastener (for fastening the cable) Mains cable/plug Water level indicator Front Back... -
Page 7: Electronic Control Panel
ELECTRONIC CONTROL PANEL Activate/deactivate the appliance Pressing this button activates the appliance – the POWER indicator lamp now illuminates permanently. Pressing this button deactivates the appliance – the POWER indicator lamp extinguishes. Indicator lamp: When the appliance is connected to the mains for the first time, the small lamp flashes POWER slowly. - Page 8 ELECTRONIC CONTROL PANEL Water level indicator Indicator lamp: This illuminates when the water container is full. The appliance stops operating automatically. The water container must be emptied. WATER FULL Display When the appliance is activated, the display always shows the current air humidity of the room. If you press the + and –...
-
Page 9: Manual Control Panel
MANUAL CONTROL PANEL Air humidity controller: The air humidity level can be set in a range from 10 % relative air humidity to 80 % relative air humidity. For dryer air, rotate the controller clockwise to a low percentage value. For moister air, rotate the controller counterclockwise to a higher percentage value. -
Page 10: Positioning And Commissioning
POSITIONING AND COMMISSIONING Read through all these instructions carefully before commissioning the air dehumidifier. Pay special attention to the safety information in these operating instructions. Before commissioning, the appliance must be stood upright for a minimum of 24 hours. This applies especially after transportation. -
Page 11: Water Removal
WATER REMOVAL The air dehumidifier offers you two options for draining the water removed from the air: Water tank The water is drained into the water tank and collected there. As soon as the water tank is full, dehumidification is automatically interrupted, the indicator lamp illuminates and "P2"... -
Page 12: Water Removal
WATER REMOVAL Permanent water drain Should you want to install a permanent water drain, please follow the following instructions: Ensure that the air dehumidifier is deactivated and pull the mains plug out of the socket. APPLIANCE TYPE A Carefully remove the rubber plugs (it two fitted, remove the right hand one) from the back of the appliance (see figure). Now slide a hose onto the drain. -
Page 13: Cleaning
CLEANING We recommend cleaning the air dehumidifier on a regular basis. To maintain the function of the air dehumidifier, please follow the instructions for cleaning, care and storage. Important principles: Do not use petrol, thinner or other chemicals to clean the appliance. Do not clean the air dehumidifier by placing it directly under a tap or in a water container. -
Page 14: Care And Storage
CARE AND STORAGE If you do not intend to use the air dehumidifier for a prolonged period (one week or longer), clean the air dehumidifier as described under "weekly cleaning". Allow the air dehumidifier and all its components to dry completely. Rewind the mains cable onto the winder (see diagram) The air dehumidifier must not be stored with a soiled air filter and with water in the water tank. -
Page 15: Fault Clearance
FAULT CLEARANCE Please check the following options before you contact the manufacturer or its representative: Problem Possible cause Remedy The appliance is not functioning. Appliance is not activated. Activate the appliance. The mains plug is not in the socket. Insert the mains plug into the socket. The socket is defective. - Page 16 Problem Possible cause Remedy The appliance does not The air inlet or outlet opening is Ensure that the openings are free. dehumidify or dehumidifies blocked. inadequately. The room is too large. This is normal. There are too many moisture sources This is normal.
-
Page 17: Weee
WEEE The appliance must not be disposed of with the domestic waste. This appliance is labelled in accordance with European Directive 2002/96/EC on Waste Electrical and Electronic Equipment (WEEE). The directive defines the framework for an EU-wide acceptance and recycling of used appliances. Please return your used appliance in the return and collection systems provided. - Page 18 MIDEA EUROPE GmbH Zülpicher Str. 5 40549 Düsseldorf Germany Service-Hotline DE 01805 - 12 16 17 (14 Cent pro Minute aus dem deutschen Festnetz) Service-Hotline Europe 0049 - 1805 - 12 16 17 (german and english) www.mideaaircon.de info@mideaaircon.de...
Need help?
Do you have a question about the MDF2-16DEN3 and is the answer not in the manual?
Questions and answers