Advertisement
Advertisement
Table of Contents

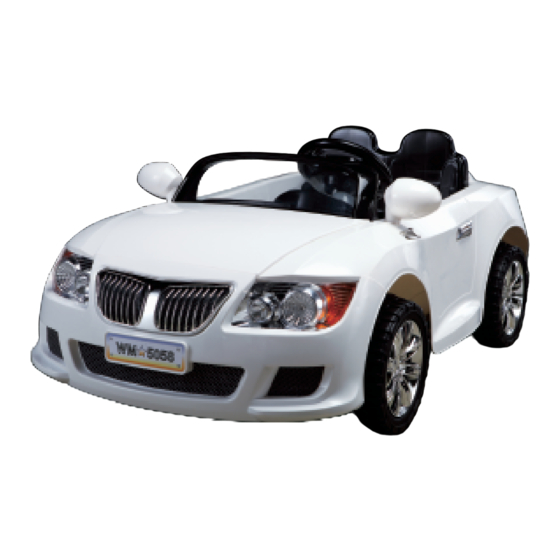
Summary of Contents for Winston 12 Volt Convertible Car
- Page 1 Owners Manual with Assembly Instructions Be Safe and Always Wear Your Helmet...
- Page 2 WARNING! To reduce the risk of injury, adult supervision is required. Never use in roadways, near motor vehicles, on or near steep inclines or steps, swimming pools or other bodies of water. Always wear shoes and a helmet. Never allow more than 2 riders. TO PREVENT FIRE AND ELECTRIC SHOCK: Only use battery and charger provided and specified by manufacturer.
-
Page 3: Tools Required
Tools required Philips head screwdriver Pliers Adiustable wrench Component List Windshield×1 Main body×1 Chrome wheel cap×4 12mm Washers×2 Front wheel×2 Rear wheel×2 Wheel bushes×2 Inside diameter 12mm outside diameter 16mm 10mm Washers×4 Steering wheel×1 5mm×35mm 5mm Lock nut×1 Wrench×1 Steering fixing bolt×1 4mm×16mm 10mm Lock nut×4 Rearview mirror×2... - Page 4 Main body×1 10mm Lock nut×4 4mm×12mm Windshield×1 Circular self-tapping screws×6 4mm×16mm Chrome wheel cap×4 Flat self-tapping screws×4 Rearview mirror×2 Front wheel×2 Battery charger×1 Rear wheel×2 Wheel bushes×2 Hood×1 Inside diameter 12mm/outside diameter 16mm 12mm Washers×2 Seat×1 10mm Washers×4 Cover plate under the seat×1 Steering wheel×1 5mm Lock nut×1 Hood trim strip×1...
-
Page 5: Product Assembly Drawing
INSTRUCTION OF THE PRODUCT ASSEMBLY DRAWING 1.Install the front wheels in accordance with the instruction in the left drawing. Follow the order, mount a12mm washer, a wheel bush, the front wheel and a 10mm washer on one side of the front axle, then fix a 10mm lock nut with a wrench, and then mount the chome wheel cap (note: the two front wheels should be installed in the same... - Page 6 5.Install the hood trim strip in accordance with the instruction in the left drawing. Put the hood trim strip in front of the windshield, press it tightly against the hood, and then use four 4 mmX12mm circular self-tapping screws to affix it. 6.Install the rearview mirrors in accordance with the instruction in the left drawing.
-
Page 7: Operating Features
9. Install the cover plate under the seat in 10. Install the seat in accordance with the accordance with the instruction in the left instruction in the left drawing. Place the seat at drawing. Place the cover plate under the corresponding location above the cover plate, seat at corresponding location, and use and use the 4mm×16mm circular self-tapping... -
Page 8: Product Specification
Product Specification Suitable age grading 3+yrs Usage temperature range 0-40 degrees C Maximum user weight 88 lbs Speed 1.86-3.73/mph Charger Input AC 120V Output DC 12V 1000mA Battery 12V 7AH×1 Charger time 8-12hrs Battery life Appro×300 charges Battery safety information Disposal Of Battery Disposal Of Battery... -
Page 9: Charging Tips
Charging tips 1.Charging of battery should always be performed by an adult. 2.Never run battery flat as this will decrease battery life. 3.It is quite normal for battery and charger to become very warm during charging cycle. Never charge battery while still warm after use. 4.To ensure proper life span of your battery while car is in storage, it is strongly advised to charge battery fully every 3 months. -
Page 10: Limited 90-Day Warranty
LIMITED 90 DAY WARRANTY Your Electric Vehicle has a Limited 90 Day Warranty from Winston Company, Inc. from the date of original purchase against defects in materials or workmanship. This warranty covers normal use and the coverage is not extended...
Need help?
Do you have a question about the 12 Volt Convertible Car and is the answer not in the manual?
Questions and answers
Where can I find parts for this car?
Parts for the Winston 12 Volt Convertible Car can be obtained by contacting the Customer Care Center at 1-877-901-8811, Monday through Friday, 9:00 am to 5:00 pm CST.
This answer is automatically generated
Hi im wondering what type of charger the car has take i lost it
The compatible charger for the Winston 12 Volt Convertible Car has an input of AC 120V and an output of DC 12V 1000mA.
This answer is automatically generated