Advertisement
For Electric Models
Table of Contents
_______________________
Wall Preparation...................................... 2
Models W542, W552 & W554 .............. 3,4
Models W500 & W510.............................. 5
Model W556............................................. 6
Electrical Specifications............................ 7
Optional Programmable Timer................ 8
Warranty.............................................. 9,10
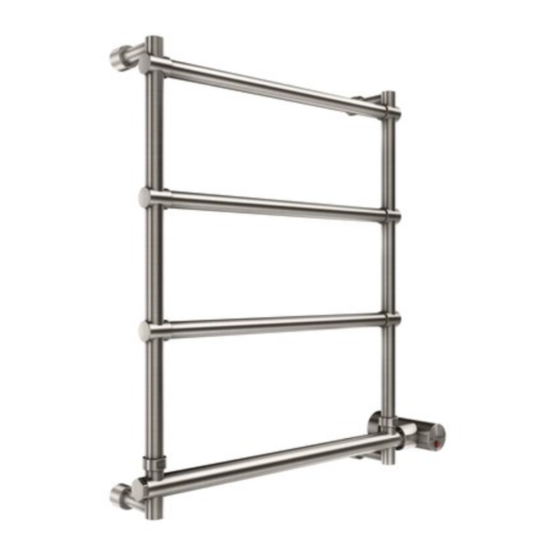
W542
9B32 LISTED
IMPORTANT NOTE:
As you follow these instructions, you will notice warning and caution symbols. The symbols call
out information important for the safe and efficient installation and operation of your towel
warmer.
states a hazard may cause serious
injury or death if precautions are not
followed.
Model__________ Serial #________________
W554
signals a situation where minor injury
or product damage may occur if you do
not follow instructions.
A Division of Sussman-Automatic Corporation
43-20 34th Street, Long Island City, NY 11101 • (718) 937-4500
1-800 767-8326 • Fax: (718) 472-3256 • www.mrsteam.com
Western Regional Offices
9410 S. La Cienega Blvd. Inglewood CA 90301
(310) 216-6565 • 1-800 727-8326 • Fax: (310) 216-2944
W500
W510
W552
IMPORTANT NOTE:
This highlights information that is especially
relevant to a problem-free installation.
W556
PUR 103852 - 4/2001
Advertisement
Table of Contents

Subscribe to Our Youtube Channel
Summary of Contents for Sussman WarmaTowel W542
-
Page 1: Table Of Contents
For Electric Models Model__________ Serial #________________ Table of Contents _______________________ General Information & Specifications..1 Wall Preparation........2 Models W542, W552 & W554 ....3,4 Models W500 & W510......5 Model W556..........6 Electrical Specifications......7 Optional Programmable Timer....8 W500 W510 Warranty.......... -
Page 2: General Information & Specifications
4. For the ultimate ease in use, a dedicated wall switch or timer can be used to control the WARMATOWEL unit. Contact Sussman-Automatic Corp. for an in-wall 24-hour-7 day timer (PN W-103588) Note: All switches and control devices must be installed on the load (black) side of the Towel Warmer circuit in compliance with the National Electric Code and Local Codes. -
Page 3: Wall Preparation
® ® Wall Preparation Finished wall surface • DO NOT mount the Warmatowel without providing structurally secure headers as shown. • DO NOT mount the towel warmer directly to sheet rock or any other non-structural surface. • Use longer fasteners as required if the finished wall surface prevents adequate mounting with the screws provided. -
Page 4: Models W542, W552 & W554
NOTE: The wiring box and upper brackets on model W542 can be rotated in either direction to result in a right or left handed wiring box. 7. Place the towel warmer in the desired location. - Page 5 ® Models W542, W552 & W554 (cont.) TO PREVENT SHOCK HAZARD, BE CERTAIN THAT ELECTRICITY IS TURNED OFF AT THE MAIN PANEL BEFORE ANY WIRING IS DONE. 9. Secure wiring flange to the wall with screws 8. Assemble the BX cable provided.
-
Page 6: Models W500 & W510
® Models W500 & W510 TO PREVENT SHOCK HAZARD, BE CERTAIN THAT ELECTRICITY IS TURNED OFF AT THE MAIN PANEL BEFORE ANY WIRING IS DONE. BOX CONTENTS: • Towel Warmer • (1) Small allen key • (6) Screws • (1) Large allen key Compression Flange •... -
Page 7: Model W556
® Models W556 BOX CONTENTS: • Towel Warmer with 7' grounding type power cord Leg Screws • (2) tubular legs • (2) leg screws • (1) Large allen key Tubular Legs • Instruction & Operation Manual • Warranty Mounting Stud 1. -
Page 8: Electrical Specifications
® Electrical Specifications Field Models: W500, W510, W542, W552. W554 Plug-in Model: W556 ELECTRICAL CONNECTIONS TO PREVENT SHOCK HAZARD, BE CERTAIN THAT ELECTRICITY IS TURNED OFF AT THE MAIN PANEL BEFORE ANY WIRING IS DONE. All wiring must conform to National Electrical and Local Codes. -
Page 9: Optional Programmable Timer
Warma Towel ® Installation and Operating Instruction Optional Programmable Timer Wiring Diagram Installation: To The Installer 1. Read the operating instructions provided with the timer. WarmaTowel 2. Disconnect power supply prior to installation to LINE (black) LOAD (red) prevent electrical shock. 3.
Need help?
Do you have a question about the WarmaTowel W542 and is the answer not in the manual?
Questions and answers