Table of Contents
Advertisement
Quick Links
Advertisement
Table of Contents

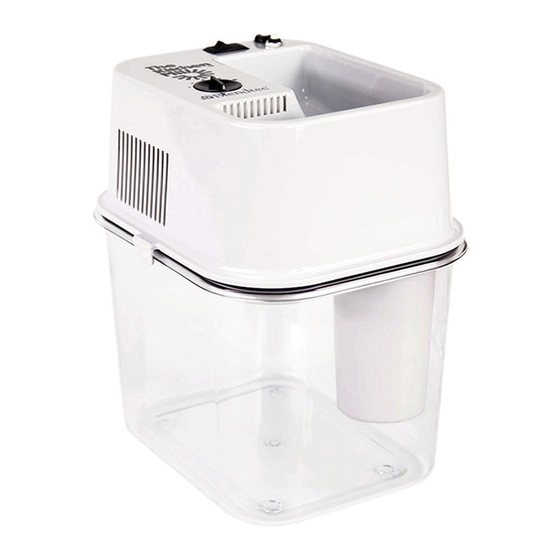
Summary of Contents for Blendtec Kitchen Mill
- Page 1 Kitchen Mill Owner’s Manual and User Guide...
-
Page 2: Important Safeguards
This is easy to do (See page 3). Make sure the mill fits firmly on the flour pan and the two hold-down latches have snapped into place. Please be sure any grain you put in your Kitchen Mill is clean. Your warranty does not cover foreign ™... - Page 3 Kitchen Mill™ will enable you to create delicious homemade breads and pastries. The Kitchen Mill™ is the result of thousands of hours of research and years of constant testing. Now you can enjoy the great taste of natural, whole grain flour any time. It is always ready in an instant.
- Page 4 You can save money by milling your own flour and baking your own breads. Buying grain in bulk can add to your savings. In this way the Kitchen Mill™ will easily pay for itself. To find whole grains in your area, try several approaches. Call large health food stores and bakery services.
-
Page 5: Operating Instructions
Be sure to empty the cyclone cup after each milling session. Any flour you find in the cup is perfectly good and should be used. The function of the cyclone cup is to separate the flour from the air as it passes through the mill. www.blendtec.com... - Page 6 Attach the mill to pan and make sure grain is clean With the cyclone cup in place, turn the mill right side up and place it on the mill pan. Latch one side at a time. Make sure the latches snap over the edge of the pan. After latching the sides in place, push down on the top to make sure the mill and the pan are snugly together.
- Page 7 Pull out on the bottom of the latches, one side at a time. Release one latch and pull up, then release the second latch. NOTE: DO NOT LIFT THE MILL FROM THE PAN BY PULLING ON THE GRAIN SHIELD. It was not designed to be a handle and could break. www.blendtec.com...
- Page 8 Place one to three cups of grain into hopper Cup not included Select the texture setting. You can select any of three settings from regular flour to fine flour. The large dot is the setting for regular flour, the smallest dot is the setting for fine flour, and the middle dot is the setting for medium flour.
- Page 9 Keep the filter clean and the machine will operate efficiently. The filter can be washed with soap and water, and needs to be completely dry before you put it back into the mill. F-Filter www.blendtec.com...
- Page 10 Storage After you have finished milling, clean and store your machine properly. The milling chamber is completely self cleaning. Just run the mill for about 5 seconds after all of the grain inside the mill has been processed. This eliminates remaining flour in the chamber. You can use a soft cloth or small brush to remove any extra flour from the bottom of the mill.
- Page 11 15%. 7. Never immerse the milling unit in water. 8. Do not attempt to repair your Kitchen Mill™. If you suspect that repairs are neces- sary, follow the repair procedure listed on page 1 of this manual.
- Page 12 The Blendtec Kitchen Mill The Kitchen Mill™ will mill the following: Wheat (hard & soft) Small dried garbanzo beans Dried pinto beans Dried beans (most types) Dried green peas Legumes Dried sweet corn Dried mung beans Sorghum (milo) Dried pinto beans...
Need help?
Do you have a question about the Kitchen Mill and is the answer not in the manual?
Questions and answers