Table of Contents
Advertisement
Advertisement
Table of Contents

Summary of Contents for Day6 PlotWatcher
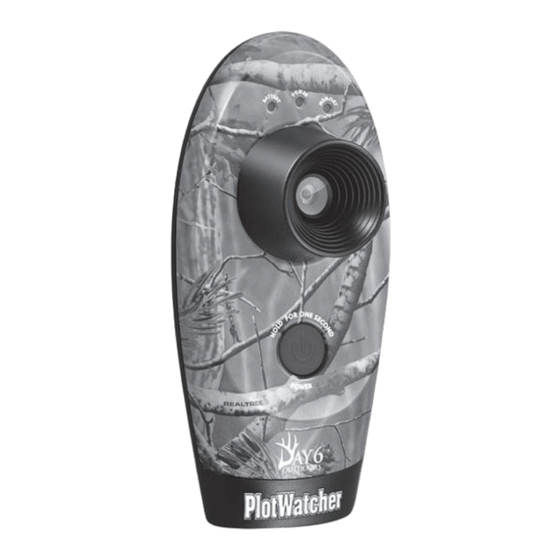
- Page 1 KNOW THE OPTIONS for your next hunt! The Day6 PlotWatcher Time Lapse HD Video Camera records up to 84 hours of activity at a potential hunting location onto a USB drive. All of the activity can then be reviewed in just a few minutes, using the...
-
Page 3: Package Contents
• Installation CD PlotWatcher Time Lapse HD Video Camera User Manual Thank you for purchasing the PlotWatcher Time Lapse HD Video camera. The PlotWatcher TLV camera is a breakthrough scouting tool. Mounted at your potential hunting locations, it records HD video of all the activity that happens in the days before you hunt. - Page 4 *Midday Skip is a feature that stops recording of HD Video during the middle of the day for a specified time. This conserves battery life, extending the number of days the PlotWatcher TLV camera will operate before the batteries must be replaced.
- Page 5 Lens Power Button Battery Cover Flash Drive AA Battery AA Battery Wheel AA Battery AA Battery Mounting Hole...
- Page 6 To set your PlotWatcher TLV camera on the mounting stake, screw the mounting stake clockwise into the hole on the bottom of the camera. (See diagram above) To set your PlotWatcher TLV camera on any standard tripod, screw the tripod clockwise into the hole on the bottom of the camera.
- Page 7 “Camera Setup”. To turn ON the PlotWatcher TLV camera, press and hold the grey power button on the front of the camera until the green LED lights up. All LEDs will then flash, with an audible beep, about once per second for 5 times to indicate that POWER UP is successful.
- Page 8 The following are the step by step instructions: 1. Insert the 4 or 8GB USB drive you plan to use with your PlotWatcher camera into your PC. Note the Drive letter assigned by Windows to the USB drive so that you can specify this drive on step 4.
- Page 9 7. Insert the USB into the PlotWatcher. 8. Turn on the PlotWatcher so that it can read the setup file. 9. Confirm that setup is successful: PlotWatcher TLV camera will beep 3 times and power down after successful setup. 10. PlotWatcher is now ready for operation with the new settings.
- Page 10 Managing Time Lapse Video files The PlotWatcher TLV camera records one HD video file for each day of operation. Each daily file uses around 300Mb of disk storage space. When the USB flash drive begins to fill up (about 10 days on a 4 Gb drive, or 20 days on an 8 Gb drive), the oldest file will be deleted to make room for the newer file.
- Page 11 SETTINGS button. For additional tips and to get the latest information on the GameFinder video player, visit www.day6outdoors.com. For support, contact us at support@day6outdoors.com. Thank you for using the PlotWatcher TLV camera and GameFinder software!
- Page 12 day6outdoors.com 1150 Brookstone Centre Pkwy #200 Columbus, GA 31904 (706) 256-2578...
Need help?
Do you have a question about the PlotWatcher and is the answer not in the manual?
Questions and answers