
Related Manuals for Rivet King RK-8000M


Summary of Contents for Rivet King RK-8000M
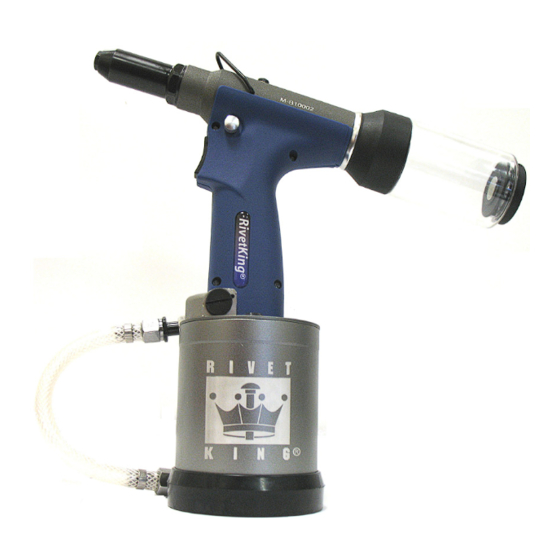
- Page 1 Instruction Manual Model# RK-8000M For sales, service or support call your local distributor or: 1800-BUY-RIVET 1-800-289-7483 www.rivet.com...
-
Page 2: Table Of Contents
ONTENTS Features Page 3 Safety Page 3 Specifications Page 3 Air supply Page 4 Operation Page 4 Jaw Cleaning Procedure / Jam Remedy Page 5 Maintenance / Service Page 6 Oil Change/Replacement Procedure Valve Spool Assembly Trigger Preventive Maintenance Page 7 Daily Weekly Monthly... -
Page 3: Features
The specifications and information contained in this manual are applicable only to the tool with which it was supplied. Industrial Rivet & Fastener Co reserve the right to make any changes without notice as part of Industrial Rivet & Fastener Co policy of continuous improvement. RK-8000M R PECIFICATIONS FOR IVET... -
Page 4: Air Supply
AIR SUPPLY The rivet tool is powered by compressed air at an optimum pressure of 85 psi. Do not exceed 90 PSI of air pressure. Explosion and harm to operators can result. The use of a pressure regulator filter/lubricator unit within 3 meters of the tool is highly recommended to extend the life of the tool. -
Page 5: Jaw Cleaning Procedure / Jam Remedy
AW CLEANING PROCEDURE JAMMED GUN REMEDY 1. Disconnect tool from air supply 2. Leaving the nose piece attached, remove the nose case 3 using the wrench provided by loosening at the wrench point. 3. Fit two wrenches, one on Jaw Case 05 and the other on 11 keeping the nut 11 stationary while unscrewing the jaw casing 05. -
Page 6: Maintenance / Service
AINTENANCE IMPORTANT: DISCONNECT THE TOOL FROM THE AIR SUPPLY OR SWITCH OFF AT VALVE (54). REMOVE NOSE ASSEMBLY OR SWIVEL HEAD COMPONENTS. All operations should be carried out on a clean bench, with clean hands in a clean area. Ensure that the new oil is perfectly clean and free from air bubbles. -
Page 7: Valve Spool Assembly
AINTENANCE CONTINUED Valve Spool Assembly Maintenance Send into authorized repair center for service. Trigger Maintenance Procedure Inspect trigger pin valve by insuring 35 has not come loose. The proper depth should be just under the valve stem. If adjustment is necessary using a fork wrench or tire valve tool, screw the trigger pin 34 into the valve stem. -
Page 8: Schematic
SCHEMATIC... -
Page 9: Part List
SERVICE KITS & SPARE... -
Page 10: Oil Msds
OIL MATERIAL SAFETY DATA SHEET MSDS Priming is ALWAYS necessary after the tool has been dismantled and prior to operating. It may also be necessary to restore the full stroke after considerable use, when the stroke may be reduced and fasteners are not fully placed by one operation of the trigger Oil Details The recommended oil for priming is Mobil DTE 24 or Hyspin VG32 available in 0.51 or one gallon... -
Page 11: Troubleshooting
ROUBLESHOOTING Item numbers in parentheses refer to assembly drawing part numbers on page 9. Problem Possible Cause Remedy More than Air leak Tighten joints or replace components Insufficient air pressure Adjust air pressure to within specification operation of Air Lubrication Lubricate tool at air inlet point... -
Page 12: Warranty Statement
Warranty Statement: Industrial Rivet & Fastener Co. Inc. (hereinafter “IRF”), hereby warrants to the initial retail customer or original authorized distributor (“Warrantee”) only that its products will be free from defects in material and workmanship for a period of 1 year from the purchase date provided that the products are used in accordance with “IRF’s”...
Need help?
Do you have a question about the RK-8000M and is the answer not in the manual?
Questions and answers