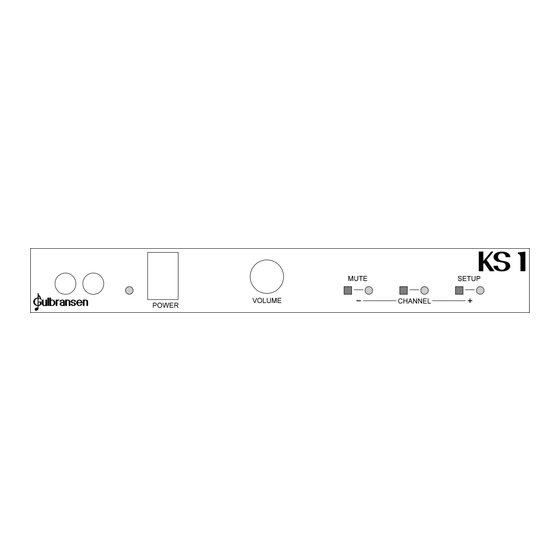
Summary of Contents for GULBRANSEN KS1
- Page 1 MIDI 9 / GULBRANSEN MIDI ADAPTER OWNER’S MANUAL MIDI 9 800-757-MIDI www.midi9.com...
- Page 2 If the SS88 sensor strip is not already installed in your piano, refer to the installation manual that was shipped with the KS1. The first thing you will want to do is perform a bench test to make sure none of the KS1 components were damaged in shipping.
- Page 3 KS1 Operation The KS1 is a very simple device and is easy to use. Once the setup procedure has been performed, there are only three controls that you need to worry about. Everything you need to know is on this page! Volume: This control allows you to set the volume of your external sound module(s).Twisting this knob...
-
Page 4: Setup Functions
Press the Setup button for one second to begin the keyboard calibration. Make sure you are not holding any keys down when you do this. The KS1 will look at the key rest positions when entering this function. If you are holding any keys down, they will not work properly. -
Page 5: Clear Eeprom
Clear EEPROM The KS1 stores its setup information in an EEPROM, which is a small circuit about the size of a very flat crouton. This amazing little device will retain this setup information for 10 years without power. The use of this device means the KS1 has no batteries to replace. -
Page 6: Troubleshooting
TROUBLESHOOTING Before calling your GULBRANSEN KS1 dealer for technical assistance, please check the following items. You may be able to avoid an unnecessary service call. Symptom Probable Cause Solution No lights on the panel. Unit is turned off Turn the unit on Hint: The KS1’s power... -
Page 7: Product Specification
PRODUCT SPECIFICATION CONTROL PANEL/SCANNER Three buttons: Mute, Channel, Setup One knob: Volume One Switch: Power Four LEDs: Power, Mute, Channel, Setup Input Power - 12 Volts DC or AC, 1 AMP (Positive Voltage at connector center) 20 MHz 80C186 Processor (1 MIPS) Custom VLSI Synthesis Engine (105 MIPS) 64 K Bytes RAM 256 K Bytes ROM...

Need help?
Do you have a question about the KS1 and is the answer not in the manual?
Questions and answers