Table of Contents
Advertisement
Quick Links
Advertisement
Table of Contents

Related Manuals for Verbatim PowerBay 4-Bay RAIDMulti-Interface Drive


Summary of Contents for Verbatim PowerBay 4-Bay RAIDMulti-Interface Drive
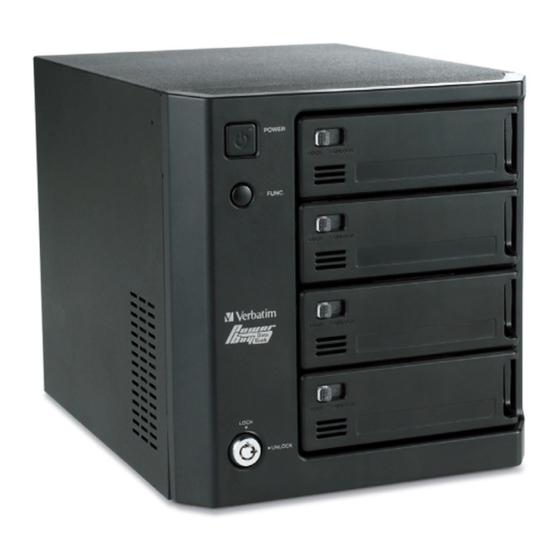
- Page 1 Verbatim PowerBay™ 4-Bay RAID Multi-Interface Drive Version 1.00 User Manual...
-
Page 2: Table Of Contents
Table of Contents Introduction .......................... Package Contents ......................Controls, Connectors and Indicators ..............About the Hard Drive ...................... Locating the Drive on Your Desk ................Bundled Software ......................................4 Acronis Backup Software (Windows) .............. -
Page 3: Introduction
Introduction Thank you for purchasing this Verbatim PowerBay™ 4-Bay RAID multi-interface drive. “RAID” is short for “Redundant Array of Independent Disks” and is a standard method of combining two or more hard disk drives to achieve higher levels of performance, reliability and capacity. Before you begin to use the drive, there are a few important things to learn about your new product. -
Page 4: Product Overview
Product Overview 3. Function Button. The Function Button is used for two purposes: a) Use this button to cycle through RAID options when setting the RAID mode (see Configuring the RAID Mode below). b) Use this button to initiate rebuilding the array after replacing a failed cartridge (see Rebuilding RAID 5 and RAID 1+0 below). -
Page 5: About The Hard Drive
Product Overview 15. RAID Setup Button. This recessed button is used to initiate reconfiguration of the RAID mode. To ac- cess and depress the button, use a pointed tool or pen point. See Configuring the RAID Mode below for a description of how to use this button. -
Page 6: Fat32 Formatting Utility (Windows)
Configuring the RAID Mode This Verbatim 4-bay RAID drive can be configured to one of three RAID modes. The factory default setting is RAID 5. If RAID 5 is your desired mode, then you can jump to the next section of the manual since no further configuration is required. -
Page 7: Connecting To Your Computer
Connecting to your Computer This Verbatim external hard drive provides four available connection protocols: eSATA, USB, FireWire 400 or FireWire 800. You can attach your drive to a computer with any of these connections, but do not attempt to use more than one connection type at the same time. -
Page 8: For Mac Os Users
Product Overview For Mac OS Users: 1. If you have files located on your drive open in any applications, close them. 2. Locate the icon for your drive on the desktop, and drag it to the trash. Replacing a Failed Cartridge When the system detects a failed cartridge, the Cartridge Status LED of the failed cartridge will turn Red. -
Page 9: Rebuilding The Array
Customer for any labor provided and expenses incurred by Verbatim in connection with such determination, at Verbatim’s then current rates. Verbatim is not liable for any damage to or loss of any programs, data, or other information stored on any media contained within the Verbatim hardware product, or any non-Verbatim product or part not covered by this warranty. -
Page 10: Return Procedures
You will be responsible for reinstalling all data. Data recovery is not included in the warranty service and Verbatim is not responsible for data that may be lost or damaged during transit or a repair. - Page 11 © Verbatim Americas, LLC, 2010 Verbatim and the V logo are registered trademarks of Verbatim Americas, LLC.
Need help?
Do you have a question about the PowerBay 4-Bay RAIDMulti-Interface Drive and is the answer not in the manual?
Questions and answers