Advertisement
Table of Contents
- 1 Table of Contents
- 2 Caution and Warning
- 3 Specifications for this Scale
- 4 Certifications / Connectivity / Disposal
- 5 Assembly Instructions 499KL Scale
- 6 Assembling the 499KL Scale (Refer to Figures 1
- 7 Setup / Batteries
- 8 Quick Start Instructions
- 9 Maintenance
- 10 Calibration
- 11 Troubleshooting
- 12 Warranty
- Download this manual
See also:
Instructions for Using
Advertisement
Table of Contents

Related Manuals for Health O Meter 499KL


Summary of Contents for Health O Meter 499KL
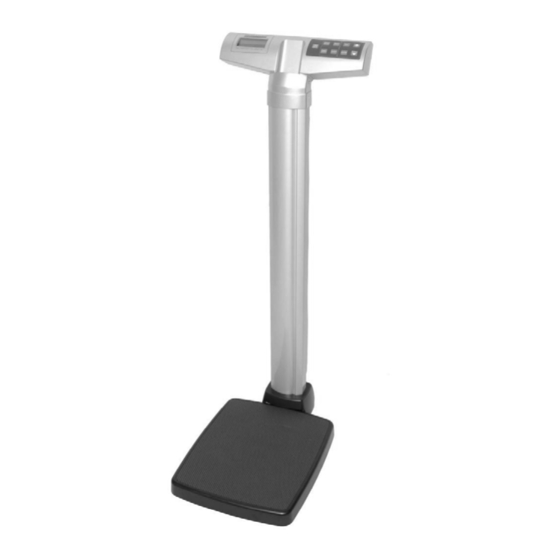
- Page 1 Model 499KL Waist High Digital Beam Scale User Instructions P/N UM499KL Rev 1-032912...
-
Page 2: Table Of Contents
Model 499KL Thank you for your purchase of this Health o meter® Professional product. Please read this manual carefully, and keep it for easy reference or training. TABLE OF CONTENTS Caution and Warning....................3 Specifications for This Scale ..................5 Certifications / Connectivity / Disposal ..............6 Assembly Instructions 499KL Scale .................7... -
Page 3: Caution And Warning
AC adapter as soon as possible. If the scale becomes damaged, it should not be operated until properly serviced. All repairs should only be performed by authorized Health o meter® Professional service personnel. ... - Page 4 CAUTION AND WARNING When operating this scale with the optional AC adapter: Operate this scale exclusively with the AC adapter provided by Health o meter. Use of an unspecified adapter will void the warranty, and can pose a serious safety hazard. ...
-
Page 5: Specifications For This Scale
SPECIFICATIONS FOR THIS SCALE General The Model 499KL waist high digital beam scale uses highly sophisticated microprocessor technology. Each precision scale is designed to provide accurate, reliable and repeatable weight measurements. In addition, each scale is designed to provide the user with features that make the weighing process simple, fast, and convenient. -
Page 6: Certifications / Connectivity / Disposal
Support, available during normal business hours at 1-800-683-3722. 499KL Scale Disposal This Health o meter® Professional scale must be disposed of properly as electronic waste. Follow the national, regional or local regulations which apply to you for disposal of electronic... -
Page 7: Assembly Instructions 499Kl Scale
499KL ASSEMBLY INSTRUCTIONS Before Assembly Each 499KL waist high digital beam scale is shipped disassembled in one carton. Carefully inspect the carton for shipping damage before unpacking. If damage is found, contact your shipper or a Health o meter® Professional representative immediately at 1-800-815-6615. -
Page 8: Assembling The 499Kl Scale (Refer To Figures 1
499KL ASSEMBLY INSTRUCTIONS (CONTINUED) Assembling the 499KL Scale (Refer to Figures 1 - 8) Caution: It is recommended that the assembly be performed by two persons. 1. Carefully remove the scale platform and columns A and B from the carton. Place the scale platform and columns on a flat, level, and dry surface (see Figure 1). - Page 9 499KL ASSEMBLY INSTRUCTIONS (CONTINUED) Figure 1 Screws and washers Column B Figure 2...
- Page 10 499KL ASSEMBLY INSTRUCTIONS (CONTINUED) Column A Cable connector Figure 3 RJ jack Scale platform C Figure 4...
- Page 11 499KL ASSEMBLY INSTRUCTIONS (CONTINUED) Column A Locking Notch Column B Figure 5 Screw Screw holes holes Scale platform C Figure 6...
- Page 12 499KL ASSEMBLY INSTRUCTIONS (CONTINUED) Adaptor Jack Washer Screws Figure 7 Figure 8...
-
Page 13: Setup / Batteries
Figure 9). 4. Replace or install the batteries with new units. Health o meter recommends using an alkaline or lithium battery, rated for 130°F (54°C) operation. Do not use zinc-carbon batteries. 5. Re-attach the battery cover to the display assembly. - Page 14 SETUP / BATTERIES Locking tab Display assembly Battery cover Figure 9...
-
Page 15: Quick Start Instructions
QUICK START / OPERATING INSTRUCTIONS Keypad Figure 10 Function Description ON/OFF Turns scale on and off. ZERO Tares the scale prior to a weighing. Holds the weight value of the patient on the display until the button is HOLD/RELEASE pressed again to clear the value. Prompts entry of height data to calculate patient’s Body Mass Index (BMI). - Page 16 QUICK START / OPERATING INSTRUCTIONS (CONT) Auto-Off Function As an energy saving feature, the scale will automatically turn off after 2 minutes of inactivity. By default this function is enabled. Disable Auto-Off 1. While the scale is turned off, press and hold the HOLD/RELEASE button. 2.
- Page 17 5. Once a weight has been displayed, while the patient is still on the scale, Health o meter recommends performing a second weighing by pressing the REWEIGH button.
- Page 18 QUICK START / OPERATING INSTRUCTIONS (CONT) Zero Function When using this scale, the weight of an object, can be zeroed out allowing additional weight to be added and displayed. The zero function automatically performs this subtraction. Note: Ensure there are no object on the scale platform. Zero (Push Button) 1.
-
Page 19: Maintenance
Maintenance The following pages provide instructions for maintenance, cleaning, calibrating, and troubleshooting for the 499KL scale. Maintenance operations other than those described in this manual should be performed by qualified service personnel. Caution: Before first use, or after long periods of non-use, check the scale for proper operation and function. -
Page 20: Calibration
This scale has been factory calibrated, and does not require calibration prior to use. If required, the scale can be calibrated. Calibration of your 499KL scale is performed using kilograms (KG) or pounds (LB), according to the units of measure used upon entering into the calibration path. -
Page 21: Troubleshooting
TROUBLESHOOTING Troubleshooting Before contacting service personnel, refer to the following instructions to check and to correct any failures. Symptom Possible Cause Corrective Action Scale does not turn on 1. Dead battery 1. Replace batteries 2. Faulty electrical outlet 2. Use a different outlet 3. -
Page 22: Warranty
What does the Warranty Cover? Health o meter® Professional scales are warranted from date of purchase against defects of materials or in workmanship for a period of two (2) years. If product fails to function properly, return the product, freight prepaid and properly packed to Pelstar, LLC (see “To Get Warranty Service”, below, for instructions).
Need help?
Do you have a question about the 499KL and is the answer not in the manual?
Questions and answers