Ricoh GX e3300N Installation Manual
Sublijet-r printer setup & oem driver installation
Hide thumbs
Also See for Ricoh GX e3300N:
- Specifications (4 pages) ,
- User manual (706 pages) ,
- Installation manual (13 pages)
Advertisement
Quick Links
Download this manual
See also:
User Manual
CAUTION: DO NOT INSTALL OEM INK BEFORE INSTALLING SUBLIJET-R INK.
Do not power ON the printer before installing the cartridges
Ricoh GX e3300N
INsTAllATION GUIde
Note: If you experience any communication errors, a powered USB Hub may be required.
Advertisement

Related Manuals for Ricoh Ricoh GX e3300N


Summary of Contents for Ricoh Ricoh GX e3300N
-
Page 1: Installation Guide
CAUTION: DO NOT INSTALL OEM INK BEFORE INSTALLING SUBLIJET-R INK. Do not power ON the printer before installing the cartridges Ricoh GX e3300N INsTAllATION GUIde Note: If you experience any communication errors, a powered USB Hub may be required. - Page 2 SECTIONS: Printer Setup & OEM Driver Installation (2 pages) OEM Driver Initialization (2 pages) PowerDriver-R Installation (6 pages)
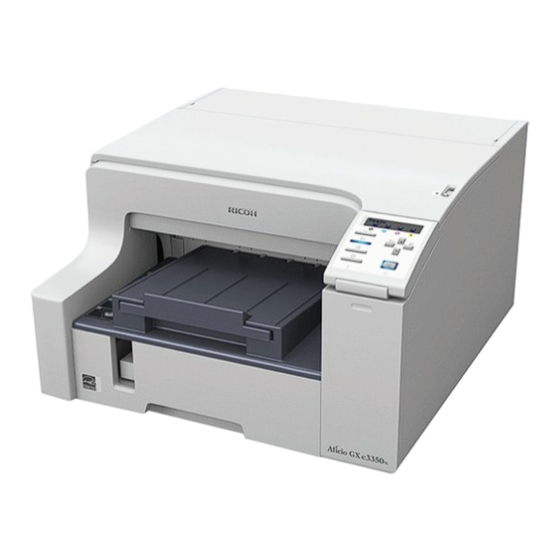
- Page 3 Ricoh GX e3300N Printer setup & OeM driver Installation 1.) Open the printer box, remove the cables and other accessories, and place them aside. Next, remove the printer from the box, and place it on a sturdy work surface with sufficient operational clearances (the printer weighs approximately 31 lb).
- Page 4 SubliJet-R: Ricoh GX e3300N Printer setup & OeM driver Installation (cont’d 2:2) 4.) Plug the power cord into a power outlet and plug the USB cable into your computer. dO NOT POWeR ON THe PRINTeR AT THIs TIMe. ...
- Page 5 Printers and Faxes window (see Figure 2 > 1). FIgURE 1 2.) Right-click on the Ricoh GX e3300N printer icon (see Figure 2 > 2) and select Properties (see Figure 2 > 3). This will open the Gelsprinter GX e3300N Properties window (see Figure 3 > 1).
- Page 6 SubliJet-R: Ricoh GX e3300N OeM driver Initialization (cont’d 2:2) 3.) Click Print Test Page (see Figure 3 > 2). A test page will print signifying that communication has been bridged between your computer and printer. FIgURE 3 The Ricoh e3300N OEM Driver has now been initialized and is ready to use in conjunction with PowerDriver-R.
- Page 7 Ricoh GX e3300N Powerdriver-R Installation 1.) Visit the Sawgrass Technologies web site at www.sawgrassink.com and navigate to the Powerdriver-R downloads for sublijet page (http://www.sawgrassink.com/v.php?pg=364). First highlight Technical support, next highlight subliJet Technical support, then highlight subliJet downloads, and finally highlight and click on Power-driver downloads (see Figure 1). This will open the Powerdriver downloads for sublijet window (see Figure 2).
- Page 8 SubliJet-R: Ricoh GX e3300N Powerdriver-R Installation (cont’d 2:6) 3.) On your desktop, double-click on the executable icon to begin the installation (see Figure 3). This will open the Powerdriver R GXe3300N setup window (see Figure 4). When you are ready to begin the installation, click Install (see Figure 4).
- Page 9 SubliJet-R: Ricoh GX e3300N Powerdriver-R Installation (cont’d 3:6) 6.) While installing, you will see a Hardware Installation window. Click Continue Anyway to ignore this warning and continue with the installation (see Figure 10). As installation nears completion, a new window will prompt you to register your product (see Figure 11).
- Page 10 SubliJet-R: Ricoh GX e3300N Powerdriver-R Installation (cont’d 4:6) 9.) Type in the Registration Code you receive and click Apply Code (see Figure 14). Next, click OK to complete the registration process (see Figure 15). The installation program warns you to disable the color management in your graphics software.
- Page 11 SubliJet-R: Ricoh GX e3300N Powerdriver-R Installation (cont’d 5:6) 11.) Once your computer has been restarted, click your start icon and click Printers and Faxes (see Figure 18). This will open the Printers and Faxes window (see Figure 19). FIgURE 18 12.) Right-click on the Powerdriver R GXe3300N icon and click Printing Preferences (see Figure 19).
- Page 12 SubliJet-R: Ricoh GX e3300N Powerdriver-R Installation (cont’d 6:6) 13.) Click the drop-down arrow and select the Gelsprinter GX e3300N as the OEM Printer. Once you have selected your printer, click Apply to finalize the initialization process (see Figure 21). FIgURE 21 NOTe: For the absolute latest Information and Updates on all Products, Materials, Processes, and/or Procedures relative to all offerings by or through Sawgrass Technologies, Inc., please refer to our Website:...
Need help?
Do you have a question about the Ricoh GX e3300N and is the answer not in the manual?
Questions and answers