Table of Contents
Advertisement
Quick Links
Advertisement
Table of Contents

Summary of Contents for Genie CCTV HDAV100
- Page 1 Model: HDAV100 Genie HD AutoView Vehicle Camera Instruction Guide...
- Page 2 Cautions Do not use any chemical agents to clean your Genie HD AutoView, as they may cause damage to the product. If you do need to clean any part of the product only use a damp cloth. Do not insert anything into the product, or subject it to unnecessary shocks.
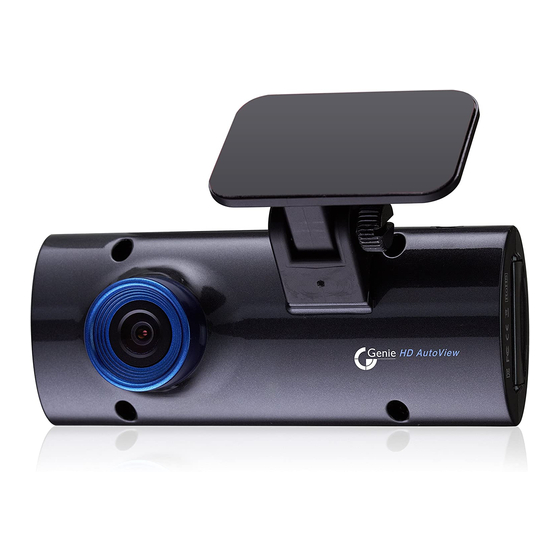
- Page 3 About the Product Thank you for purchasing this Genie HD AutoView. Genie HD AutoView features a built-in GPS antenna, H.264 video compression for ultra-clear video, and intuitive playback software for you to view and archive your recorded videos. Genie HD AutoView is designed to record daily driving events from the driver’s perspective.
- Page 6 Features Genie AutoView Image Sensor 2MP CMOS Sensor Audio Input MIC Built In Video Compression H.264 Audio Compression ADPCM Record Resolution 1080P (1920 x 1080), 720P (1280 x 720) Record Speed Max. 30fps Emergenc Button Event recording using the emergency button settings G-Sensor Event recording by outside impact GPS Sensor...
-
Page 7: Easy Installation
Easy Installation Insert the SDHC card. Assemble the Genie HD AutoView main body and bracket. Decide where best to position the product on the windscreen id eally behind the rear view mirror. Clean up humidity moisture and dirt from the windscreen using a clean, dry lint free cloth. -
Page 8: Installation
Installation Insert the SDHC card into the SD card slot, as shown in the image on the left. In cases where the SDHC card is forcefully inserted, the SDHC card and the product will be damaged and the warranty become void. - Page 9 Remove the protective film covering the adhesive bracket, and slightly loosen the mounting bracket screw to adjust the mounting angle. Firmly press the mounting bracket and camera onto the chosen position on the windscreen. Hold for 3 seconds to secure.
- Page 10 Tighten the mounting bracket screw with a coin to secure the mounting position. The camera iew of the road angle should be adjusted to allow for the windscreen’s tilt. Secure the power cable with the supplied tie wraps.
- Page 11 Plug in the car adapter to the product and then into the cigarette lighter to power up. HD AutoView takes approximately 30 seconds to start up. It indicates recording has started with a beep. During normal operation, the REC LED is always ON.
-
Page 14: How To Playback
How to Playback After turning off the product, take out the SDHC card. Insert the SDHC card into a PC and click the viewer program Icon to execute the program. On the main menu, select the time data you want play and click the play button to watch the recorded data. - Page 15 Playback Double click the left mouse button to convert to full screen from the main menu screen. To return to the main screen, click the left mouse button again. On the playback screen, clicking the right mouse button on a screen position initiates the zoom feature.
- Page 16 Playback-II Click the Draw a lane icon, as above pop up screen, adjust the line to match the lane. Select Draw lane on the road and click Apply button to start. To cancel Draw a lane, unselect Draw lane on the road and click Apply button. Click Panorama icon as above to start Panorama playback.
- Page 17 Playback-III Click Repeat event icon as above to setup a repeat section. Click the desired Start and End points during playback. Playback repeats between the selected times. Click Release to clear Start and End points.
- Page 18 Back-Up There are several options for back up - JPEG, BMP, AVI, JDR and G-SENSOR data back-up. Back up for Image - AVI and JDR Select the time of the recorded data to be backed up and press the back-up button.
-
Page 19: System Setup
System Set-Up Resolution - Select either 1080P or 720P. Camera - Adjust the frame/sec. Brightness - Brightness can be set to one of three levels “Dark/Default/Bright”. The above settings influence on the data size of recorded files and the SD card storage space. -
Page 20: Event Setup
Event Set-Up Event - EMERGENCY / IMPACT / OVERSPEED / SUDDEN START / SUDDEN STOP / PARKING / MOTION. Frame - Post-alarm - 2 ~30 seconds recording after an event occurs. Over speed - Set up the over speed monitoring system. Once the speed limit has been exceeded, the device will begin recording. -
Page 21: User Settings
User Settings Car Info- Input the license number of the vehicle. Driver Info - Driver’s name. Serial No - The product’s serial number. User’s Information User ID - Input ID to login the main screen (Default = admin). Password- Input the password to login (Default = no password). Caution This menu is for private information. -
Page 22: Removable Disk
Removable Disk Sometimes errors occur on the SD card. This function is for restoring or formatting the data of a SD card. Before doing this, please back up the recorded data on the SD card because formatting will delete all data. Select the drive where the SD card is installed. - Page 23 Version KERNEL - Show the information about KERNEL. RAMDISK - Show the information about RAMDISK. S/W VER - Show the information about the software. VIEWER - Show the viewer version.
-
Page 24: How To Upgrade
How to Upgrade 1. Please download the firmware for upgrading the product. Visit http://www.geniecctv.com and download the latest firmware. 2. Turn off the product. 3. Remove the SD card. 4. Connect the SD card to a PC and copy the downloaded latest firmware to the “update”... -
Page 25: Troubleshooting
Troubleshooting Problem Check Point The product does not turn on Check it’s connected to a suitable DC12-24V power supply. Check whether the correct voltage is being used. Contact the nearest service centre if the device doesn’t turn on; if it’s correctly connected to a power source. Check the fuse of the cigar lighter (more than 250V/3A). - Page 26 Reference The Scope of Warranties and Liability We are not responsible for any harm caused by product failure, damage due to loss of data, and other damage caused by using the product. This device’s purpose is for recording vehicle accidents, but there’s no guarantee it will capture all incidents.
Need help?
Do you have a question about the HDAV100 and is the answer not in the manual?
Questions and answers