
Related Manuals for Greyfox CAT 5


Summary of Contents for Greyfox CAT 5
- Page 1 Installation Guide For additional technical information, please visit our website at http://www.greyfox.com N T E R C O M Y S T E M For Technical Support, call toll free 877-GREYFOX or 412-920-6100 P/N R1708v2...
-
Page 2: Table Of Contents
Cat 5 Intercom System Operational Overview ..... 14 • Do not install any component in a return air duct. -
Page 3: System Components Overview
Door Chime: This component installs as an add-on to the Intercom Module. It System Components Overview enables a chime to be heard on all units speakers throughout the Cat 5 Intercom System. Without this component, no chime will be heard through the system. -
Page 4: Intercom Unit Placement Tips
• Maintain a minimum 1” bend radius. System Wiring Overview • Do not untwist Cat 5 conductors more than 1/2” at any termination point. • Keep cables away from objects such as HVAC ducts, and anything with sharp edges that could damage cables. -
Page 5: Pre-Wiring (Rough-In) The Cat 5 Intercom System
• ONE Cat 5 run is required to operate the Room Unit. Intercom System components. • Run ONE Cat 5 cable from the 2 gang box directly to the enclosure where the Intercom Module will be installed. Label both ends of your cable run to indicate Main Console Unit Room Unit number (ex:“Room Unit 5). -
Page 6: Intercom Module And Door Chime
• Ideally, you would want the siding contractor to use flashing and make use • Locate the Cat 5 cable in the roughed in 3 gang box that you labeled as of J-channel around the perimeter of the Door Unit and 2 gang box to “Main 1”. -
Page 7: Door Unit
Unit circuit board and speaker before terminating the Cat 5 cable. to the punchdown block labeled “TO MAIN 2”. • Locate the Cat 5 cable in the roughed in 2 gang box that you labeled as “Door Unit X” where X is the door unit number. -
Page 8: Door Chime
Cat 5 Intercom System. ¥ Insert the Door Unit with the gasket in position and the Cat 5 cable into the 3 gang box and secure the unit to the box using the 4 included screws. -
Page 9: Cat 5 Intercom System Operational Overview
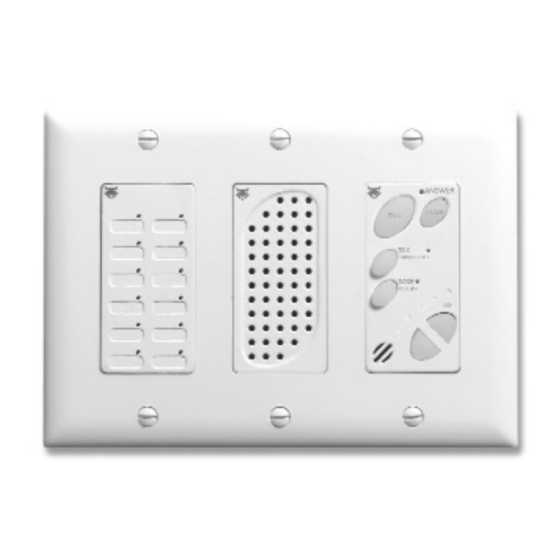
TALK button on their Room Unit.You will hear The Main Console Unit acts as the central point of communication in the Cat 5 anyone responding to you in any room of the home where a Room Unit is active Intercom System.The Main Console Unit utilizes LEDs to show all room activity... - Page 10 RELEASE function. However, by depressing both the TALK and the DOOR buttons and the same time, the Room Unit will engage the door release device (not included in the Cat 5 Intercom System) if a door release device is installed www.greyfox.com...
-
Page 11: Troubleshooting Guide
- Verify that all Cat 5 cabling does not run parallel to AC power lines within 12 inches, avoids running near fluorescent lighting fixtures, and avoids dimmer switches. - Page 12 Titan ™ Series Enclosure Installation Guide ©2004 www.greyfox.com...
Need help?
Do you have a question about the CAT 5 and is the answer not in the manual?
Questions and answers
the power input 24 DC power the green light has to come on when the system is working for the 4 zone audio distribution module