
Related Manuals for Cascade CE1887DM


Summary of Contents for Cascade CE1887DM
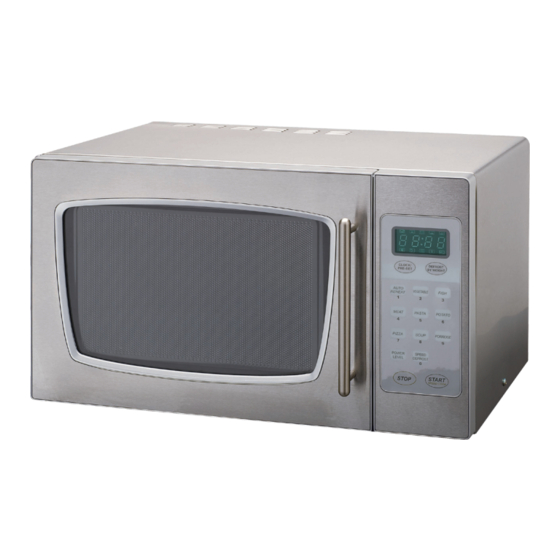
- Page 1 23 Litre Microwave Model CE1887DM INSTRUCTION MANUAL PLEASE SAVE THESE INSTRUCTIONS...
- Page 2 CASCADE product into your home. Your CASCADE appliance is recognised as a quality product at an affordable price, and is proudly supported by our after sales service team. We encourage you and your friends to choose from the range of CASCADE appliances available exclusively to The Warehouse.
-
Page 3: Table Of Contents
CONTENTS Page 1 Welcome. Technical specifications. Service. Page 2 Contents Page 3 Before first use. Safety and installation Page 4 Safety and installation. Page 5 Safety and installation. Microwave cooking principles. Page 6 Microwave cooking principles. Page 7 Parts and Turntable guide. Page 8 Control panel guide. -
Page 4: Safety And Installation
Carefully unpack your CASCADE appliance. Make sure you do not discard any packaging material until all parts of the appliance have been found. - Page 5 WARNING: It is hazardous for anyone other than a trained person to carry out any service or repair operation that involves the removal of any cover that gives protection against exposure to microwave energy. Do not attempt to service this appliance yourself.
- Page 6 WARNING! Do not operate the microwave oven without the turntable and guide roller in place. MICROWAVE COOKING AND SAFETY PRINCIPLES Always arrange the food carefully and evenly. Place the thickest areas of the food towards the outside of the oven if possible.
- Page 7 Turn foods over once when cooking such items as chicken, roasts or large food quantities. Rearrange foods during the cooking process, placing items from the centre to the outside, reversing from the outside to the centre to improve cooking time and evenness. Remove twist-ties from any bag.
-
Page 8: Parts And Turntable Guide
PARTS AND TURNTABLE GUIDE Do not throw away any packaging until all parts of the appliance are found. -
Page 9: Control Panel Guide
CONTROL PANEL GUIDE DISPLAY Shows cooking time, power and the current time. NUMBER PADS Press number pads to set clock and cooking time. CLOCK/PRE-SET Use to set the current time and also to set delayed cooking. DEFROST BY WEIGHT Use to set auto-defrost mode by weight. AUTO REHEAT Use to reheat food automatically by weight. -
Page 10: Clock Setting
USING THE OVEN Clock Setting When first connected to the power supply, the display will show “0:00” The display range is between 0:00 and 23:59. To set time: • Touch pad. The display will flash and the CLOCK/PRE-SET display will show clock symbol. •... - Page 11 Setting the Power Level To alter power level, press the pad once or more times POWER as detailed below. This oven has 5 pre-set power level settings. The following guide indicates the power levels available in this oven. • Press once for 100% power level. •...
-
Page 12: Speed Cooking
Speed Cooking In standby mode press to commence START/SPEED COOK speed-cooking setting. The oven is set to cook in stages at 30 seconds intervals 100% power level for the first three touches of the pad, then 1 minute intervals for the next touches until a maximum of 12 minutes has been reached. -
Page 13: Defrosting By Weight
Defrosting by Weight To defrost by weight simply follow the steps below. For example to defrost 500 g of beef: • Touch pad. deF 1 will display. DEFROST BY WEIGHT • Touch “5”, “0”, “0” • Touch pad. START Auto Menu Cooking The microwave makes cooking easy. -
Page 14: Chart 1
Chart 1 MENU Weight (G) Press Display Times Once 1:50 Auto Reheat Twice 2:50 3 Times 3:50 4 Times 4:00 Once 1:50 Vegetable Twice 3:50 3 Times 5:00 Once 1;50 Fish Twice 2:50 3 Times 3:50 4 Times 4:00 5 Times 4:50 Once 1:50... - Page 15 Weight Conversion Guide 1 kilogram = 2.20lbs 1 kilogram = 1000 grams 1 ounce = 28 grams 1 lb = 16 ounces Setting SAFETY LOCK The safety lock prevents unsupervised operation by young children. To set, press and hold pad for 3 seconds. LOCK STOP indicator lights and microwave cannot be used.
-
Page 16: Utensils Guide
Shielding Shield delicate portions such as chicken wing tips by placing a small amount of aluminum foil. Do not use in excessive amounts as this may damage the oven. Standing Food cooked in the microwave can build up internal heat when removed from the oven. -
Page 17: Limited Use
Limited Use Aluminum Foil Use narrow strips only to prevent overcooking of exposed areas (I.E Chicken Wings). WARNING. Use only in limited amounts. Keep away from the outer walls of the oven. Ceramic, Porcelain and Stoneware. Use only if labeled ‘Microwave Safe’. Plastic. -
Page 18: Important Safety Instructions
IMPORTANT SAFETY INSTRUCTIONS When using electric appliances always observe safety regulations where applicable to reduce the risk of fire, electric shock and personal injury. Always check that the power supply corresponds to the voltage on the rating plate. Supply This appliance must be connected to a suitable 230-240V ~ 50Hz power supply. -
Page 19: Maintenance And Cleaning
Fire risk If smoke is observed, switch off the appliance and keep the door closed in order to stifle any flames. Damaged or dropped Always inspect your appliance before use. Do not use this appliance if it has been damaged, dropped, left outdoors or dropped in water. - Page 20 Failure to maintain the oven in a clean state could lead to deterioration of the surface that could adversely affect the life of the appliance and possibly result in a hazardous situation. Odor removal Combine a cup of water with the juice and skin from one lemon in a deep microwavable bowl, microwave on high for 5 minutes.
- Page 21 ORIENTAL PACIFIC INTERNATIONAL LIMITED Guarantee Card This product is guaranteed against faulty materials and workmanship for a period of two years from the date of purchase. The obligation to the purchaser under this warranty is limited to servicing the unit and replacing defective parts when the product is returned freight prepaid to the retailer.
Need help?
Do you have a question about the CE1887DM and is the answer not in the manual?
Questions and answers